views
X
Research source
Reaginic hypersensitivity in Otodectes cynotis infestation of cats and mode of mite feeding. Powell et al. Am J Vet Res 41 (877).
These mites create irritation and itchiness, which cause the cat to scratch its ears. This scratching can then cause problems such as skin infections or a swollen ear flap, which may need veterinary attention. Catching and treating ear mites quickly can avoid later problems and ensure a healthy, happy cat.
Determining If Your Cat Has Ear Mites
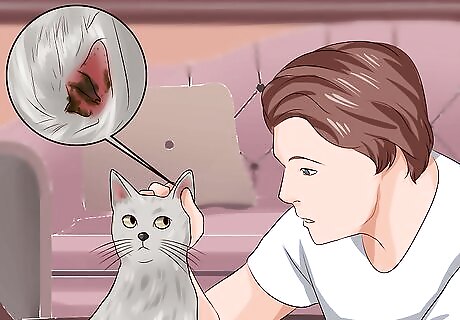
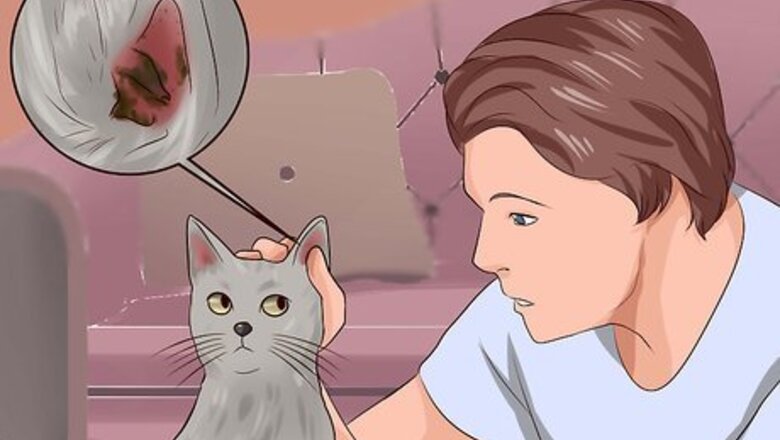
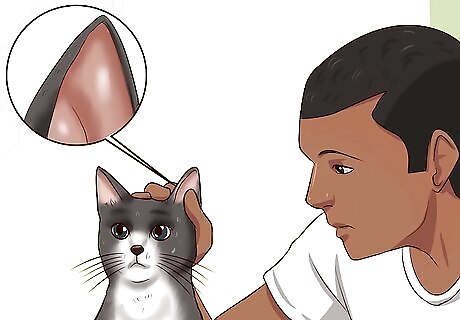
Look for excess wax. The ear mites provoke the lining of the ear canal to produce excessive amounts of wax. This wax is typically a dark brown/ black color, and can sometimes look like waxy dirt in the ear. A cat with healthy ears will have minimal earwax. If you see something that looks like coffee grounds or flecks of black dirt in the ear, this is a sign of a possible ear health problem. The cat's ear produces this wax as a defense against the impact of the infestation. You may also notice a foul smell coming from the ears.

Watch for scratching or shaking. Ear mites cause irritation, and so the cat is likely to scratch repeatedly at the ear with a back paw and/or to frequently shake its head. The cat's claws may break the skin surface, leading to additional soreness, bleeding, and in some cases bacterial infections. A cat that has suffered from ear mites for a long time can develop inflammatory polyps (i.e. lumps or growths) in their ear canals, and blood blisters on their ear flaps due to constant rubbing and scratching. In addition, the external ear may become inflamed and produce pus, or the cat's eardrum may be torn, resulting in balance issues and other problems that require professional veterinary help.

Observe the cat's posture. A cat with ear mites will often hold its head to one side. This is a general sign of ear discomfort and not limited to ear mites. Regardless of the cause, if your cat frequently holds its head to one side, you should get it checked by a vet.

Check your other animals. If you have more than one pet and suspect one of them has ear mites, check all their ears. This is because ear mites spread easily between animals if they sleep together or groom each other. If you only treat the affected animal, it might be that other pets harbor the parasite but don't show signs, and can act as a reservoir for re-infection. If one pet has ear mites it is likely you need to treat all the pets in the house to get rid of the infection.

Take your cat to the vet. If you see any of these signs, you need to get the cat checked by a veterinarian. The vet will use several techniques to diagnose your cat's problem. The vet will inspect the ear canal with an auroscope, which is an instrument similar to a flashlight with magnification that is used to look deep down into the ear canal. The veterinarian may be able to directly observe the small white mites as they scurry away from the light of the auroscope. Some veterinarians will collect a sample of earwax on a cotton ball, and smear the wax on a microscope slide. The mites are often plainly visible under the microscope. The veterinarian will also check to make sure the eardrum is intact before supplying treatment. This is because the eardrum acts as a barrier to stop ear drops entering the middle ear, which could affect the cats balance.
Treating the Cat with Ear Drops

Obtain medication. Once the vet has made a diagnosis and verified that the eardrum is intact, he or she will prescribe ear drops that are safe for the cat and effective at killing ear mites. Many pet stores sell an over-the-counter mite treatment, but these medications are generally less effective and may be harmful to your cat. It is advisable to use only the medication your vet recommends.

Read the label. Carefully read the label for instructions on how often to apply the drops. The frequency of treatment and number of drops to administer will depend on the exact medication supplied, but typically might be once a day for seven to ten days.

Get everything ready. Before medicating the cat, gather everything you'll need on a table or other flat surface. This includes a large towel to spread over the tabletop to stop the cat slipping, the ear drops, and a few cotton balls. If possible, enlist a friend's help to hold the cat so you have both hand's free to apply the drops.
Clean the cat's ears. Before administering the medication, you may need to clean your cat's ears. It's a good idea to ask your vet about this prior to using the ear drops. Purchase an ear cleaning product that is labeled as safe for cats, and follow the included instructions. If there is an excessive amount of wax, this can act as a cocoon around the mites that shields them from the drops. Do not attempt to use a Q-tip or any other object in or around your cat’s ears. Cats are extremely fast and they will immediately turn their head when anything is in or near their ear. This will likely result in a ruptured eardrum. Use only a clean rag or cotton balls to clean your cat’s ears.
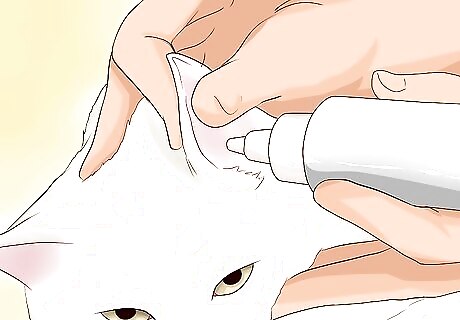
Apply drops. Place the cat on a table with its head facing toward you, and have the assistant gently hold the cat's shoulder down to keep it from moving. Remove the top from the dropper bottle and drip the required number of drops into the cat's ear canal. Give the ear a gentle rub with your fingers and thumb, which helps the drops mix with the waxy discharge and spread deeper into the ear canal. If the cat is resistant to having the medication applied, you can wrap the cat snugly in a bath towel to immobilize it.
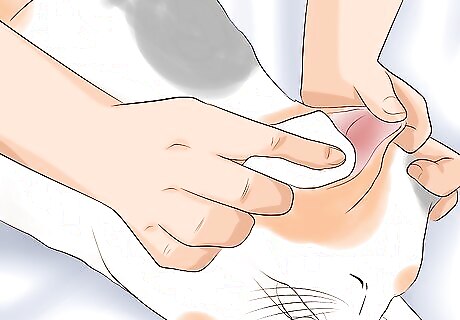
Wipe the ear. Use the cotton ball to clean away any wax that is lifted up to the surface. Never push the cotton balls into the ear canal. If the cat moves during this step, it can be easy to accidentally push the cotton bud too deep, which may hurt the cat.
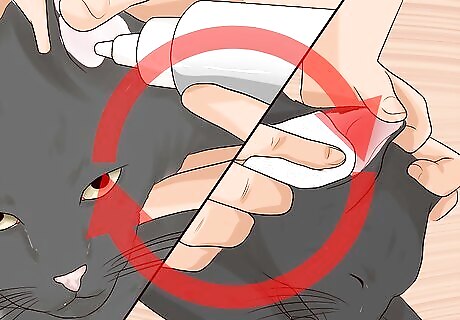
Repeat as directed. Repeat this daily for the prescribed number of days. If the cat is still showing signs of irritation at the end of the treatment course, take the cat back to the vet for additional assistance. Discontinue treatment and contact your veterinarian if the cat develops a head-tilt during the course of the treatment. Some cats are sensitive to the active ingredients in the ear drops and can develop balance problems as result of the medication, even if their eardrums are undamaged. If this happens let your vet know immediately.
Preventing Reinfection
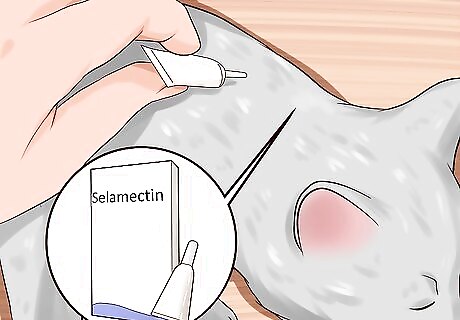
Treat all cats with selamectin. Selamectin is a powerful parasite controller available for both cats and dogs. It helps prevent infestation by mites, fleas, heartworm, and some intestinal parasites. If you have multiple cats, treat all cats with a selamectin-based topical parasite treatment, such as Revolution (or, in the UK, Stronghold). Selamectin will prevent your cat from becoming reinfected, and will prevent any other cats you may have from picking up the parasites. Selamectin should be applied to the back of the cat's neck. Never put it in the ear.

Take any dogs to the vet. Selamectin treatments are not licensed for treating ear mites in dogs. If you have a dog that could become infected with mites that spread from your cat, take it to the vet for preventative treatment.
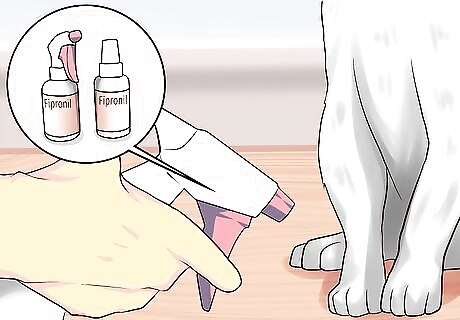
Protect the cat's paws. Spray the cat's hind paws with fipronil, a topical treatment that kills ticks, fleas, lice, and other parasites. This treatment can directly kill any mites stuck on the cat's fur as a result of scratching. This then stops reinfection from occurring when the cat scratches a newly clean ear with a foot that may still have mites on it. Fipronil is found in numerous medications such as Frontline, Effipro, Barricade, and EasySpot. Ask your vet which treatment they recommend and where to obtain this product.


Comments
0 comment