views
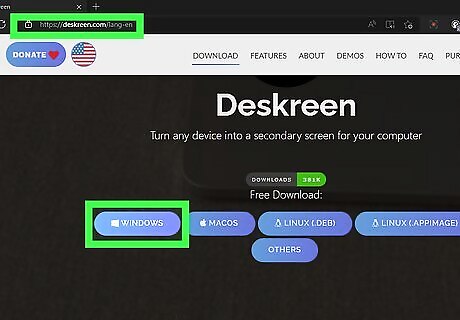
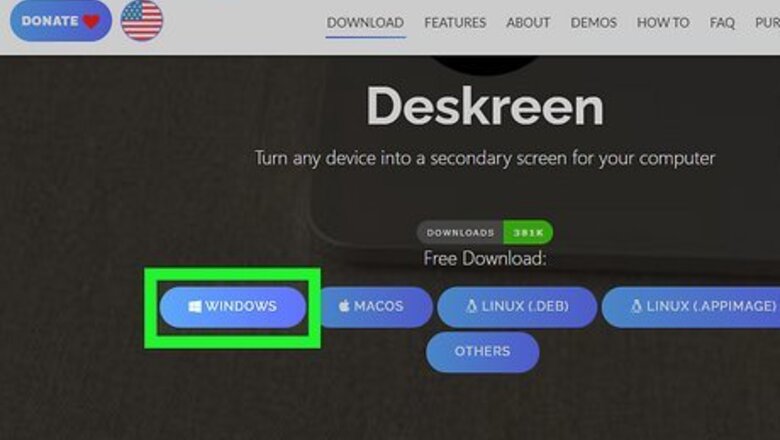
Download and install Deskreen on your PC. Deskreen is an open-source application that allows you to turn any computer into a second screen via Wi-Fi. Because the Macbook does not support local display input, we will need to create our second monitor this way. You can download Deskreen from https://deskreen.com. Deskreen is one of several similar apps, but keep in mind more popular versions such as Spacedesk may not be available on macOS. You only need to install Deskreen on your PC, as your MacBook can project your PC's screen via an IP address that Deskreen will give you.

Find a virtual display adapter. Software like Deskreen relies on the use of a small USB plug called a virtual display adapter. These adapters make your computer think an external display is connected. They tend to be very affordable and will make your second-screen experience much smoother. You may sometimes see virtual display adapters referred to as display dummy plugs.
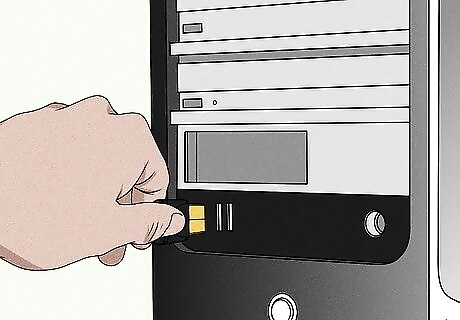
Plug the virtual display adapter into your PC's USB port. This adapter will come in handy later when we want to trick Deskreen into thinking an external display is connected.
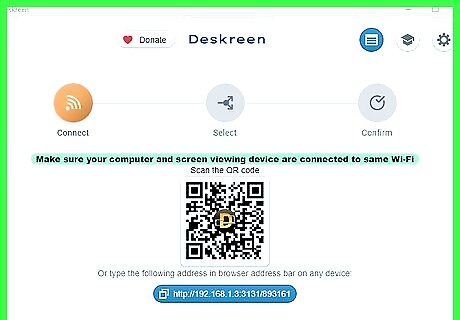
Open Deskreen on your PC. The homepage for Deskreen will show you a QR code as well as a customized IP address. If you are trying to extend to an iPad or iPhone, the QR code may come in handy. We need the IP address. Before continuing any further, ensure your MacBook and PC are on the same Wi-Fi network.
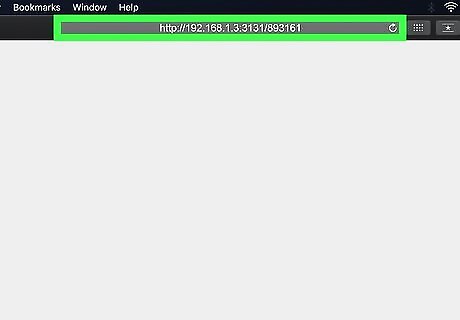
Type the IP address into your Mac's browser. Enter the address exactly as you see it on Deskreen, then click Enter.
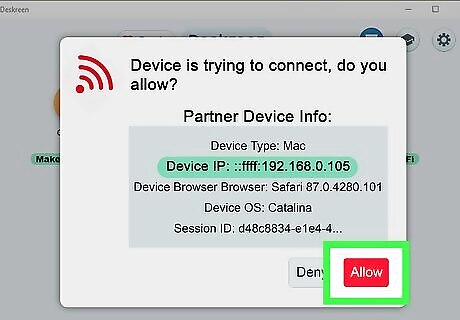
Click Allow on Deskreen from your PC. If you entered the IP address correctly, Deskreen should receive notification from your MacBook that it is trying to connect. Allow your MacBook to connect and choose to share your Entire Screen. If you only need to project a single application to your second monitor, you can do so at this time and get to work with your dual monitors!
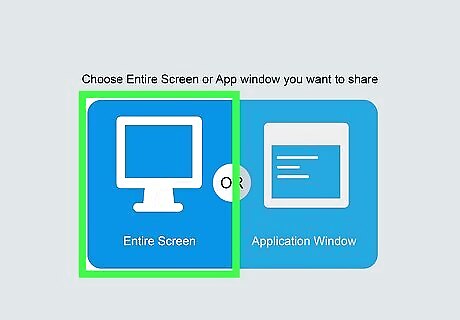
Choose your second screen from Deskreen's list of options. Once you cast your entire screen, Deskreen should show you two screens: your current desktop as it appears to you, and a blank version of it. This blank version is the extension enabled by your virtual display adapter. Click on it to project it onto your MacBook.
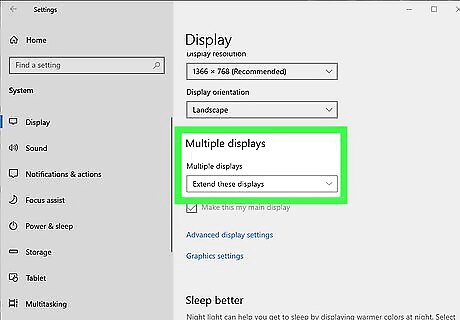
Change your PC's projection settings to Extend. With the virtual display adapter plugged in, hold down the Windows and P keys simultaneously, then choose Extend from the options that appear in the ensuing menu. Extending your display allows you to see your desktop across multiple screens, as opposed to mirroring it perfectly on another device. Luckily, with Deskreen enabled, we have a second screen to extend!
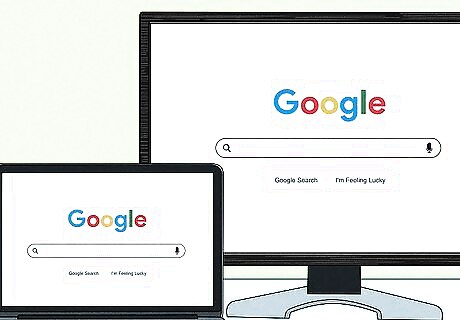
Start working with your dual set of monitors. Now, your MacBook should be functioning as a second monitor for your PC. To test it, drag any window to the edge of the page until it disappears. It should then appear on your second screen (i.e., your MacBook).




Comments
0 comment