views
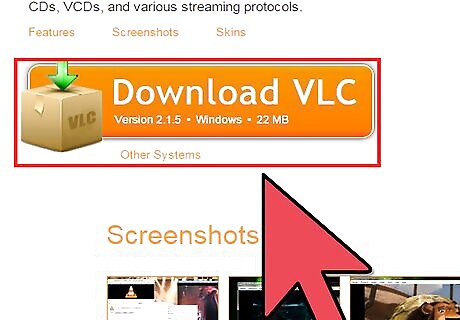
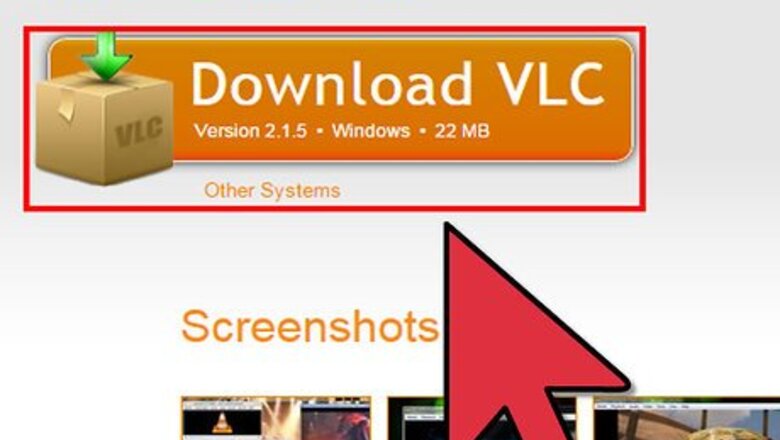
Download VLC Media Player. If you don't have it installed yet, you can download it here. VLC is a free medial player that supports many types of video files.
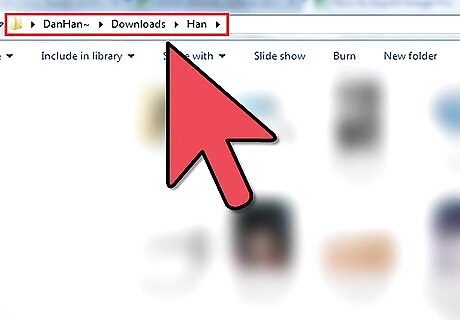
Select a folder that you want the images to be exported to. Copy the full path of this folder.
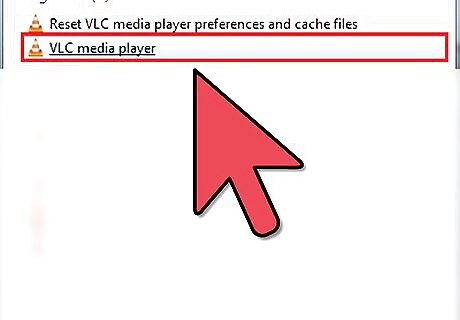
Open VLC. From the toolbar, select 'Tools' then 'Preferences'.
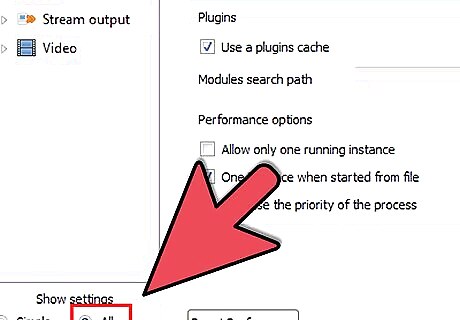
In the bottom left corner of the window, under 'Show Settings', click 'All'.
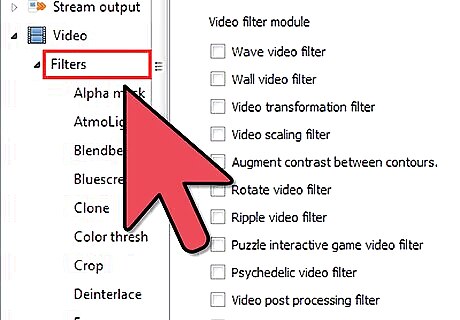
Look for the expanded menu on the left. Under 'Video' click on 'Filters'. Click the box to enable 'Scene Video Filter'.
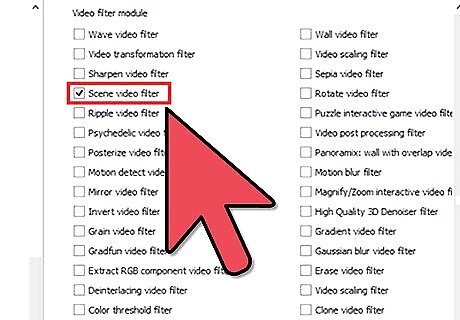
Back on the left side menu, under 'Video', click the triangle beside 'Filters' to expand it. Click 'Scene Filter'.
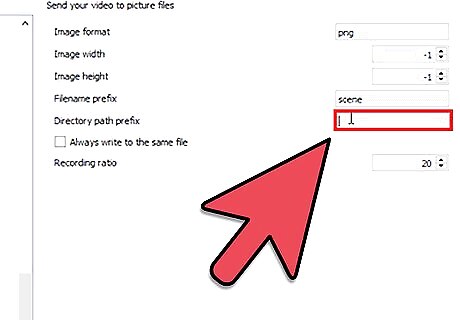
Paste your previously copied path into 'Directory path prefix'.
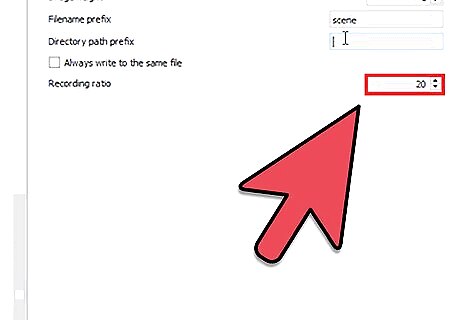
Adjust your 'recording ratio'. This adjusts the proportion of frames from the video that will be exported. For example, if the recording ratio is set to 10, 1 out of every 10 frames will be saved to your folder as an image file.
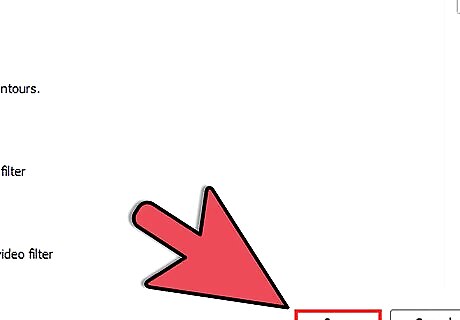
Save your settings.
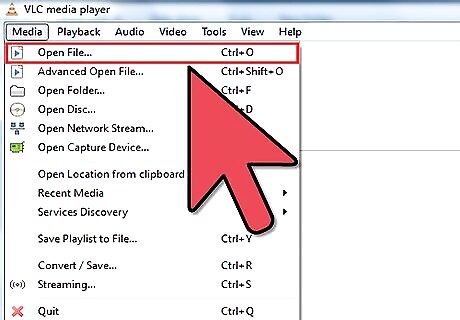
Open the video file that you wish to pull the images from. Let the video play as long as is needed. (Media -> Open File).
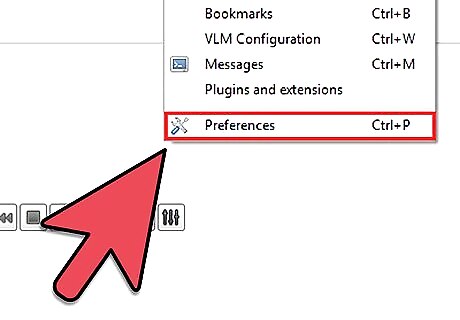
Once your video is done playing and you are satisfied with the image captures, disable the 'Scene video filter' so that VLC will not generate images during every video that is played. Tools -> Preferences Show Settings -> All Click the box to disable 'Scene Video Filter'.
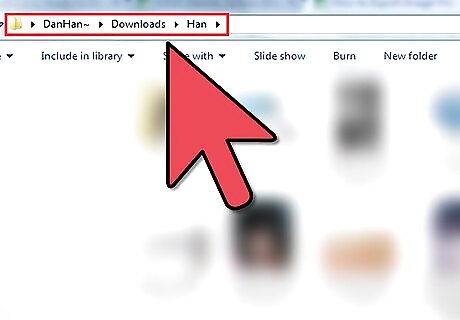
Open your previously selected folder to view your images.






Comments
0 comment