
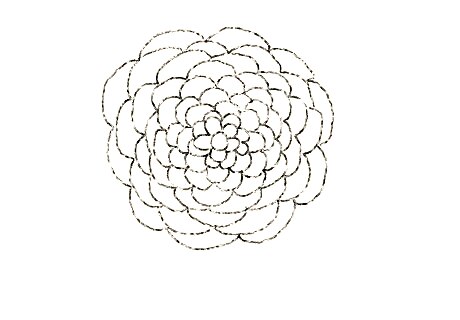
Multiple Petaled Rosette

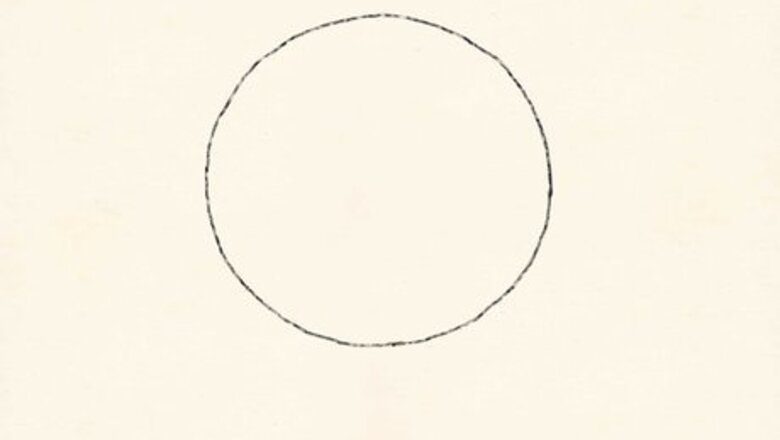
Lightly draw a rough circle the desired size of your rosette. If you have multiple number pencils, you will want to use a softer lead for this part. You will either erase or eventually cover these markings. If you only have one pencil, that's okay, too! Just draw very lightly.
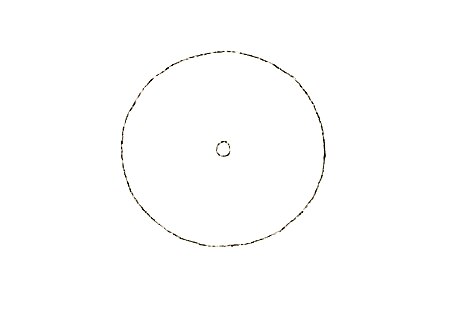
Using a slightly darker pencil, (or drawing with a heavier hand), draw a small, non-perfect circle in the center of your flower.
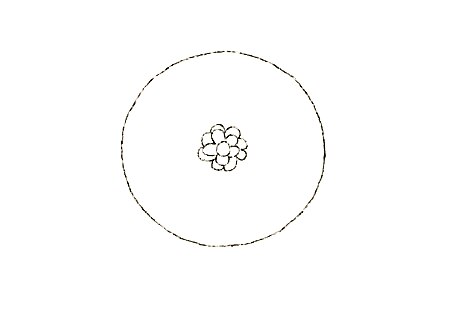
Starting at the new center circle, draw loose, curved lines. Let them overlap occasionally; leave gaps; vary sizes. The more variety there is, the more whimsical it will look. There is no such thing as a "perfect" flower. They are all different. There is no uniformity.
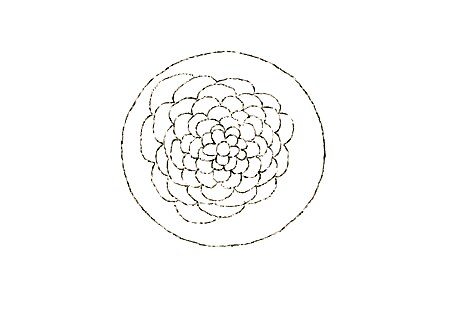
As you move away from the center, make the petals larger and more spaced. Don't make them perfectly even. Let them fall where they may.
When you are happy with your work, carefully erase any of the unwanted lines that are still visible. This will clean up the product.
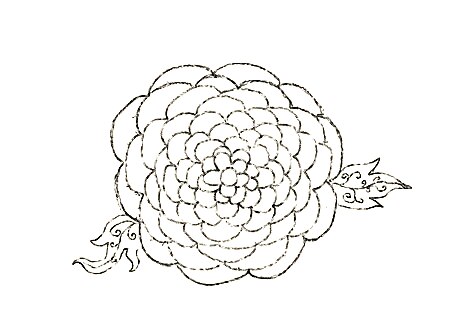
Take a darker pencil and darken the finished product. Add a leaf and stem if desired.
Simple Rosette

Lightly draw a rough circle the desired size of the rosette. This will be the base. If you have multiple number pencils, you will want to use a softer lead for this part. You will either erase or eventually cover these markings. If you only have one pencil, that's okay, too! Just draw very lightly.
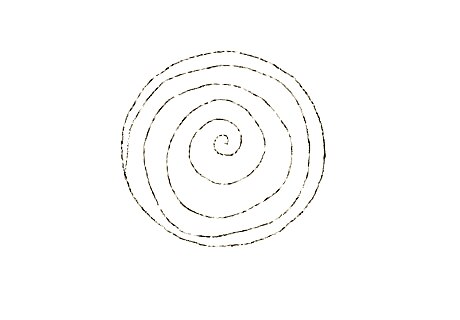
Staring at the center, draw a loose spiral out to the edge. This will create a 'petal'.
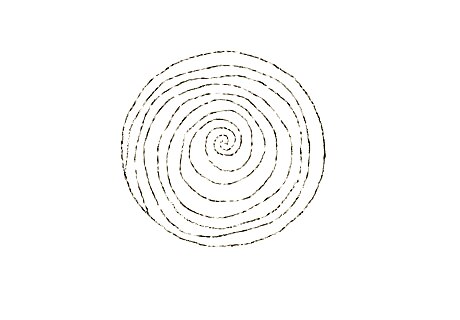
Repeat the spiral process. The spirals will not match, which is what it's supposed to do in order to make a pretty rosette.
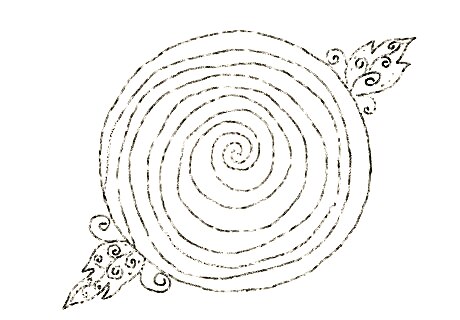
Finished!


Comments
0 comment