
Steps
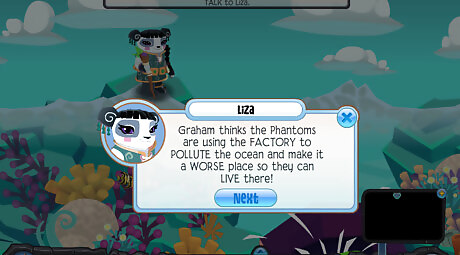
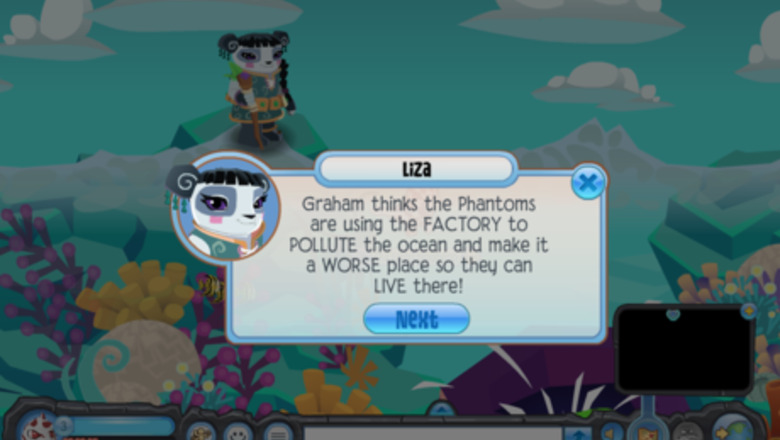
Speak to Liza. She'll tell you that the phantom factory is a way for the phantoms to pollute the water to turn it into a place that the phantoms can infest and live in. She will then tell you to infiltrate the factory and disappear. Then enter the secret pipe below your animal.
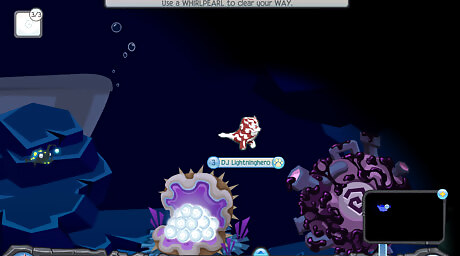
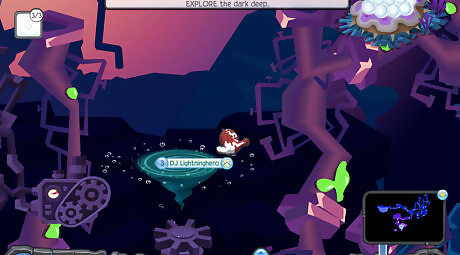
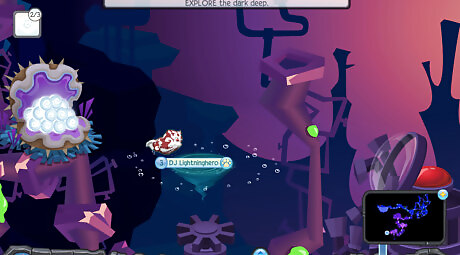
Explore the deep. You'll enter a large, dark area with only a small range of light circling around your animal wherever you move. When you move right near the very top of the area, brushing up against a rock wall, you'll encounter a large whale who will tell you about the phantom factory. Right in front of this whale will be a clam full of whirlpearls, which are the underwater equivalent of boomseeds. Grab one to destroy the phantom blockage right beside the clam. If you move from where you exit the pipe to the top left, you'll find a chest full of 100 gems in hard mode. Screen Shot 2020 02 12 at 10.32.51 PM.png
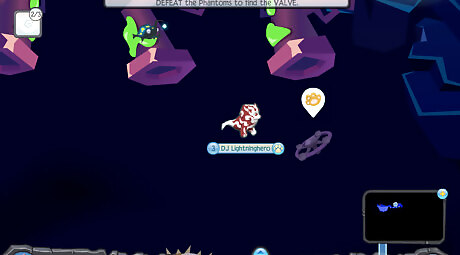
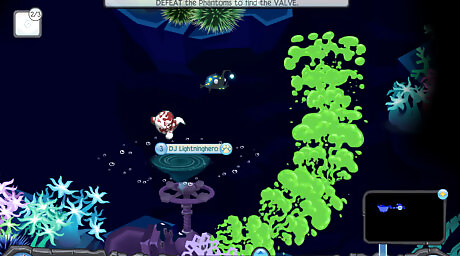
Enter the lit area and destroy the phantoms. Move right through the seaweed patch. When you move up, you'll find three phantom tubes that will spawn phantoms, like phantom sprouters on land. However, unlike phantom sprouters, these phantoms won't automatically chase you no matter where you are which provides an advantage. Destroy the phantoms that spawn out of the tubes with as many whirlpearls as needed. You can also destroy phantoms from the seaweed patch if you want. You'll need to destroy a total of 9 phantoms. When you destroy the last phantom, it will drop a valve. Grab it and head right.
Plug in the phantom valve. Head right and down. Plug in the valve, and then swirl over it until the green phantom clouds stop spreading out into the water. Then head right and you'll discover the four sharks which you'll have to free using keys. If you head up and right immediately from where you plugged in the valve, you'll find a chest full of 200 gems in hard mode.Screen Shot 2020 02 12 at 10.41.47 PM.png
Finding the Keys

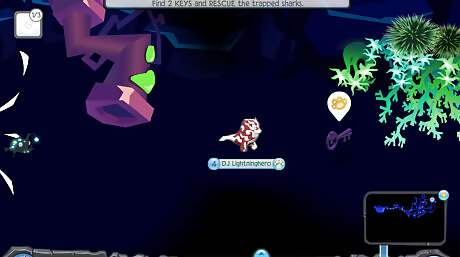
Find the first key. Move up right from where the sharks are through the patch of seaweed. Head up and move through the current moving up. A phantom spawner will be above you - destroy the two phantoms that spawn out of it. Go up and destroy the phantom obstacle in your way. Go up and destroy the phantoms. If you go up slightly more, you'll find the first key. To get back to the sharks, go through the current right. Go down and destroy the two phantoms. Go down and then through the current left. Go through the seaweed patch and free a shark. Screen Shot 2020 02 16 at 5.53.15 PM.png The first key may be in another area. As soon as you move up right from where the sharks are, you'll find it. To get back, simply go through the patch of seaweed. Screen Shot 2020 02 16 at 6.41.04 PM.png

Find the second key. Move down right from where the sharks are and go through the right current. Destroy the three phantoms - one spawns as soon as you arrive in the water. Move right. Destroy two more phantoms in the area. Move up while staying to the right, but don't go through any currents. Next to a blocked-off chest, you should find the second key. You may have seen this key earlier from when you were getting back to the sharks after finding the first key. To get back, go down to left and go through the left current near the Zios checkpoint. Go through the seaweed patch and free another shark. Screen Shot 2020 02 16 at 5.57.19 PM.png The second key may be in another area. Move down right from where the sharks are and go through the right current. Destroy the three phantoms, then move right again. Destroy two more phantoms. Move right and two more phantoms will spawn - destroy them. Move down past the phantom spawner beneath the false rock wall. Go through the small seaweed patch left and you'll find the second key. Screen Shot 2020 02 16 at 6.44.29 PM.png To get back, go back up through the false wall, move up and stay to the left, then move through the left current. Go through the seaweed patch and free a shark. Screen Shot 2020 02 16 at 6.45.33 PM.png
Find the third key. Move up right from where you first entered when you were going to find the first key. Go up and through the current. Go up and go through the right current. Move straight down, but stay to the right until you encounter a right current. Destroy any phantoms. Go through the up current. Destroy the two phantoms and move to the top right. You'll find the third key. To get back, use the current to the left. Go down, left, down again, and then stay to the left till you see the current going left near the Zios checkpoint - go through it. Move through the seaweed patch and free another shark. Screen Shot 2020 02 16 at 6.07.35 PM.png The key may be in another area. Move up right from where you first entered when you were going to find the first key. Go up and through the current. Destroy the phantoms. Destroy the phantom blockage up. Destroy the phantom. Move right. Destroy the phantom blockage to your right. Go up and destroy phantoms as needed. Move left. You should find the third key in that area.Screen Shot 2020 02 16 at 6.50.48 PM.png To get back, move down and left. Then go down, staying to the left, till you once again find the current that goes left. Go through it, the seaweed patch, and then free a shark. Screen Shot 2020 02 16 at 6.52.44 PM.png

Find the fourth key. Go through the current at the bottom right of where the sharks were, the same current you went through when you were finding the second key. Then go right. If you go down, you can go through a false rock archway in which the key will be right underneath. From the area where you found this key (if the keys are in the locations of this version), to your right there will be another false archway you can go beneath. Destroy the phantoms that spawn. Go up and through the current that moves right. Move up, right, then down. Destroy the phantom to your left. To the far left, there will be a current - don't go through it yet. Move down past another false wall. You'll find a chest full of 400 gems. Screen Shot 2020 02 16 at 6.14.32 PM.png To get back from where you found the fourth key, from the area where the key was, move up and through the current that goes left. Go through the seaweed patch and free a shark. Screen Shot 2020 02 16 at 6.16.12 PM.png The key may be in another area. Go through the current at the bottom right of where the sharks were, the same current you went through when you were finding the second key. Go right. Go more right, then up till you find the current moving right. Go through it. Destroy phantoms as needed. Go through the current up. Destroy two more phantoms. Move right, then down. Destroy the phantoms to the left. Move further left and you'll find the fourth key. Screen Shot 2020 02 16 at 6.59.37 PM.png To get back from where you found the fourth key (if it was in this area), use the current to the left. Move up while staying all the way to the left till you find the current moving left again. Go through it, the seaweed patch, and free the final shark. Screen Shot 2020 02 16 at 7.00.35 PM.png When you first enter the current to try to find the fourth key, if you go directly down, you can go beneath a false rock formation which will lead you to a short pathway to the Sharks Only passage. Screen Shot 2020 02 13 at 8.47.45 PM.png

Open the phantom hatch. Head down and swirl over the phantom hatch along with the sharks. The more players with you in the adventure swirling, the faster it will open. Once it opens, head down into it.
Destroying the Phantom Machines
Head left. A phantom spawner will spawn a phantom - destroy it. As you progress left, you'll encounter several more phantoms. Continue destroying them as you explore the factory.
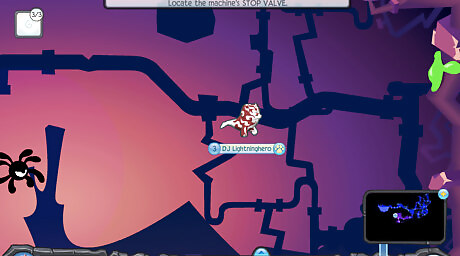
Find the machine's stop valve. Go all the way to the left, beside a clam full of pearls, and you'll find a valve that must be swirled over so you can locate the machine's weakness. Swirl above it to do so. A red button will begin to become more and more exposed.
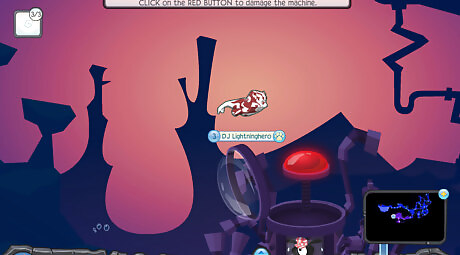
Click on the red button continuously to destroy the machine. When you click on the button, it will be as though you were attempting to destroy a phantom obstacle such as a pod or web. Continuously click on the button.

Destroy phantoms throughout. After waves of clicking on the button, the button will become shut closed once again and phantoms will spawn. Destroy the phantoms before continuing the process. More phantoms will begin to spawn every time.
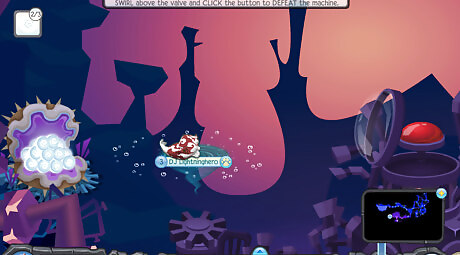
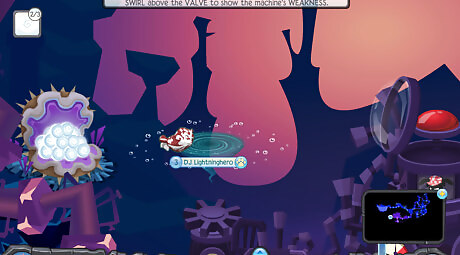
Swirl over the valve once again. To unlock the button again, swirl over the valve. Be sure you quickly begin to scratch the button, or it will close within a few seconds. Try to destroy phantoms or stay out of their range as you do so until your time is up. The goal is to scratch the button and damage the machine as much as possible before the button closes once again. You can also use whirlpearls to destroy the machine. You'll need to do this twice before the machine will be destroyed.
Head down. Once the machine is disabled, you will be allowed passage below deeper into the water. Encounter two phantoms and destroy them. Once again, you'll find another machine. Deal with two more phantoms. Head near the bottom right to find its weakness. Swirl over the valve and once again, repeat the process of scratching at the button several times while destroying the phantoms around you. Each time that you unlock the button, it will require more and more damage. For reference, each time you unlock the button of one machine, you have to drop one whirlpearl on it and scratch it a little bit. Repeat this process for the third and final machine.
Head down. Once the second machine is disabled, go even further down to the left. Head down and to the left and deal with two phantoms. Go left further and repeat the process of destroying spawning phantoms, swirling over the machine's valve, and scratching at the button or dropping whirlpearls on it. With each machine you face, you'll also have to face more phantoms. If, after you destroy the second machine and after you go down you go directly right from the Zios checkpoint, you'll find a chest of 400 gems.Screen Shot 2020 02 13 at 9.13.20 PM.png As you move left to the third machine, after facing the first two phantoms, go directly down through a very short passage through some tubes and you'll find a chest full of 400 gems. Screen Shot 2020 02 16 at 6.26.35 PM.png
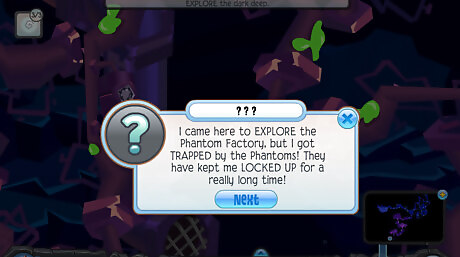
Head down and speak to Tavie. When you unlock the area the machine was blocking and go down, a mystery Alpha will speak to you and tell you that the phantoms have locked her down there for a very long while. After you speak to her, go down the current.

Speak to Liza and claim your prize. She will realize the phantoms are probably trying to capture all of the alphas at this point. Then claim your prize. The prizes for hard mode are shown in the image.


Comments
0 comment