views
Working Punnett Squares
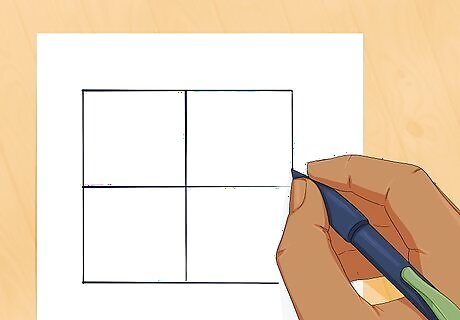
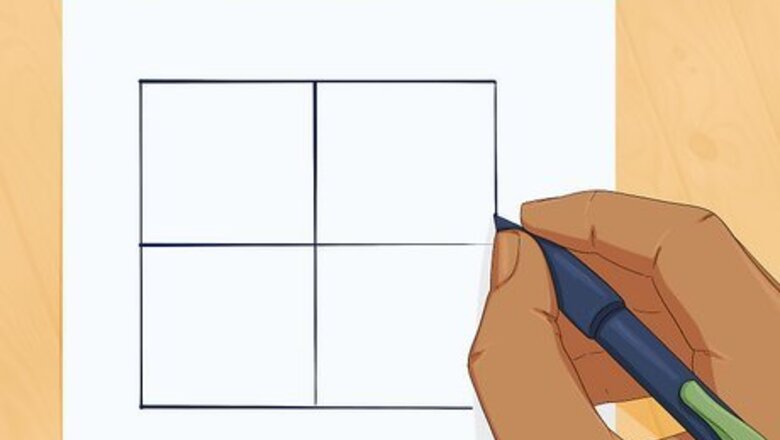
Draw a 2x2 square. A Punnett square is used to determine the likelihood of an offspring's genotype based on the genotypes of its parents. The square will be labeled with the genotype of each parent. Within the square, the possible genotypes of the offspring will be shown.
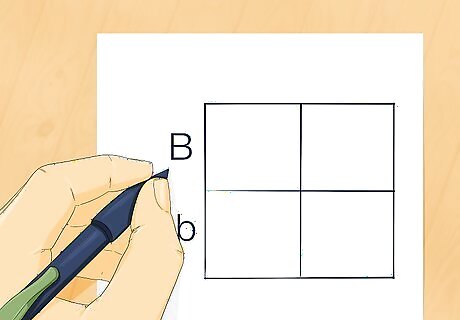
Label the left side. Take the genotype of one parent and split the two letters (representing dominant and recessive traits). Place one letter to the left of the top row, and one letter to the left of the bottom row. This will represent that parent's contribution to the offspring's genotype. It is customary to put a dominant trait (capital letter) on the top row and a recessive trait (lowercase letter) on the bottom if the two traits are different.
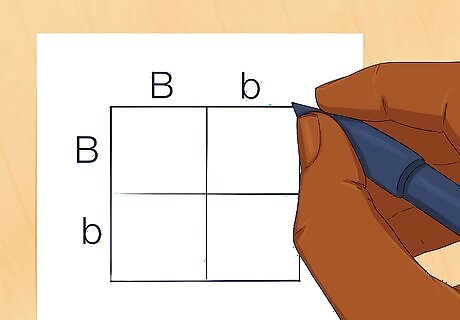
Label the top. The other parent's traits should be split in the same way. This time, place one letter in above the left column, and the other above the right column. This will represent the second parent's contribution to the offspring's genotype. It is customary to put a dominant trait (capital letter) on the left and a recessive trait (lowercase letter) on the right if the two traits are different.
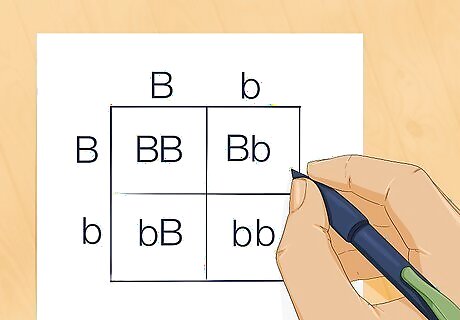
Input known information. Each square can now be filled. Inside each square, write the letter that corresponds to the row that the square is in. Next, write the letter that corresponds to the column the square is in. This will identify all possible genotypes for the offspring as well as the percentage at which they would occur. For mixed traits, write the genotype so that the dominant trait is listed first (Rr instead of rR).
Sequencing with PCR
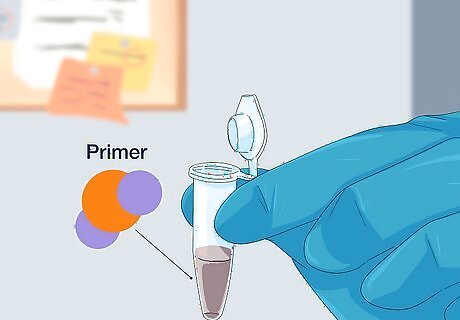
Select a primer. A primer is a molecule that binds to a particular sequence of DNA. Once bound, the binder can be detected to determine whether or not that sequence was present in the sample. This allows for testing of specific sequences that correspond to a certain genotype.
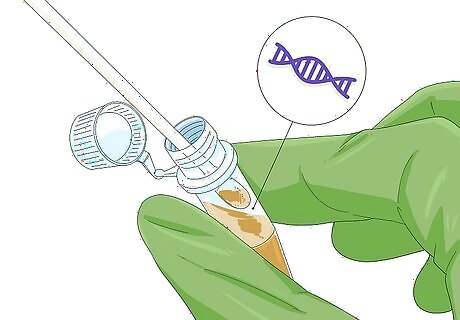
Collect a DNA sample. Once you have selected a primer that binds to the sequence in question, you will need to extract DNA from the cell. Follow the appropriate extraction protocol for your lab. Once you have collected a sample, you can test it.
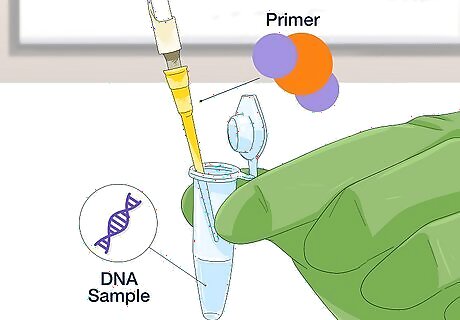
Add the primer to the sample. Add the primer to the DNA sample. If the sequence corresponding to that primer is present, it will bind to the molecule. Once this is complete, you can move on to analysis.
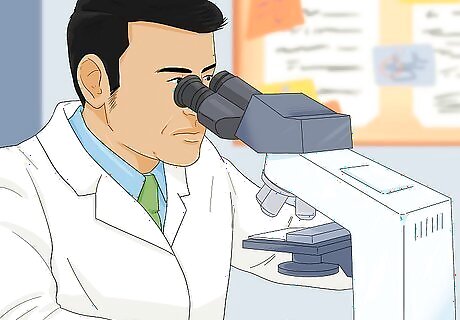
Analyze the results. For simple cases, the results simply come back as positive or negative based on whether or not the primer was bound to the DNA strands. Some more complex methods may require post-PCR procedures. These procedures can be lengthy and expensive, and are avoided when possible.
Utilizing Nucleic Acid Hybridization
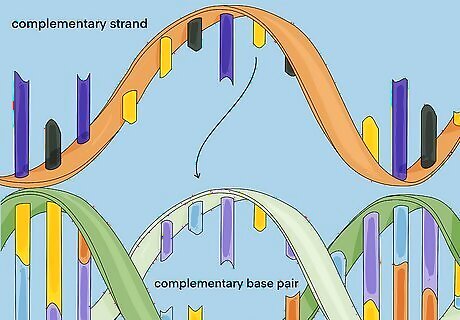
Digest a DNA sample. A DNA digestion is a process that breaks the two strands of DNA apart. This leaves each strand without its complementary base pair. This opening allows the DNA to bind with other complementary strands.
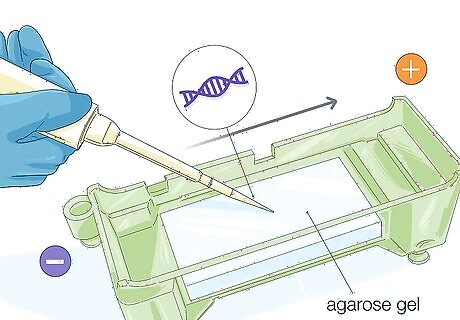
Separate fragments using electrophoresis. Electrophoresis is a process that uses electric current to carry molecules through a gel. In this case, you should use an agarose gel. The DNA will travel to toward the positive end of the gel and be separated by size.
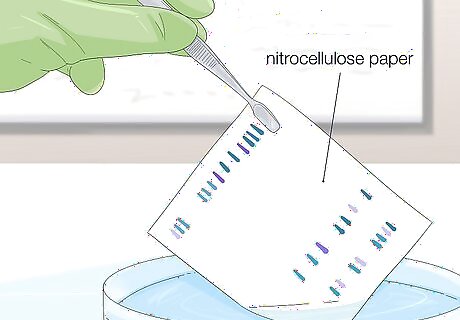
Transfer to nylon or nitrocellulose paper. Once the strands have been separated, they must be transferred out of the gel. Use a Southern transfer procedure to transfer the sample to a sheet of nylon or nitrocellulose paper. These mediums are more appropriate for adding the probe.
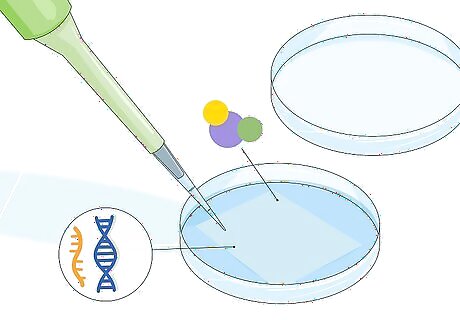
Add a probe. Probes are strands of DNA that compliment the strands in question. If the strand representing a specific genotype is present, it will bind the probe. The probe also contains a fluorescent molecule that will be detectable during analysis.
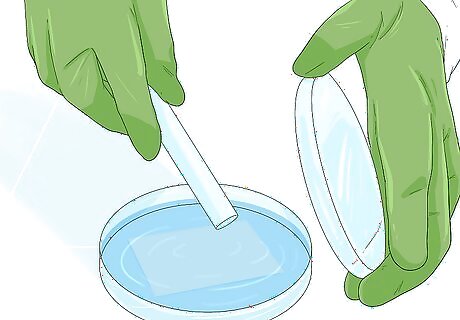
Wash the paper. After allowing ample time for the probe to bind to any sample present, you need to wash the paper. Follow the specific procedures for your lab, but this usually only involves lightly rinsing the paper with water. Be careful not to contaminate or damage the sample during the wash.
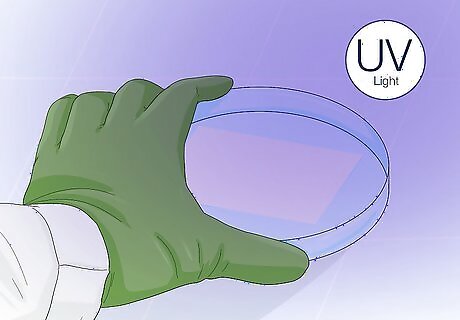
Expose the paper. Once the sample has been washed, you can examine it. Exposing the to sample to ultraviolet light will excite the fluorophore attached to the probe. This will produce an image with areas of intense light relative to the background. If there is no probe present, there will be no lighted areas. The presence of the probe indicates that the sequence corresponding to the genotype in question is present.




Comments
0 comment