views
Lay the sheet of paper on a flat surface.
Gather your materials and set up your work space. You will need: A mechanical compass with pencil A pencil eraser A ruler A spare pencil (recommended)
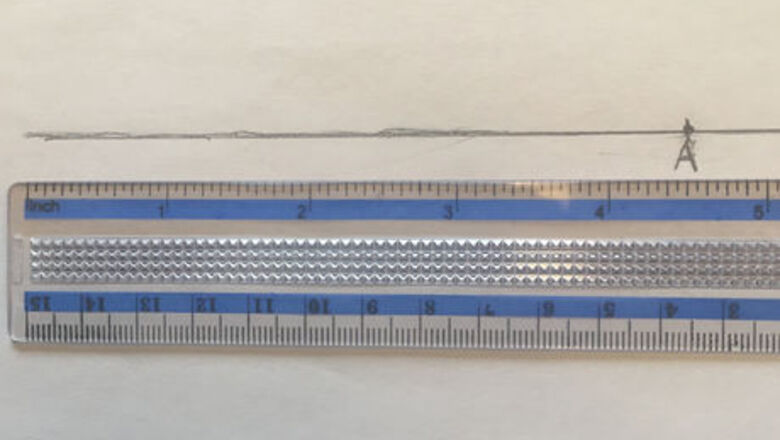
Draw a horizontal line across the middle of the sheet.
Make the line 9 inches long. For best results, use light pencil markings.
Find the midway point at 4.5 inches.
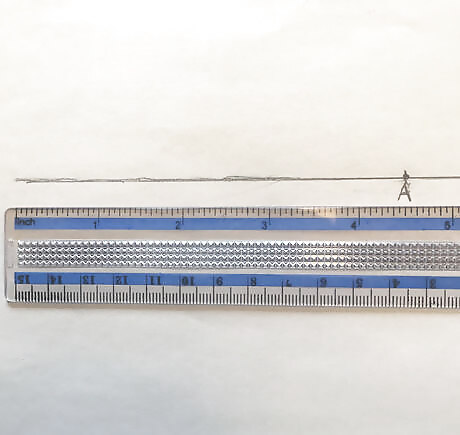
Mark the midpoint and call it "A." This will be the center of your octagon.
Put your compass next to the ruler.
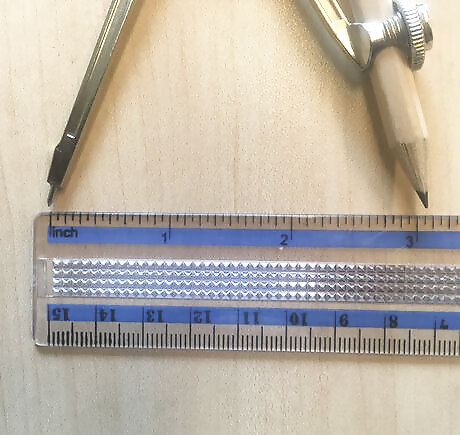
Measure the width of the pencil tip and the compass needle. Adjust it to 3 inches.
Use one hand to hold the compass handle.
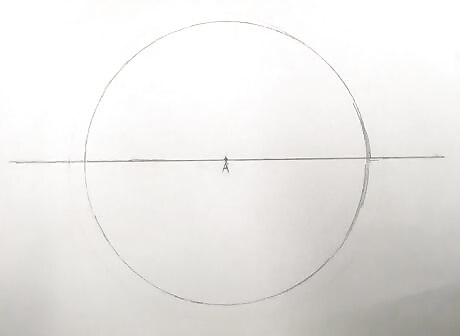
Twist the compass handle to create a circle as shown. Be careful since the compass needle is sharp.
Find the 2 points where the line and circle intersect.
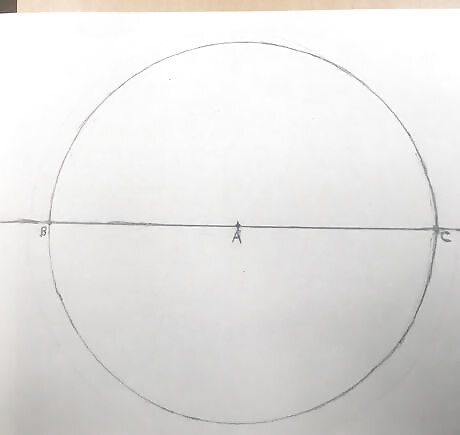
Label the first point on the left end "B." Label the second point on the right "C."
Find the 2 points where the arc intersects the circle.
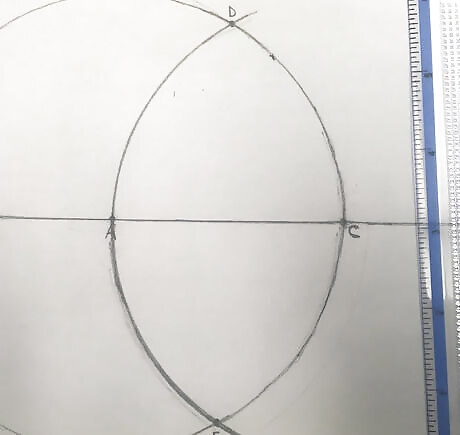
Call the uppermost intersection point "D" and the lowermost point "E."
Draw a vertical line segment to connect points D and E.
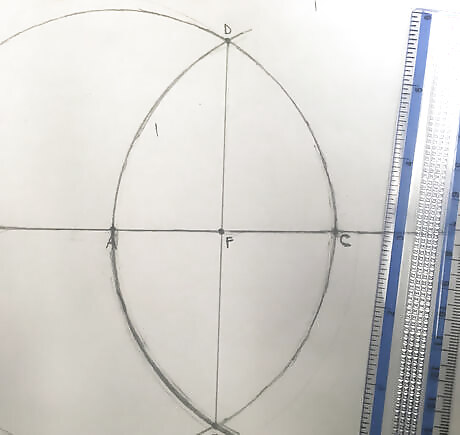
Use a pencil and ruler to draw the vertical line.
Find where the line segment DE intersects the line.
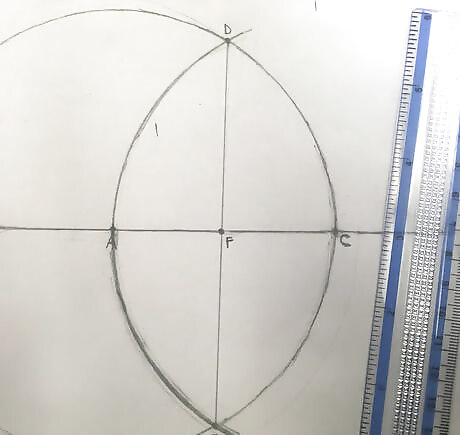
Call this point "F."
Twist your hand to create an arc intersecting line segment DE.
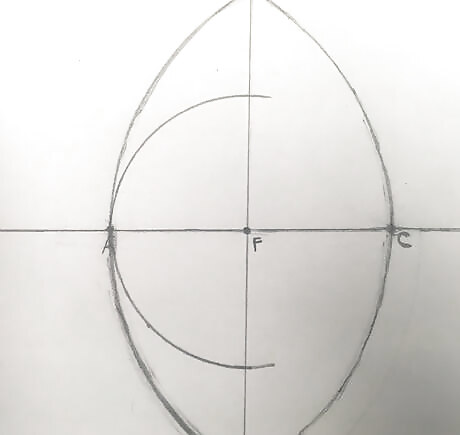
It should intersect at 2 points.
Label the intersection between points D and F point "G."
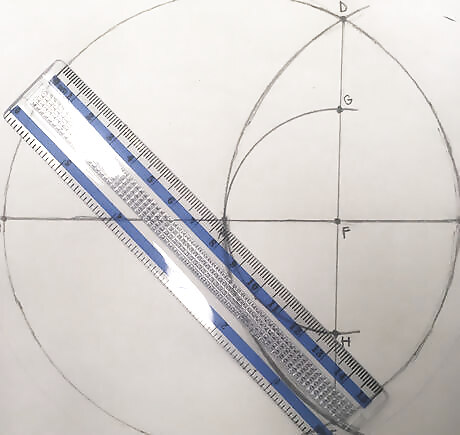
Label the intersection between F and E point "H". Then, place the ruler across the circle, lining it up next to points A and H.
Draw a diameter containing points A and H across the circle.
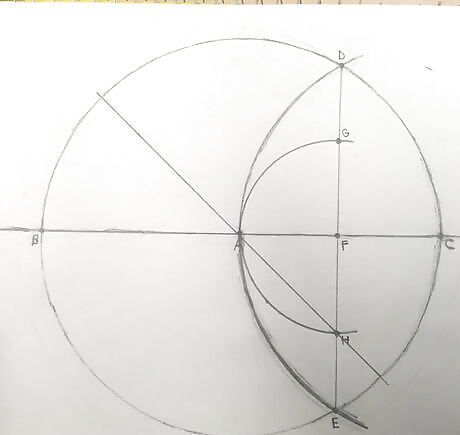
Make the diameter intersect the circle at 2 different points.
Align the ruler along points A and G.
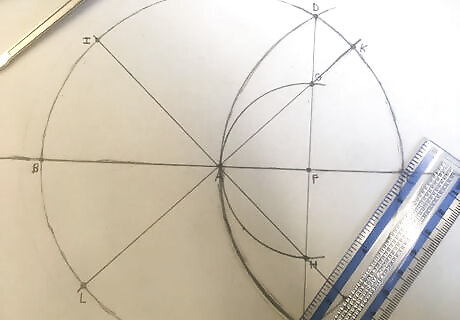
Draw a diameter containing points A and G. Make sure the line intersects the circle at 2 more points. Label the 2 new intersections as follows. The upper right most intersection should be called point K. The lower left most intersection should be called point L.
Twist to make an arc intersecting the circle at a new point.
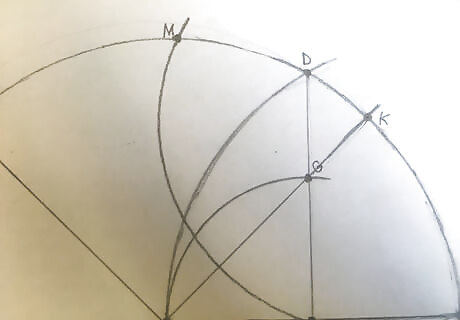
Call this new point M.
Twist counterclockwise to create an arc intersecting the circle at a new point.
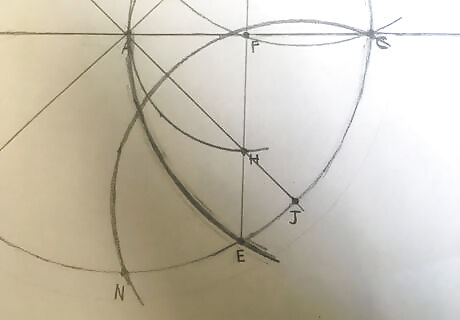
Call this new point N.
Line up the ruler against the points B and I.

These points are near the upper left of the circle.
Connect the 2 points with a line to make line segment BI.
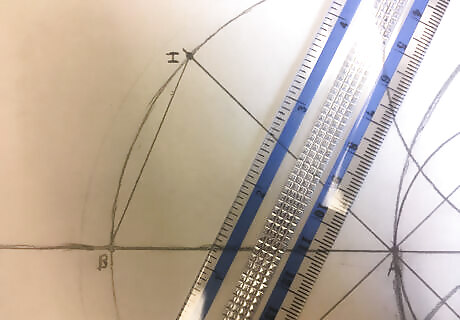
Repeat this step with the following points: Points I and M, creating line segment IM Points M and K, creating line segment MK Points K and C, creating line segment KC Points C and J, creating line segment CJ Points J and N, creating line segment JN Points N and L, creating line segment NL Finally points L and B, creating line segment LB
Look for your octagon.
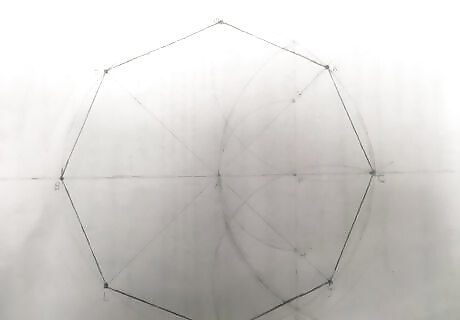
Your octagon should now look like this. You have successfully created an octagon using a compass and a straightedge. As you can see, this is why its better to use light marks. Otherwise, your drawing may have this hard-to-erase marks left over.


Comments
0 comment