views
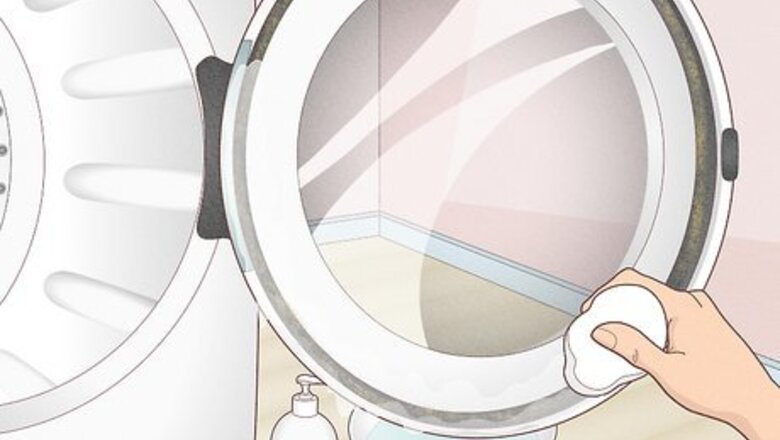
Wipe down the seal with soap and water.
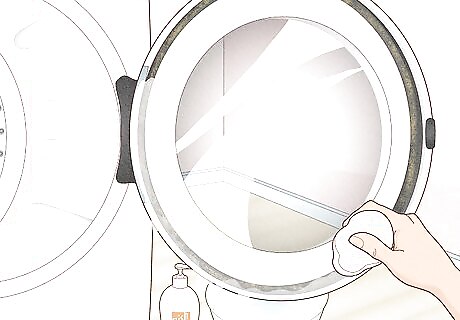
Gentle cleansers work for basic cleanup jobs. No matter what kind of seal or gasket you’re cleaning, this is a good option for tackling light dirt and grime. Add about 2 tablespoons (30 mL) of mild dish soap or laundry detergent to a bucket of warm water. Grab a soft rag or washcloth and dip it in the sudsy water, then wipe down the dirty seal. You can also use an all-purpose cleaner, but check the label to make sure it’s safe for use on rubber, silicone, or plastic. To keep mold, mildew, and bacteria from growing on the seal, always wipe it dry when you’re done. In addition to seals on household appliances, you can also use soap and water to clean the weather stripping around car doors and windows.
Use a gentle cloth or soft brush when cleaning seals.
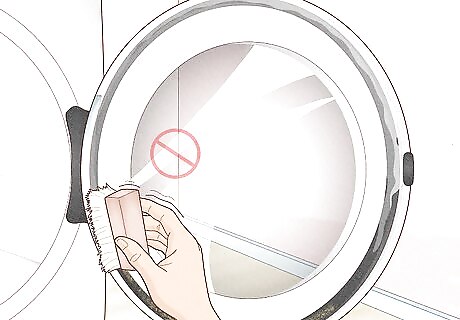
Avoid harsh or abrasive tools that could damage the rubber. Your seal will last longer if you’re gentle with it. Wipe down dirty seals with a microfiber cloth or gently scrub them with an old, soft-bristled toothbrush. Steer clear of harsher cleaning tools, like steel wool or stiff-bristle brushes. As you’re cleaning, take the opportunity to inspect the seal for signs of damage, such as cracks, tears, or holes.
Scrub stubborn stains with baking soda.
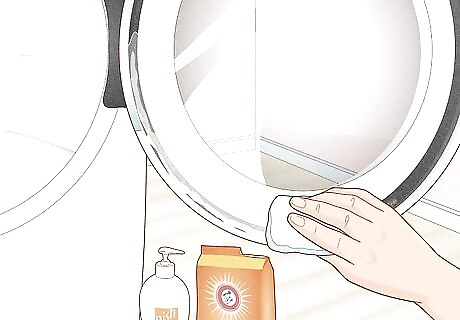
Baking soda is a gentle abrasive. It’s safe to use on rubber seals, such as the seals around washing machine doors. If your seal has set-in dirt that won’t come off with soap and water alone, try tackling it with a mixture of dish soap and baking soda. Combine 1/2 a cup (110 g) of baking soda with just enough dish soap to make a paste. Use a rag or soft brush to scrub the seal with it, then rinse it away with warm water when you’re done. Don’t forget to dry the seal with a clean towel when you’re finished!
Spritz moldy seals with an antimicrobial spray.
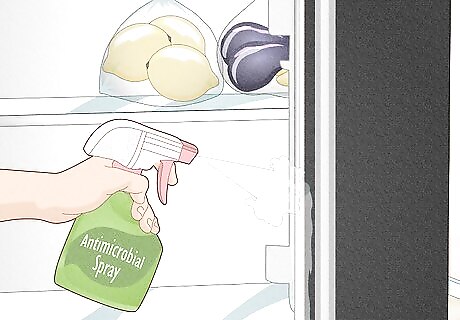
Seals can also be home to bacteria and other microbes. Dishwasher, washing machine, and refrigerator seals in particular are also breeding grounds for mold and mildew. If you notice obvious mold or a funky smell, spray the seal with an antimicrobial or anti-fungal disinfectant, then wipe it down with a damp cloth. Check the label on your antimicrobial cleaner to make sure it’s safe to use on rubber.
Check the manual before using vinegar or bleach.
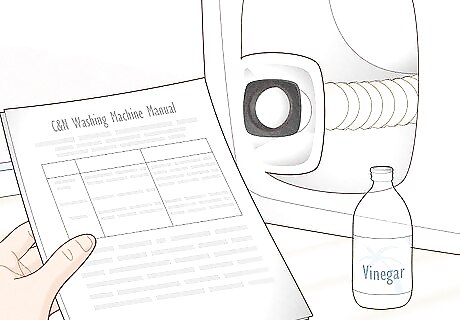
These chemicals can damage rubber. While many cleaning experts recommend using white vinegar or apple cider vinegar to clean rubber seals, others warn against it. The acids in vinegar can eventually break down the rubber seals, gaskets, and hoses in washing machines, dishwashers, and toilets, leading to leaks. Before using vinegar, check the manual that came with your appliance to find out if it’s safe. Be cautious using bleach, hydrogen peroxide, or other harsh chemicals. Not only can they potentially damage the seal, but they could also harm stainless steel surfaces in your washing machine or dishwasher. The seals in front-loading washing machines are often especially vulnerable to damage from vinegar. Never mix bleach with vinegar or other cleaning chemicals, since doing so could cause toxic gasses to form.
Clean cracks and crevices around the seal.
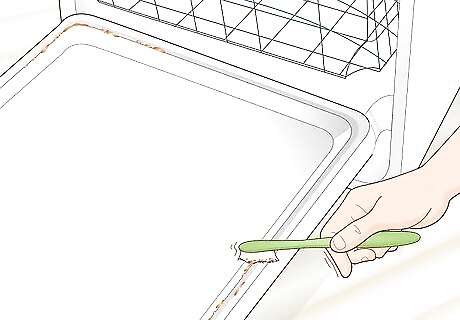
It’s easy for grime to build up in hard-to-reach spots. As you’re cleaning your rubber seal or gasket, make sure to wipe around and behind it as well. If you’re cleaning the seals on the door of your washing machine, take care to wipe away any lint or hair that’s collected under the seal. If you’re cleaning a dishwasher seal, look out for built-up food residue around the edges of the seal. A small toothbrush can be especially helpful for getting into hard-to-reach areas around the seal.
Wipe seals on household appliances dry after use.
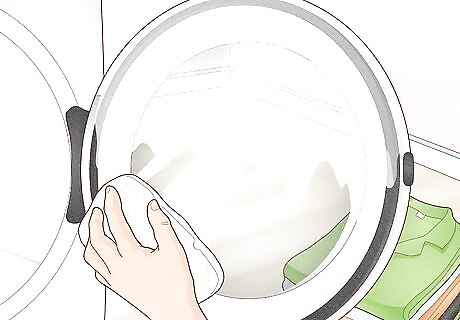
Lingering moisture encourages mold and mildew. As much as possible, try to keep rubber seals and gaskets dry. Any time you clean your washing machine or dishwasher, wipe the seal around the door with a clean, dry microfiber towel when you’re done. If possible, leave the door of your washing machine open after washing or using it so that the seals can air dry.
Treat car seals with a silicone lubricant after cleaning them.
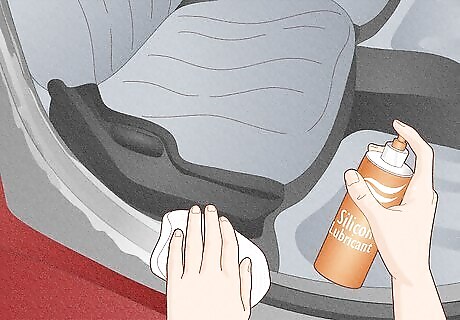
Get a heavy-duty spray silicone from your auto parts store. The silicone will help protect your seals and remove stubborn grime. Spray the lubricant on a soft rag and gently wipe it over all the seals. Wear rubber gloves to protect your hands when you work with silicone spray.
Wash your seals once a week.
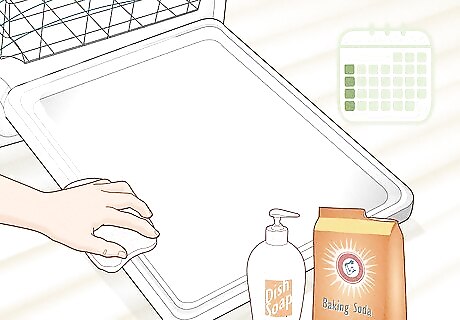
Frequent washing will keep your seals in good shape. When grime is allowed to build up, it becomes much harder to get it off. Lots of built-up dirt can also prevent your seal or gasket from working correctly. Wipe your seals down with a damp cloth often to save yourself more work later on.
Replace rubber seals and gaskets when they wear out.
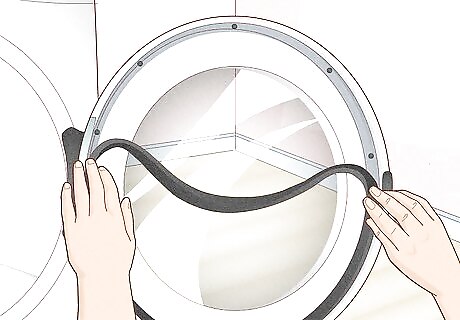
If your gasket isn’t making a tight seal, it’s time to get a new one. Unfortunately, most rubber seals degrade and stop working after a while, even with proper care. When you’re ready to replace an old seal, carefully peel off the seal, then clean the channel or groove behind it with soapy water and a soft brush. Follow the instructions on the package to install your new seal. You may be able to buy a replacement seal from the company that made your appliance. It may be time to replace the seal if you notice leaks (e.g., from around the door of a washing machine or dishwasher) or if the door of your appliance no longer stays closed properly. Check your seals occasionally for tears, cracks, and holes. If you notice this type of damage, it’s time to replace the seal.




Comments
0 comment