views
Finding the Right Shirt to Wear
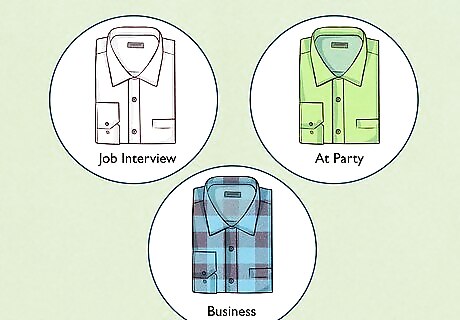
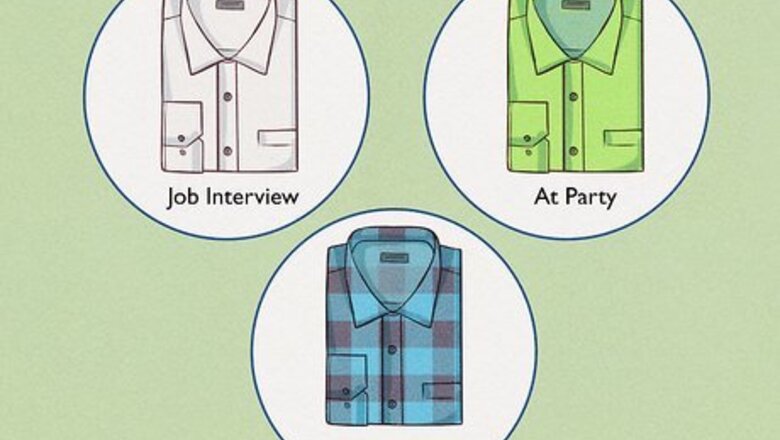
Pick the color of your shirt. Different colors are better suited for particular engagements, jobs, etc. If you have a high-level business position, you will want to wear a different color than if you are participating in a casual, social gathering. For a job interview, the traditional choices are conservative colors. White is the preferred color among business types. Off white, light gray, or light blue are also safe colors to choose from. First impressions at job interviews are key, so you will want to look professional without making a "splash." If you are looking to project a more lively image at a party or bar, choose bright or unconventional colors. Bright greens and oranges are relatively popular, as is pink. While you might not want to turn off the people you are hanging out with, you do want to stand out among the crowd. Most people work in business casual situations. These often require people to "dress up" while not being so formal. Plaid options are generally best here; shirts mixing together two or three colors which blend well together (such as blue, green and gray).
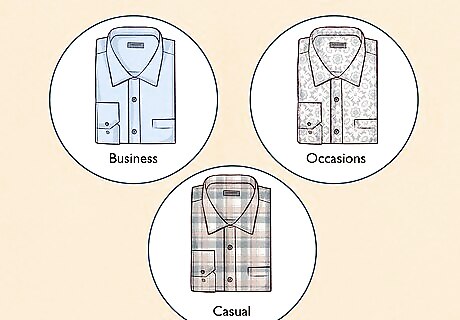
Pick the pattern of your shirt. Solid colors are considered wardrobe staples because they are easiest to match, but you might consider choosing subtle stripes or a plaid pattern. Different patterns are more appropriate for particular circumstances. Solid shirts are versatile in that you can wear virtually any tie with them (solid or patterned). If you have a high-level business position, or are going out on a date, solid colors like white, black, gray, or light blue are most appropriate. If you don't have any dress shirts, this is a good place to start. Patterned shirts are more appropriate for more casual occasions and more laid-back office settings. While thick, bold colored plaid shirts are better for casual settings, there are some exceptions to the rule. Shirts with subtle stripes, or pinstripes, can be worn in higher-level circumstances like office work, or going to a funeral/wedding. If you are planning on wearing a patterned tie, wear a solid color shirt. When ties and shirts are both patterned, the outfit can become gaudy and distracting.
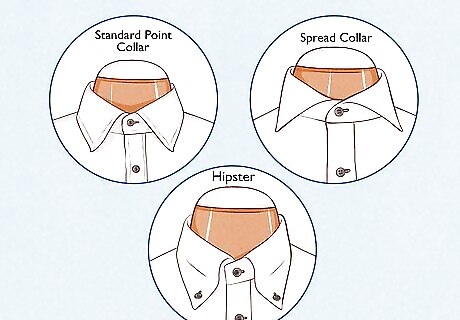
Pick the collar of your shirt. The two major types of collars are point (standard) and spread collars. Each of these collars creates a different effect, and are designed for different shaped bodies. A standard point collar is the most common type of collar (95%) where the collar edges point downward at a 60 degree angle, and there is little space between the section where the collar meets. Standard collars are designed to help elongate a face that is more rounded, drawing the viewer's eyes downward. A spread collar is a bit more modern and is considered by some to be youthful and lively. The points of the collar have been "cut away," the collars point downward at 90 degree angles, and there is more space between the section where the collar meets. This collar keeps the viewer's eyes on the face of the person wearing the shirt. Persons with longer faces can use this collar to create the effect of having a more rounded face. If you want to showcase more of the upper part of your tie, spread collars are a great option. The "hipster" look also takes advantage of the spread collar. However, most standard department stores only carry the standard collar. If you want to buy a shirt with a spread collar, look for stores that function solely as clothing stores such as J.Crew and Men's Warehouse.
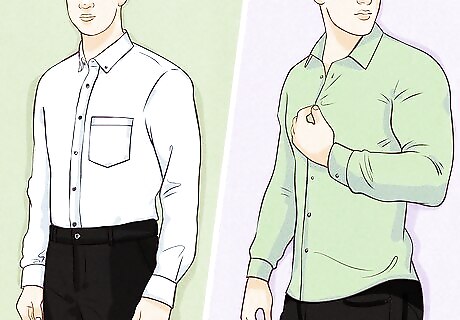
Pick the fit of your shirt. The three major types of fits for dress shirts are slim, athletic, and broad (traditional). Each of these different fits are meant for persons with different bodies shapes, sizes, and preferences. Put the shirt on and tuck it in. With a few fingers, tug at the sides and the back of the shirt. Feel how much fabric is in excess, if any at all. A slim fit or tailored fit dress shirt is slightly tighter around the chest and sides. There is almost no excess fabric around the back and sides. This type of fit is great for persons who are skinny, or for those who are going for a more modern look. Athletic cut shirts have a full chest (traditional amount of fabric) but are tapered at the waist. Persons who work out tend to have problems finding dress shirts that allow room for their more muscular chest and arms. Athletic fit shirts give you that room, while also lacking much of the excess fabric in traditional fit shirts. Broad fit shirts have the traditional amount of fabric which tends to hang out after you have tucked your shirt in. These shirts give the person more breathing room, and make it easier to walk/move around. Often times, persons who are bigger in size tend to find these shirts to their liking.
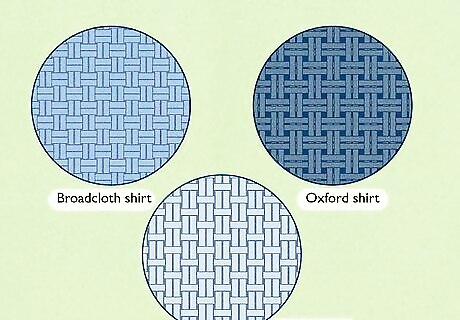
Pick the weave of your shirt. The weave of a dress shirt is a combination of thickness in thread, and how tight those threads are woven together. The four major types of weaves are broadcloth, oxford, pinpoint, and twill. These can be hard to detect by yourself without a professional. If you have a magnifying glass, you will be able to see the weave stitch. Otherwise, ask a professional to tell you what the weave of a particular shirt is. Broadcloth shirts have thin yarn woven tightly together. These are smooth in texture and have a crisp appearance. Broadcloth shirts are generally worn at professional gatherings, and at high-level places of business. Oxford shirts have a "basket" weave; one where the yarns are woven vertically and horizontally, crossing one another. These shirts are generally cheaper because of the yarn that is used. Oxford shirts can be used in more formal settings, or going to a semi-formal party/gathering. Pinpoint shirts also use a "basket" weave but are woven together with finer yarn than oxford shirts. These shirts are generally heavier that broadcloth shirts. These can be used for both formal settings, and going out to bars/dinner. Twill shirts have a "diagonal ribbing" pattern. These shirts are softer and yet heavier to the touch. They wrinkle less than most other shirts, but are hard to get stains out of. Twill shirts can be used for both formal and informal gatherings
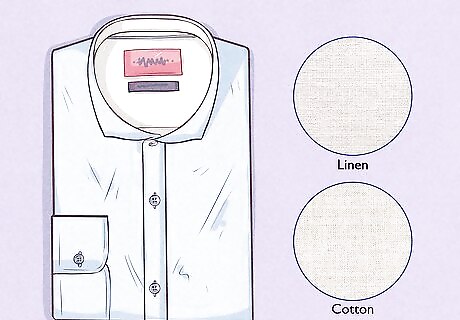
Pick the fabric of your shirt. Cotton or linen are the most common types of fabrics used for dress shirts. Each is used for different purposes and create very different feelings against your skin. Linen is a very strong fiber, can absorb liquid at a rate of 20%, and allow for air to move easily. Linen is crisper than cotton, and becomes softer through the handling of the fabric. Because linen shirts retain heat, they are more appropriate for the fall and winter months. These shirts are used for more informal settings such as a party, or going outside. Cotton is a strong fiber as well, with a liquid absorbency rate of 25%, and is very soft. These can be used in all seasons, and are more appropriate for formal settings such as a place of business. Check the tag of the shirt to find out if it is 100% cotton. If it is not, there are generally polyester threads mixed in. Some people can have very serious allergic reactions, and for that you should see Part 2 Step 2, and the warnings at the bottom of this article.
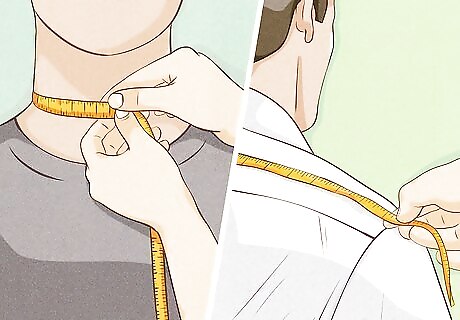
Measure and determine your neck size and sleeve length. If you are shopping at a retailer, most salespeople can help you find your neck size and sleeve length by using measuring tape. The chart below displays a guideline for common neck sizes and approximate sleeve lengths, determined by normal shirt size. If you have your own soft, fabric measuring ruler, you can measure the length of your sleeves and size of your neck before you go in to buy a shirt. It is generally better to do this with a friend or relative. To measure your neck size, stand upright. Have a friend pull the measuring tape around your neck at the level of your Adam's apple (make sure your friend does not choke you). Your friend, or yourself, should be able to fit two fingers comfortably between your neck and the measuring tape. Write down the number in inches, as most clothing stores uses inches as a standard measuring formula. To measure your sleeve length, stand upright. Place your hand on your hip, so that your elbow/arm is bent at a 90 degree angle. Have a friend measure from the center back of your neck, down your shoulder, along the arm, all the down to your wrist. Write this number down in inches as well. For further instruction on this, you can visit Measure Your Neck Size and Sleeve Length. Shirt Size Neck Size Sleeve Length Small 14 - 14 ½ 32 - 33 Medium 15 - 15 ½ 32 - 33 Large 16 - 16 ½ 34 - 35 X-Large 17 - 17 ½ 34 - 35 XX-Large 18 - 18 ½ 35 - 36
Inspecting the Quality of Your Shirt
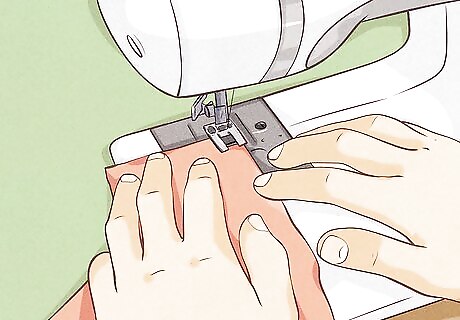
Determine whether the stitching has been hand sewn. Irregular stitching generally indicates high quality. Machine sewn fabrics will have uniform stitch lines. Inspect the seam running down the side of the shirt. A high-quality garment has only one line of stitching visible on the side seam, while most shirts have two visible rows of stitches. Also check whether or not the stitches are uniformly distant from one another, or the pattern is irregular. Another thing to check are the buttons running down the front of the shirt. Generally speaking, buttons sewn on by a machine will be loose, or some of the thread might already be coming undone. Another thing to check is the button holes themselves. Make sure the stitching of the button holes are bound tightly together. In each case, use your fingers to grab at the stitch line of the shirt, or one of the buttons/button holes. Gently tug, twist, and move it up and down. If you already feel as if the stitches are about to come undone, or that they are loose, you will want to stay away from that shirt.
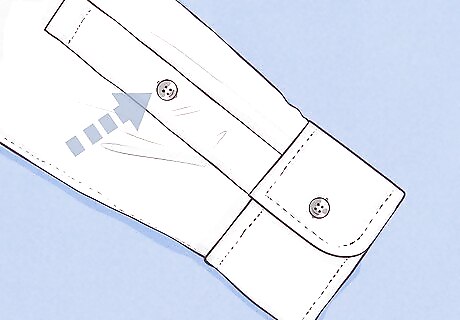
Look for gauntlet buttons, a few inches up past the cuffs of your shirt. This button is usually not there in lesser quality shirts. The gauntlet button allows for the use of less fabric, and a tighter fit for a person wearing the shirt. Gauntlet buttons make it easier for you to roll up/down your sleeves when you feel it is appropriate. Shirts with gauntlet buttons would be great to wear on a hot summer day, where you can roll the sleeves up and enjoy the outdoors more comfortably. Cheaper, or lesser quality shirts might have the gap in fabric, but no gauntlet button. If you cannot afford a higher priced shirt, you can always attach a simple basic button to the area where the gauntlet button should be. How to Sew a Button
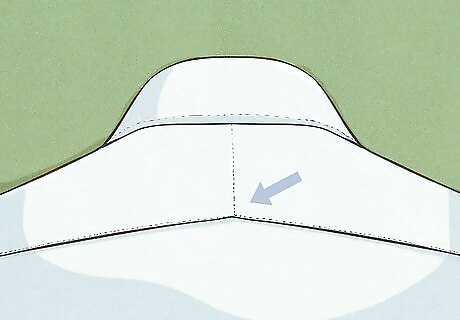
Inspect the back of the shirt for a "split yoke." The yoke of the shirt is the panel of fabric which runs along the back of your shirt, near your shoulders. A "split yoke" will have two pieces of fabric sewn together on an angle, rather than one singular piece of fabric. Turn your shirt around so you are looking at the back of it. At, or near, the shoulder area you should find a rectangular shape of fabric stitched into the shirt. If the center of this piece of fabric has stitching, and comes upward at an angle, your shirt has a "split yoke." The "split yoke" shirt design shows a level of higher quality. If your shirt is striped, there is an added benefit to having a "split yoke" shirt: the stripes will run parallel to the "yoke" seam, creating a more crisp look. "Split yoke" shirts also give the person more room to move around in. This is because the stretches more length wise, towards your shoulders.
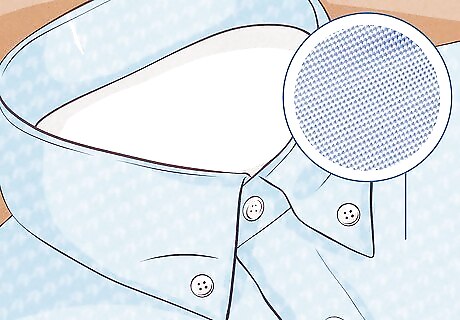
Check the ply count of the shirt. Ply count is how many different yarns are sewn together to make the threads used for the shirt fabric. This can sometimes be found on the shirt label. Single-ply shirts are more softer textured and delicate. Two-ply shirts are more tough, but weigh more. Thread count (amount of threads per square inch) is also important. For example, if you buy a two-ply shirt, you will want around a 120 thread count. When the thread count starts to rise, especially for two and three-ply shirts, the shirt can become bulky, and uncomfortable. This can be found simply by looking on the tag of the shirt, or asking a clothing professional in a store. Single-ply shirts are great for more moderate, to warm temperate zones. Two-ply shirts are generally better for breezier, and colder areas. Finer dress shirts are made of two-ply instead of single-ply.
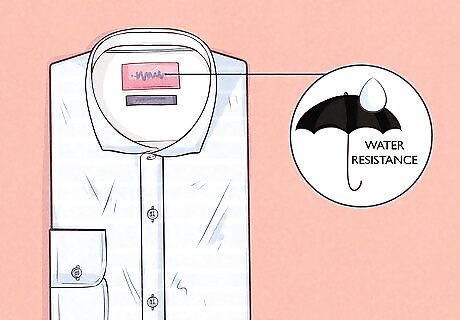
Look for additives in your shirt. Shirts that are wrinkle-free, perspiration proof, shrinkage free, or water resistant are all laced with special chemical agents (see the next step for potential allergic reactions). Each of these can change the quality and feel of the shirt. Check the tag of the shirt to see whether there is a notice about any added chemicals, or special ability (such as water resistant) of the shirt. If the tag does not contain this information, make sure to check with a clothing professional before you buy the shirt. Wrinkle-free shirts have a mixed record when it comes to actually being wrinkle-free. While in general the wrinkle-free shirts do have less wrinkles in them, the shirts are looser around the body. This is because the chemical agent added to the shirt changes the nature of the fabric. Shirts that do not contain this chemical are better suited for business jobs, as they fit better, and present a more crisp look. Wrinkle-free clothes are better for a more casual setting. Perspiration proof, water resistant, and shrinkage free shirts also contain chemicals which alter the fabric of the shirt. Once more, there also mixed reports about their ability to combat such problems. The only way to find out if they actually work is to test them. Working out in them, spilling water on them, or washing them can tell whether the shirts are what they claim to be.
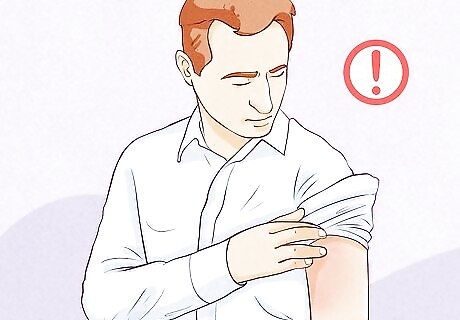
Look for any potential allergic reactions. Chemicals, added agents, or fabrics made with two or more different cloths can sometimes cause people to have an allergic reaction. Sometimes this information is added to the tag of the shirt, but you should also ask a professional. Check with your doctor that your list of known allergens that you have bad reactions to is up to date. Ask your doctor whether he or she has any advice/medical fix to your allergies. Any shirt that is created with a synthetic fabric can be laced with chemicals and dyes that are impossible to wash out. Almost all dress shirts are treated with some type of chemical before they are shipped out of the factory. Wrinkle-free, perspiration proof, and anti-shrinkage shirts all have the potential to contain some sort of chemical or dye. Make sure to check the tag on the shirt, and ask a professional for help. Beyond asking a clothing professional for help, you can do some things on your own to check. Make sure to smell the shirt before you buy it. Sometimes shirts can get mixed up, or thrown in with other items that might be harmful to you. You can also gently scratch at the surface of the shirt to see if the shirt has been polluted or contaminated in any way.
Ensuring Your Shirt Fits Well
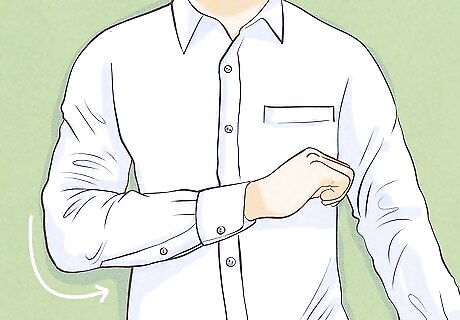
Bend your arm while you stand up straight. Your sleeves should be long enough so that the cuffs do not ride up your wrist when you move your arm. The cuffs of the shirt should also not go past the first inch of your hand. You can use a ruler to measure whether there is too much extra sleeve length, and how much the shirt needs to be taken in.
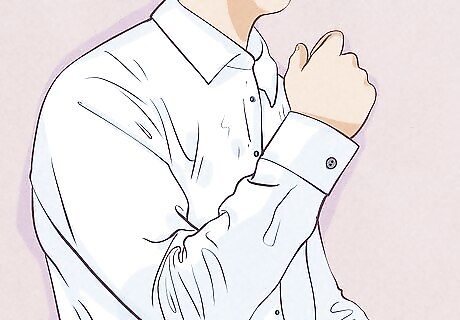
Check that the cuffs are snug. They should not hang over your hand. You should not be able to slip into shirt sleeves without first undoing buttons on the cuff. Run two fingers underneath the cuffs. If two fingers can fit comfortably under the cuff, then they are too large.
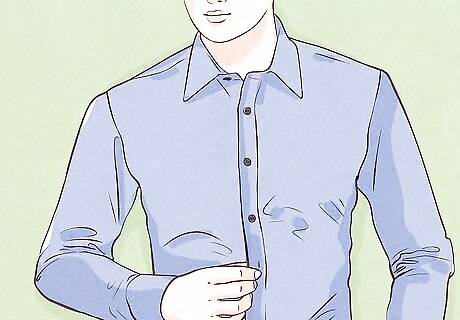
Inspect the buttons. They should be well-placed, with no gaping holes exposing your chest. Slip your four fingers and thump between each button. If your hand slides through, the buttons are too far apart.
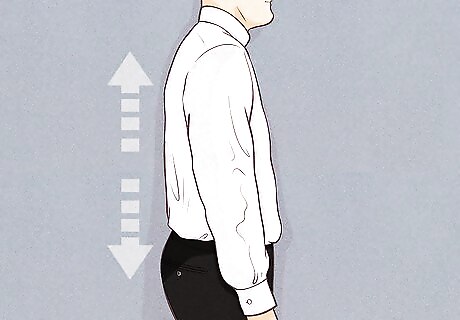
Make sure the shirt pulls comfortably across the chest or waist. Breath in and out naturally, to see whether or not there is enough loose fabric. Keep your legs straight, as you slowly move your upper body forwards and backwards. If the shirt is cutting at your chest, you will want a shirt with a tad bit more fabric.
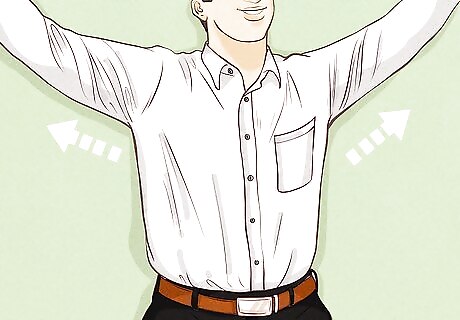
Raise your arms. Check that shirt tails do not come out of your pants. Bend your upper body sideways and backwards. If your shirt slips out of your pants, this can be embarrassing in the future. Also make sure to check your belt, and make sure it is tight enough to hold your shirt in.
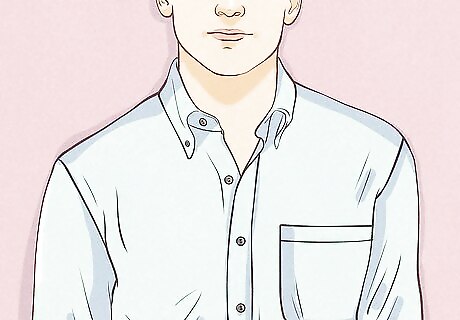
Button the dress shirt to the top. You should be able to slide two or three fingers between your neck and collar. Slide them from side to side, all the way around your neck. Make sure that while wearing your breathing is not becoming elevated. You will want to be able to breathe naturally and comfortably.









Comments
0 comment