views

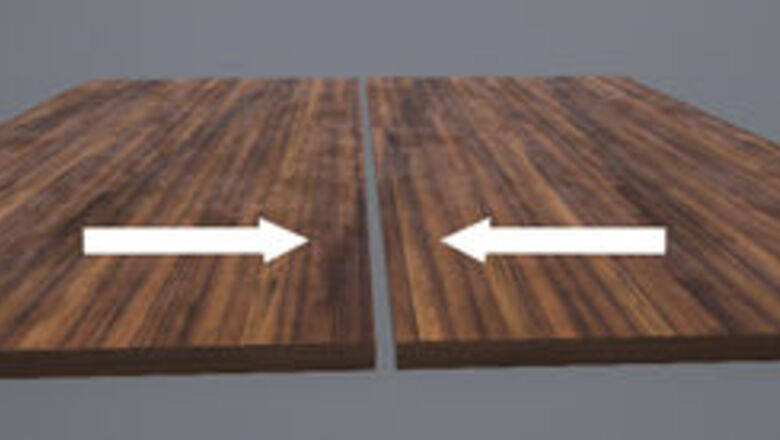
Place the first set of plywood boards on a solid, flat surface. Make sure that the boards are laid next to each other with the long part of the boards butted up. Choose an area that has enough space for the platform which will be 8' x 8' once assembled to be flipped several times. Materials needed for this step: Two plywood 4' x 8' boards
Place the second set of plywood boards on top of the first set. The difference in this step is that you want to lay them in the alternate direction of the first set.(see image) Goal here is to create structural integrity once the four boards are all screwed in together. Before proceeding to the next step, ensure that all edges of the now square platform are flush with each other and the platform is perfectly square. Materials needed for this step: Two plywood 4' x 8' boards
Use the package of 1 1/2 screws for this step. Proceed by driving in screws at a distance of up to twelve inches apart from each other around the entire circumference of the platform, one inch from the edge(see image). For further structural integrity, drive some 1 1/2 inch screws in along the center seam of the platform. Take care not to over drill the screws as they may protrude out the other end.
Have two people ready––this step requires two people. Flip the assembled platform base over onto the other side. The next steps involve cutting, assembling and screwing down the rubber mats to the edges of your platform to create a bumper barrier for your weights to hit after a completed set.
With the tape measure, straight edge and utility knife, cut the rubber mats into four 2' x 4' sections (see image). It is of paramount importance to make these cuts as straight as possible in order for the finished product to look the best.
Place two 2' x 4' cuts of rubber mat on each side of the platform(see image 6a). Next, place the finished nice piece of wood in the middle to check for fit(see image 6b). Note that it's best to place the factory cut edges of the rubber mats up against the finished wood piece in the middle. This ensures the best looking fit between them and virtually no seam between the rubber and the wood edges.
Attach. Once the center board and the rubber mats have been positioned it's time to attach the rubber mats. With help, ensure that the mats and center board don't slide while you are driving the screws into the mats. Also note that it's important to place the screws in positions close to the edge of the mats to ensure that the area where the weights will hit the mat is unobstructed(see image). Make sure to not screw in the center board at this point!
Remove the nice board from the center and place it on the ground in front of the almost complete platform. Flip the platform over one more time on top of the center board and shimmy the nice top board (now underneath the platform) until it's perfectly flush with the edges of the platform which now is on top.
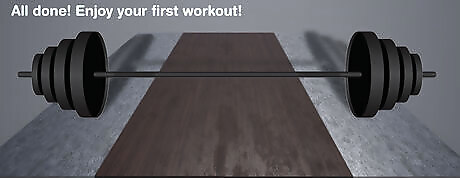
Making sure that the nice top board is flush with the rest of the platform, drill in some screws through the bottom of the platform. Reason this was done was to make the center board where your feet go look really clean and not have any screw heads on the surface. Once done, flip the platform over one more final time and admire your completed project.

All done! See tips section for further useful information.


Comments
0 comment