views
Getting Your Turtles Ready to Breed
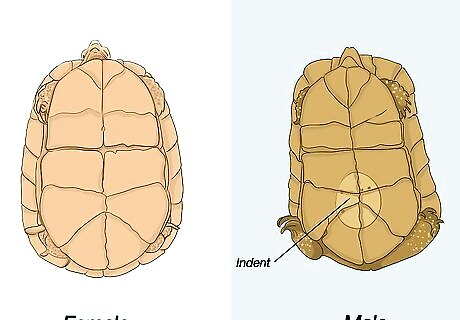
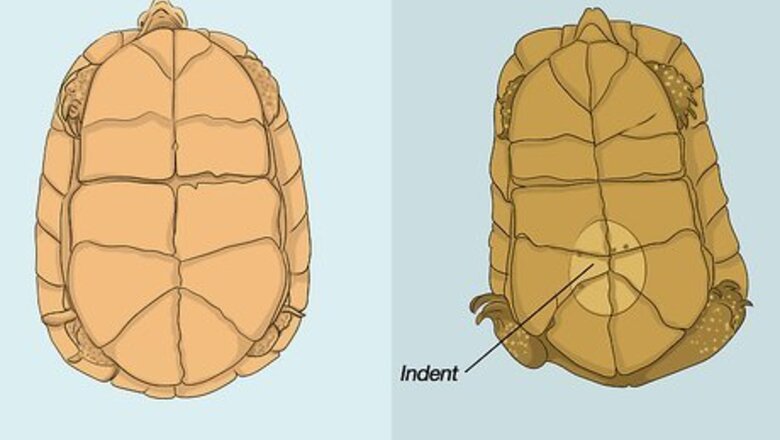
Be sure you have a male and a female turtle. Typically, a male turtle will be more colorful and more outgoing than a female. Males have a flat or concave plastron (bottom shell), and females have a flat or convex plastron, which allows more space for eggs. Females will also almost always be larger. Among water turtles, size is also a good indicator: males are smaller than their female counterparts. Also, male sliders have long claws on their front legs. When it comes to box turtles, males generally have bigger, fatter tails, and a vent (cloaca) that's further from the shell than the female's.
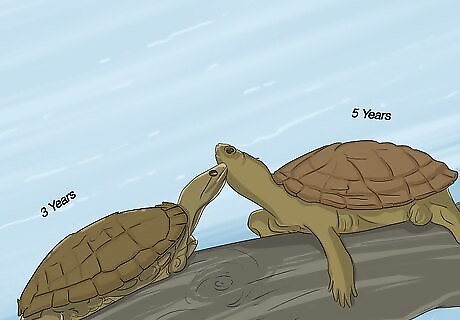
Be sure your turtles are sexually mature. Turtles are not able to breed until they've reached sexual maturity. When it comes to water turtles, males should be at least three years old, and females need to be about five years old. Neither male nor female box turtles will breed before they're at least five years old. Don't plan to breed a recently acquired turtle. Wait at least a year.
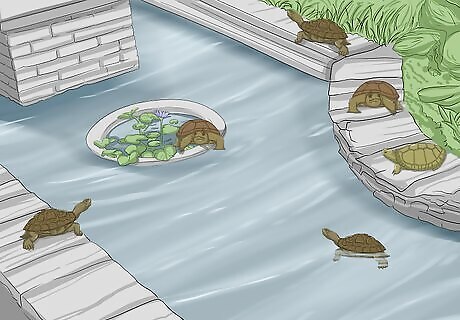
Cool your turtles. To increase the chances for successful breeding, it's suggested that you cool your turtles. Nesting season can run from March through June, so the cooling period actually needs to take place January into February for water turtles and December through February for box turtles. Keep turtles at a temperature between 50 and 60 degrees Fahrenheit for six to eight weeks for water turtles and eight to 12 weeks for box turtles. Leave the turtles alone during this period. You can make food available, but they'll eat little or nothing at all. If your turtles live in an outdoor pond, you can take advantage of the natural cooling that wintertime offers and allow them to hibernate. After the cooling period has ended, return your turtles' habitat to its regular temperature.
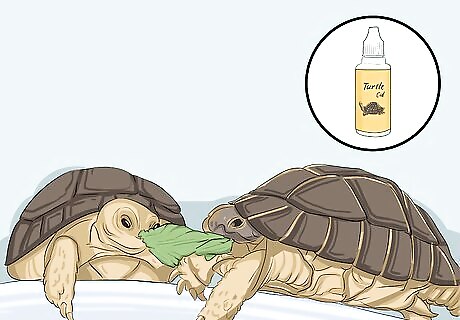
Feed your turtles well. It's particularly important that your turtles eat well during the breeding season. In addition to their regular diet, be sure the females get enough calcium and Vitamin D3. A healthy diet for a water turtle will contain some combination of: earthworms, snails, well-washed butter lettuce, melon, bananas, strawberries, blueberries, vegetable scraps, peas, tomatoes, cooked sweet potatoes, dandelion flowers and leaves and mulberry leaves. A box turtle has the same basic diet as a water turtle, but the menu could also include whole feeder goldfish, crickets, kale, boiled egg, corn on the cob, chopped and steamed broccoli and lots of green leafy vegetables. You can meet your turtles' need for calcium but putting a Cuttle fish bone to be nibbled on in the their habitat, or you can feed them calcium supplements. Turtles that are kept outdoors don't need additional Vitamin D3; they make plenty of their own. But indoor turtles need exposure to a full spectrum reptile light or a D3 supplement.
Creating Optimal Breeding Conditions
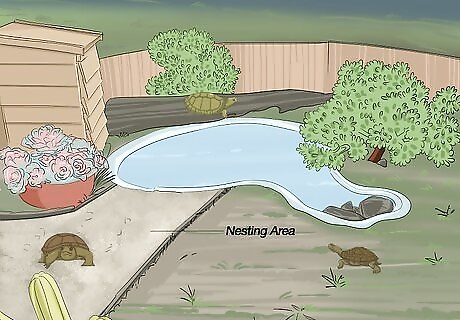
Give your turtles some space. There's not much you can do to try to get your turtles to mate. You simply have to put your sexually mature turtles together and let nature take it's course. It is important, though, that they have room to move around freely. Give them plenty of space and create a nesting area (see below) where female turtles can lay their eggs. If you have several different species of turtles, consider separating the smaller from the larger during mating season as some turtles become more aggressive during this time, and larger turtles can bite the heads off of smaller breeds.
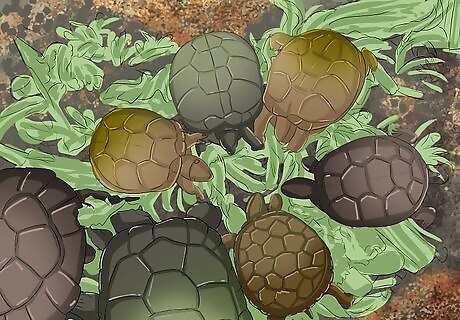
Check your male to female ratio. It may be in the best interest of your turtles to be sure you have more females than males. Sexually motivated males can make such great demands on females that their health will suffer. Males may also fight with one another over a female. When your turtles are done mating, remove the males or they might constantly bug the females.
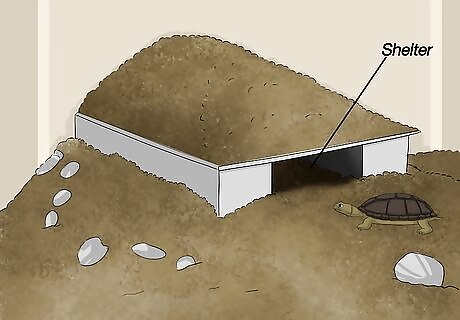
Create a nesting area. Provide an area for the females to lay eggs that has shelter and soft soil. This area should have 6" to 12" of soft, slightly moist soil as well as some rocks and logs so the female will feel safe laying and hiding her eggs there. If you already have an outdoor pen for your turtles, create the area within your established pen. If you're putting your turtles in a larger area just for mating, you can create a nesting area in a box and make it easily accessible to your turtles. Most water turtles lay several clutches, each containing between two and 10 eggs. Laying usually takes 24-48 hours per clutch, and a few weeks will pass between clutches.
Caring for Turtle Eggs
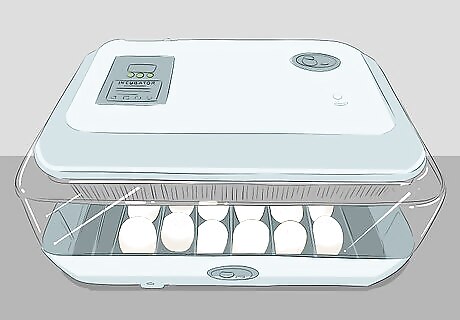
Purchase an incubator. You can buy an inexpensive incubator to house your turtle eggs. What's important is the temperature control an incubator provides. Be sure to use the thermometer that comes with your incubator or purchase a thermometer to monitor temperature. You do not have to have an incubator to hatch turtle eggs. Keeping them at normal summer room temperatures should do. On particularly hot days, move them to a cooler spot and be sure the eggs are moist. Do not put them in the sun; you'll risk overheating. If you're not using an incubator, be sure to put the nest(see below) somewhere you'll see it and not forget about it.
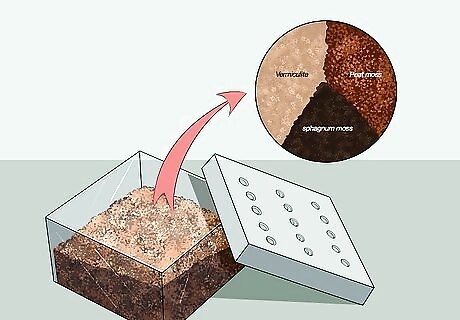
Create a nest. The nest for your turtle eggs will sit inside your incubator. It's very simple to make one with a container you may already have at home and a few things from the garden supply store. Container. Find a sturdy container with a lid and punch air holes in the lid. Simple take-out containers from the deli and plastic containers you may have in your kitchen can make perfectly good nests. Be sure the lids you use are not too tight. If the lids are hard to open, you can end up jarring the delicate eggs when you check on them. Loosely set the lids on the containers until it gets closer to the time for the turtle eggs to hatch. As hatching time arrives, tighten the lids enough to contain the babies. It's important to use lids so that the incubator heat source does not overheat the eggs. Nesting material. To your container, add a mixture of one part vermiculite, one part peat moss and one part sphagnum moss. Soak the mixture and squeeze out the excess water. Vermiculite, peat moss and sphagnum are usually easy to find at garden supply stores and some hardware stores. If you can't find all three, you should be fine creating a mixture of water and only one or two of the materials.
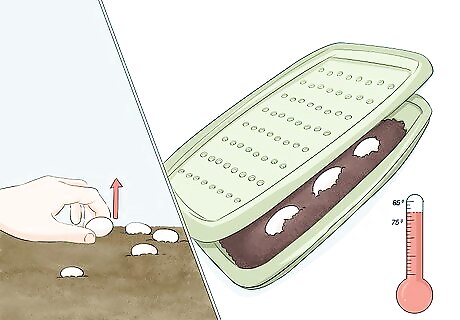
Incubate the eggs. Once the female has laid her eggs, pick them up very carefully. Do not turn them over or you will kill the embryo. Make small depressions in the vermiculite mixture and gently position the eggs inside. Keep the lid on and the temperature between 75 degrees and 85 degrees. Use a magic marker or a piece of charcoal to mark the tops of the eggs so that you don't accidentally turn them over. If eggs stick together when you pick them up, try very gently to separate them. If they don't come apart easily, leave them alone.
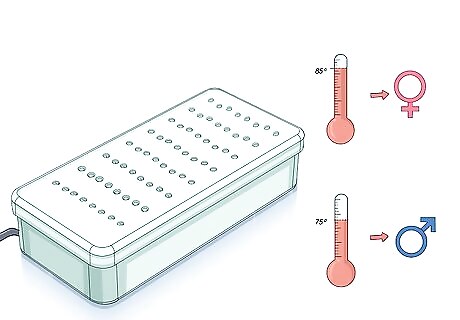
Find out what determines the sex of your turtle. For many turtles, the sex of the hatchlings is determined by temperature not genetics. In those cases, higher temperatures (maximum 85 degrees) will yield mostly females. Eggs incubated slowly in temperatures around 75 degrees will yield mostly males. An incubation temperature of about 80 degrees will yield an equal number of males and females. Avoid letting your incubator temperature reach into the 90s; the eggs will spoil and the hatchlings will die. It's better to allow the eggs to incubate slowly than to risk killing your turtles.
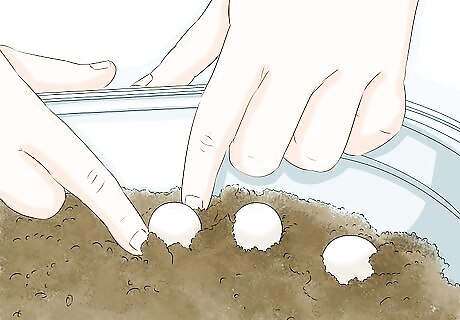
Check the eggs. For the first month and a half, plan to check your eggs once a week. You want to make sure they're moist but not moldy or deteriorating. After 45 days, check them more frequently to see if they're hatching. Do not try to hurry things along. A baby turtle has what's called an "egg tooth" that it uses to break open its shell and is perfectly capable of hatching on its own. If mold does appear on your eggs, gently wipe it off with a cotton swab. Never pick the eggs up to clean them; they are particularly fragile once the babies begin developing inside. Depending on the temperature of your incubator, turtles typically will hatch in 50 to 120 days.
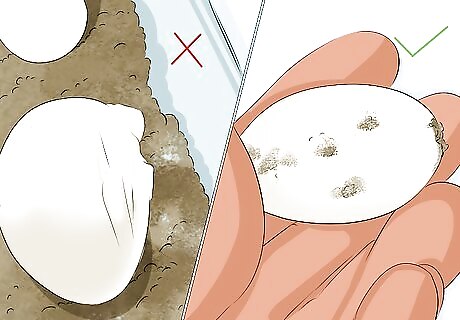
Discard bad eggs. Once one turtle hatches, the others should soon follow. Give eggs that don't hatch plenty of time, but know that you may have to discard some eggs that have gone bad or simply never hatch. An egg could have some dents but be perfectly fine. Other times, an egg will look perfect, but has been leaking out the bottom and is no good. If an egg collapses, it's bad. At about four to six months in, examine any eggs that remain and come to a decision about discarding them.
Handling Hatchlings
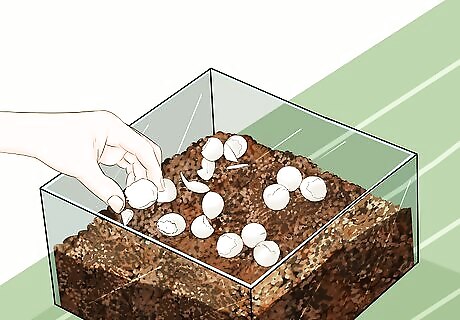
Remove the shells. Once your turtles have hatched, remove the empty pieces of shell so that they don't contaminate the container for those turtles who have yet to hatch.
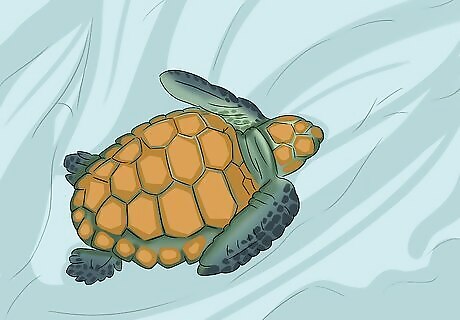
Relocate your hatchlings. A turtle may lie in its eggshell for several days after breaking it open. During this time, it's absorbing the last of the egg yolk sack attached to its belly. Place your hatched turtles on a moist paper towel in a new container outside the incubator. Keep them here for several days until they've fully absorbed the yolk sack. Once they have, move them to a vivarium or give them a home in a pan of shallow water.
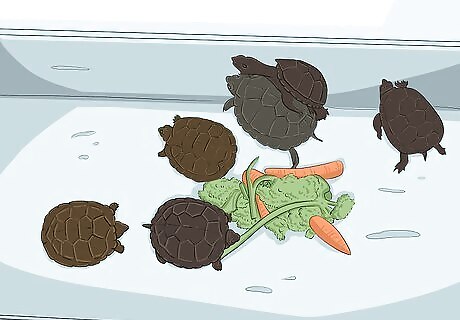
Feed them. Feed young turtles at least once a day. Hatchlings are mostly carnivorous but be sure to offer them some fruits and vegetables. People have successfully raised baby turtles on and almost exclusive diet of the commercially available food Reptomin. An excess of protein in a baby turtle's diet will cause its shell to deform. If you make this mistake, catch and correct it as soon as possible, and your young turtle will be fine. Unfortunately, once your turtle gets bigger, the deformity will be permanent and cause the turtle a lot of discomfort.
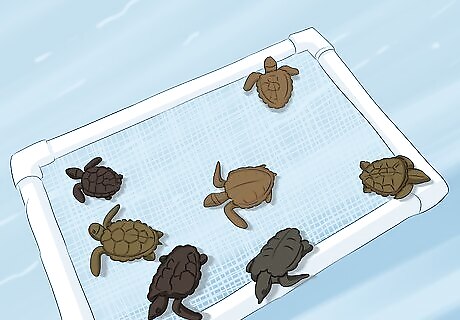
Be prepared for failure. Even with the very best of care, a significant number of captive-bred hatchlings also will not survive their first year. In nature, many young turtles don't survive, and the same is true for turtles bred in captivity. Enjoy the process, and, if you've done your best, don't blame yourself if eggs don't hatch or babies die.


Comments
0 comment