
Installing Fonts
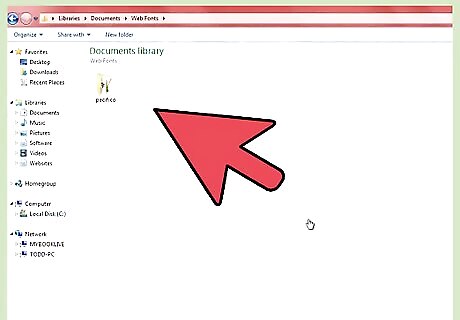
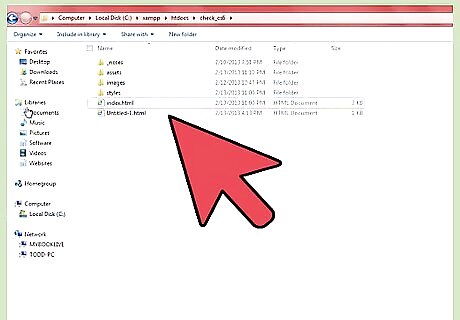
Open the folder containing the font that you have downloaded.
Go to the Windows Start menu and click on Control Panel.
Switch to Classic View (the option is available on the left sidebar).
Double-click on the Fonts folder.
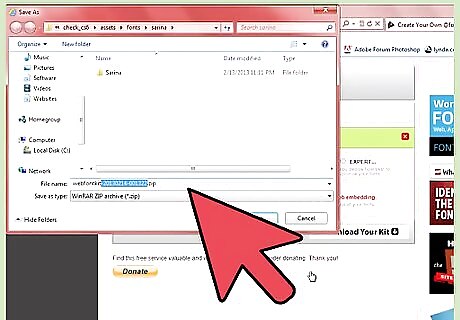
Drag the font file that you had downloaded and drop it into the Fonts folder. The font is now installed on your computer.
Adding Fonts in Dreamweaver
Open the Macromedia Dreamweaver software.
Select "Text" in the top menu.
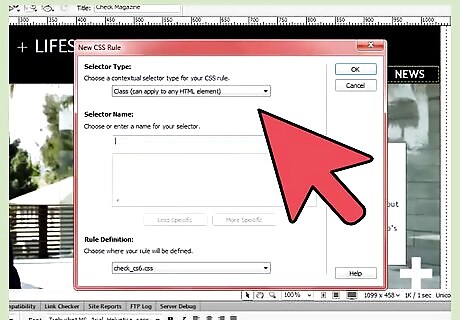
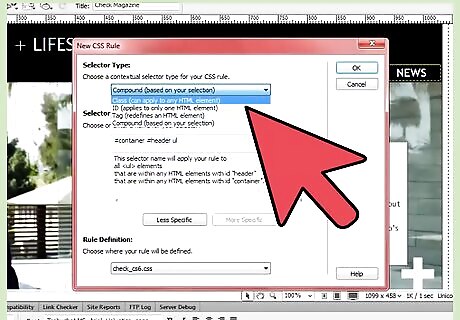
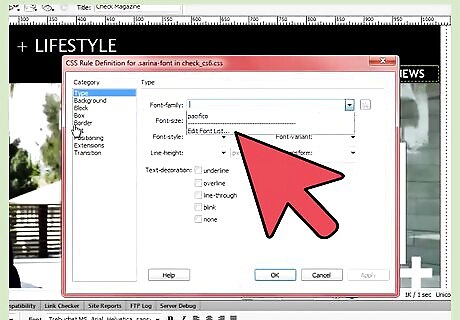
Browse to "Font" and select "Edit Font List."
Find the font that you want to add in the "Available fonts" list.
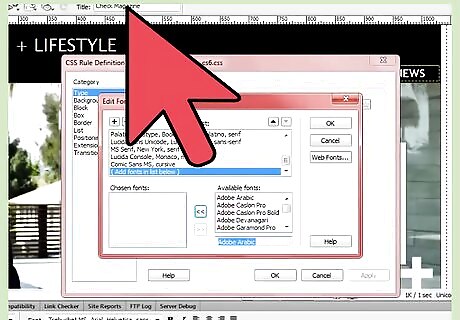
Add the font to the "Chosen fonts" list by clicking on it and pressing the arrow pointing left.
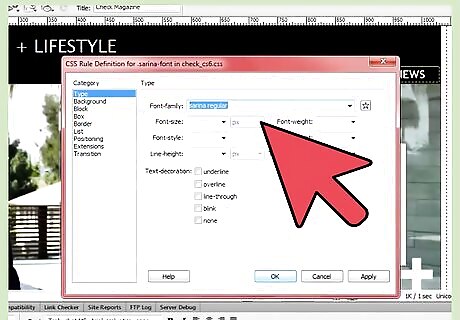
Press the "OK" button. This will close the window for editing the font list and you should be able to see the new font that you have added appear in the list of other fonts that could previously be seen and selected in Dreamweaver.


Comments
0 comment