

Setting Up Your Essential Oil Still
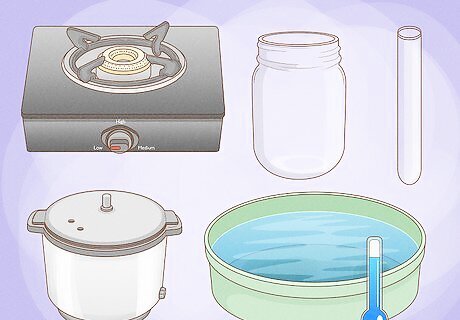
Purchase or build your own oil still. To properly distill the plants for your oils, you’ll need an oil still. You can purchase one online or build your own by using a tea kettle or crockpot. If you decide to handmake your still, can get creative with its exact set-up. Just double-check to ensure the following key components are present: A heat source — usually direct fire (though electric stovetops work too) A pressure cooker A 10 mm glass pipe A tub of cold water to cool down and condense the steam An essencier or other glass container to separate your distillate If you purchase your own pre-made oil still, you can skip directly to part 2.

Use stainless steel, copper, and/or glass parts, if possible. Ideally, use a glass tube for your still. However, stainless steel and copper are also acceptable. Avoid using plastic tubing for your oil still, since it can affect the quality of the oil. In addition, ensure your copper is heavily tinned, as some plants react badly when mixed inside bare copper. You can also use aluminum materials for your still, but not with wintergreen, cloves, or other plants whose oils have phenols. When aluminum and phenols react, they can produce toxic or hazardous chemicals.
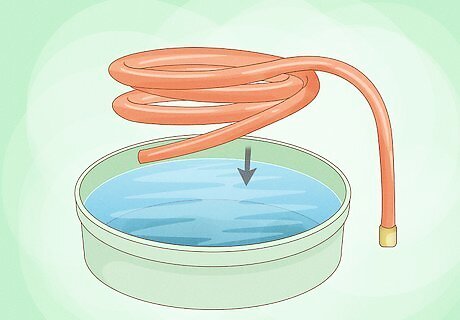
Bend the pipe so it can pass through your cooling tub. As your plants are distilled and heated in your pressure cooker, the resulting steam passes through your pipe. To ensure that steam can quickly and efficiently be cooled back to liquid in your cooling tub, bend your pipe into whatever shape is necessary to match the structure of your tub. For example, if you’re simply using a basin, bend the pipe into a coil so that it can lay in the open tub. If you’re using a large bucket of ice, bend the pipe to a 90-degree angle so that it can go down through the top of the bucket, then out of a hole in the bottom.
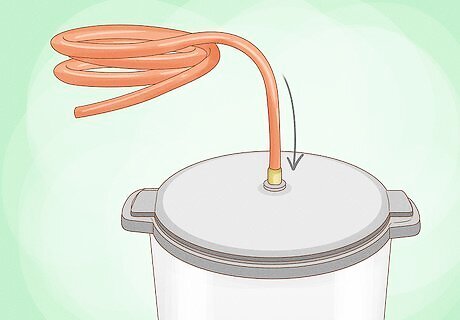
Connect one end of your pipe to the pressure cooker valve. Attach a small piece of flexible hose so it fits snugly over both the opening of your pipe and pressure cooker (which should be roughly the same size if you’re using a 10 mm tube/pipe). Then, secure the pipe to the pressure cooker using a jubilee clip. Cut the hose long enough to allow some room to bend. Otherwise, your pipe will stick straight up in the air, which will make it harder to connect to your cooling tub.
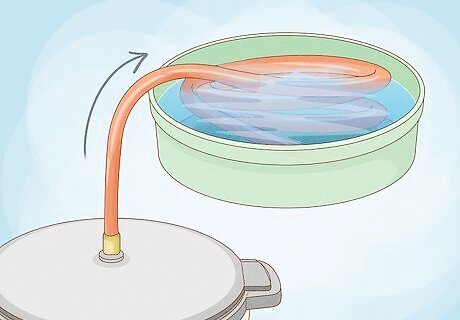
Run the pipe through the cooling tub. If you’re using an open basin, position your pipe so that the coil lies completely inside the tub. It should be completely submerged when the basin is filled with cold water or ice. If you’re using a bucket, drill a small hole in the bottom so the pipe can pass out of the ice bath. Seal the hole using a silicone sealer or epoxy to prevent extra water from dripping out of the tub and making a mess.
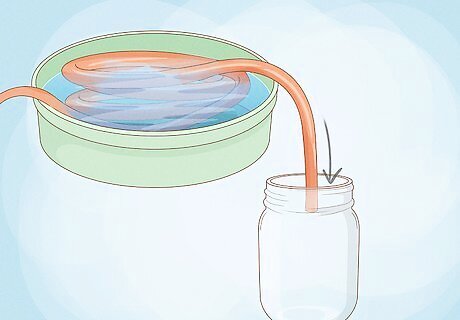
Position the open end of the pipe over the essencier. Once you’ve run it through the cooling tub, place your pipe inside your essencier so it can catch all the remaining distillate drops. This will separate the essential oil from any additional chunky, solid matter that you don’t want in your final product.
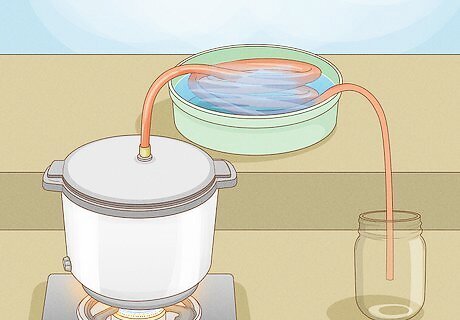
Place the instruments of your oil still on a stable surface before distilling. Take the proper precautions before distilling any type of material (solvents, oils, alcohol) to avoid hazards. Place each of the components of your still on a solid surface so they all have a stable setup. It may help to lightly shake your pipe to ensure it’s locked in at a comfortable angle and nothing will get knocked over.
Preparing Your Plant Material
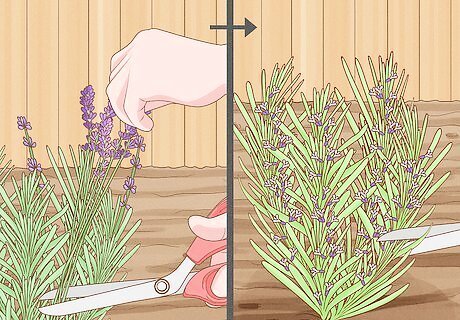
Wait for the right time to harvest your plant material. You want to distill your plants when they have the most oil, and the amount of oil in a plant depends on where it is in its life cycle. Research the right time to harvest each of the plants you want to distill into oil and wait until they’re ripe and mature before you begin extracting them. For example, lavender should be harvested when about half the flowers on the stem have withered. Rosemary, on the other hand, should be harvested when the plants are in full bloom.
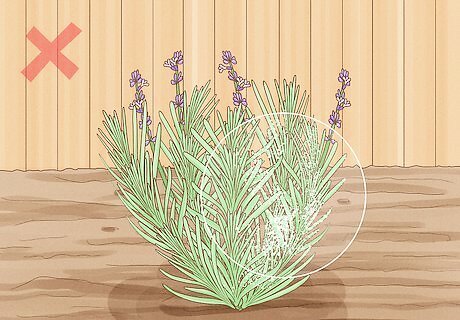
Harvest your plants correctly to ensure they’re safe for distillation. Each plant has different specifications for how it should be harvested, so research how to harvest the types of plants you’re using before collecting them. Careless handling, harvesting the wrong parts, or even harvesting at the wrong time of day can reduce the quantity and quality of your essential oils. In addition, keep your plants in sterile soil and avoid overwatering to ensure they’re free of mold, fungus, and other blight before harvesting. For example, you only want to use the flowering tops of the rosemary plant when making rosemary essential oil. Discard or use the rest of the plant some other way. Most essential oils are held in the plant's oil glands, and these glands are very fragile. Handle your harvested plants with care, and try to touch them as little as possible.
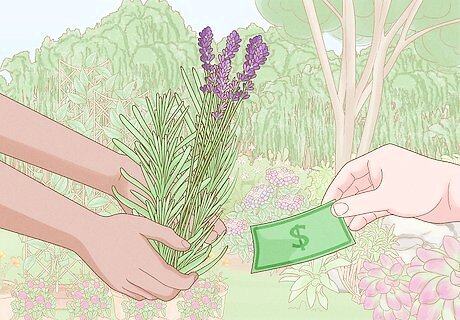
Alternatively, buy already-harvested organic plants from reputable nurseries. If you're buying already-harvested plants, you won’t have much control over the harvesting process. Look for plants that appear healthy and undamaged, and ask the seller when they were harvested. Generally, plants that are in whole form (not crushed or powdered) are best. While distillation removes many impurities, pesticides, and herbicides can contaminate your oil. It’s best to use organically grown plants, whether you purchase them or grow your own. If the plant is organic, that doesn’t mean that pesticides or fertilizers weren’t to it; they are just different from commonly used synthetic pesticides or fertilizers. Try to find a local grower who can inform you about how the plant was grown.
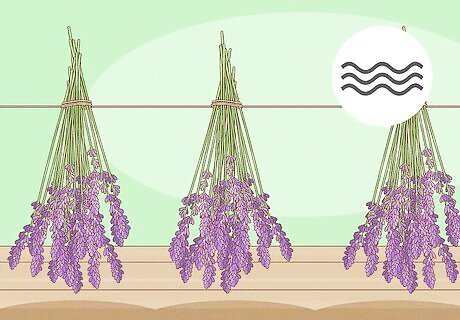
Dry your plant material. Drying reduces the amount of oil in each plant, but can greatly increase how much essential oil you make per batch. Air-dry your plants slowly by hanging them upside down away from direct sunlight (ideally in the shade or in a dark room). Avoid overheating your plants to minimize oil loss. Drying methods vary depending on each plant. For example, commercially grown plants such as lavender and peppermint may be allowed to dry in the field after cutting for a day or so. Distill your plants as soon as possible after drying them and keep them in a clean area so they don’t become contaminated by dirt, dust, or other grime. If you’re distilling flowers, skip the drying process and distill them as soon as possible after harvesting.
Distilling Your Essential Oil

Pour water into the tank of your still. If you're using a manufactured still, follow the manufacturer's directions. Otherwise, just make sure you have enough water to complete the distillation (ideally a ratio of about 3 parts water to 1 part plant material). Use clean, filtered water with as few contaminants as possible. The more purified, the better. Depending on the plant and on the quantity, distillation can take anywhere from a half-hour to six hours or more after the water boils.

Add your plant matter to the water. Fit as much plant matter into your pressure cooker as the cooker can contain. As long as you have enough water to last without boiling off, your plants should be fine even if they’re packed in tight. Just give your plants a couple of inches of leeway to prevent them from blocking the pressure cooker’s lid and steam outlet. Only distill one type of plant material at a time. Mixing different plant materials (lavender and rosemary, eucalyptus and lemon, etc.) can create unsavory and ineffective essential oils. You don’t need to chop or otherwise prepare the plant in any way — in fact, doing so will cause you to lose some of the oils.
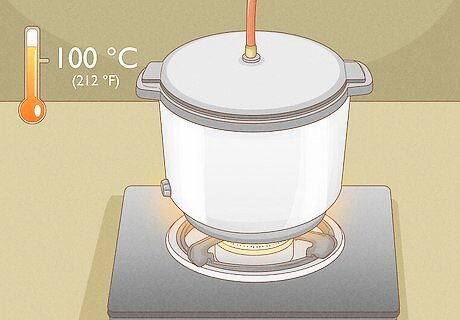
Bring the pressure cooker to a boil. Seal the lid so that the only steam that escapes must travel through the pipe that’s attached to the steam valve. Then, bring your plants to a boil of 100 °C (212 °F).
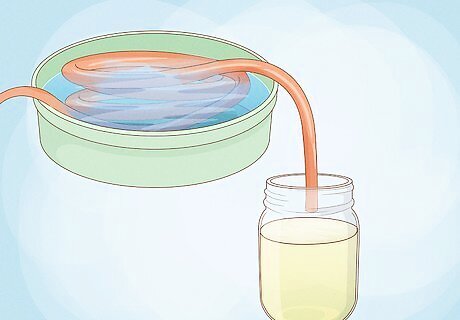
Keep an eye on your oil still. After a while, the distilled liquid should begin to come through your condenser (cooling tub) and into your separator (essencier). The process should be fairly hands-off, but check your oil still regularly to ensure it doesn’t run out of water. Depending on the length of the distillation process, you may also need to change the water in the cold-water tub. If the hot pipe warms the water up, replace it with fresh cold water or ice so that the cooling process continues to work. Don’t distill a batch for too long (check the recommendations for each specific plant), as this will add little additional oil but may possibly contaminate your batch with unwanted chemical compounds.
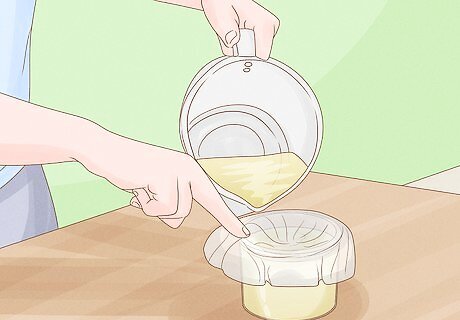
Filter the collected oil for a more pure final product. Once your distillation is complete, filter the oil through cheesecloth or similar dry cotton fabric. Make sure that the cloth is dry and clean — detergent residues and dirt can contaminate the oil. Don’t be disappointed that you get a very small amount of essential oil from a large amount of plant matter. Percent yields vary from species to species, but they usually tend to be on the lower end. For example, caraway seeds yield about 5% from their seeds while basil often yields <1% from its leaves.
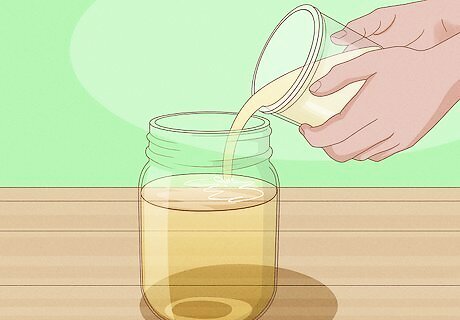
Pour the oil into a container for storage as quickly as possible. Most essential oils can be kept for at least one or two years, but some have very short shelf lives. To maximize the use of your essential oil, keep it in a sealed, airtight dark glass bottle or stainless steel container. Use a clean funnel to pour the oil into the container, and make sure the container is clean before pouring the oil into it. Then, store it in a cool, dark place. Label each of your containers if you’re storing different types of essential oils, and date each one so you know around what time your oils will expire. Some hydrosols (waters that have been distilled and infused with the plant’s scent), like rose, are also usable for aromatherapy and skincare. If you want to keep your hydrosol, pour it into its own container and store it like you would any other essential oil. Otherwise, throw it out.
Using Your Essential Oil
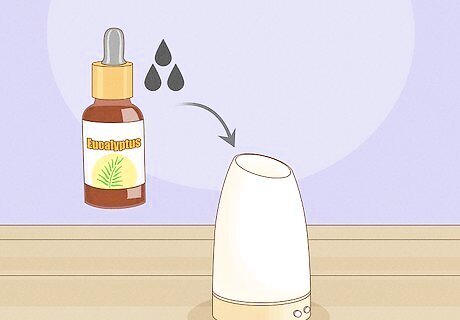
Try some aromatherapy with your oils to rejuvenate your health. Once you’ve distilled your oils, you can use them for a wide array of purposes. One of the most common uses for essential oils is practicing aromatherapy. Place 2-3 drops of your favorite essential oil in a diffuser and allow its medicinal, calming smell to ease pain, reduce stress, and increase focus. Winter cherry, spikenard, and calamus are good oils for stress management and relieving anxiety while arnica, witch hazel, and calendula help with bruising and inflammation.
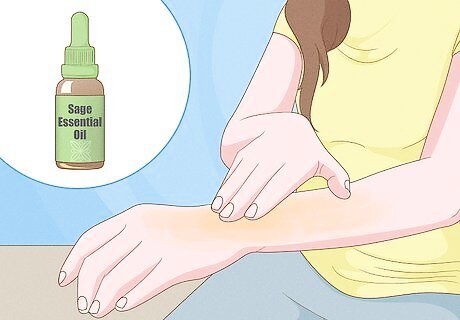
Add essential oils to your skincare routine to leave your body glowing. You can apply essential oils to your skin and face to moisturize and reduce acne. However, since essential oils are extremely concentrated, dilute your oil in a carrier oil before placing them on your skin directly. The most popular carrier oils are almond oil and grapeseed oil, but a variety of different oils can be used. Carrier oils can be added during the bottling process or mixed with pure oil just prior to use. However, try to blend carrier oils closer to use, because you may not want diluted oil for some uses, and carrier oils often have a shorter shelf life than essential oils.
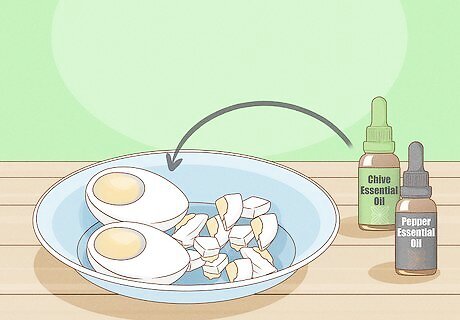
Season your foods with essential oils to add flavor. Add your own homemade essential oils like chive, ginger, and pepper to plain foods like chicken, eggs, and potatoes. Essential oils also make a perfect garnish for nearly any dish. While not all essential oils are edible, oregano, marjoram, and rosemary can help enhance the taste of savory food while peppermint and lemon can make desserts sweeter. Adding some cinnamon, ginger, and/or oregano to your foods can also help boost your immune system.
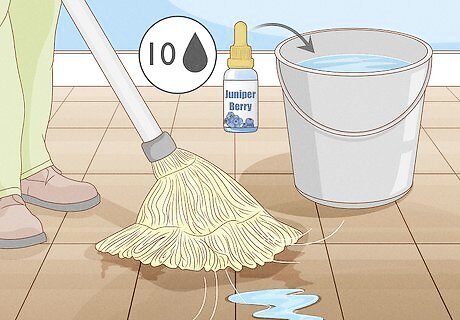
Clean with your essential oils to leave your house smelling fresh. Essential oils have several antibacterial properties, which can make them great for fighting grime. Sprinkle about 10 drops of your favorite essential oil into your cleaning solution to strengthen its purifying properties. Adding a few drops of lavender to your clothes when placing them in the wash can add an even fresher scent. The citrusy properties of lemon and orange can also help fight dirt and other microbes.


Comments
0 comment