views
Highlighting and Deleting
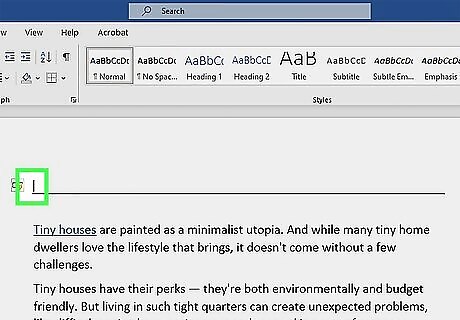
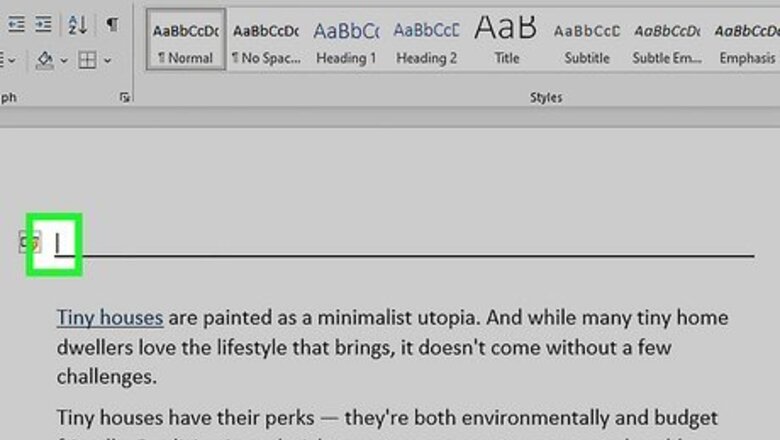
Click in the row above the unwanted line. If there is any text immediately above the line, select the entire row above the line. Use this method if you want to get rid of a line you inserted. You can also turn off AutoCorrect if you don't want word to create lines from symbols.
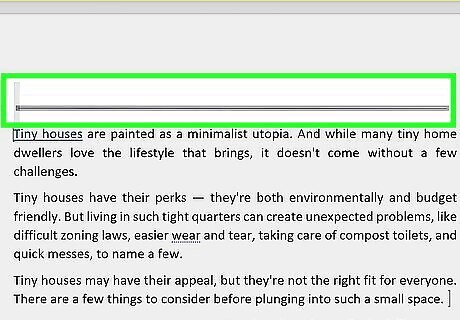
Drag the cursor to the row below the unwanted line. You can select a few extra lines if they're empty. The left end of the line will be highlighted.
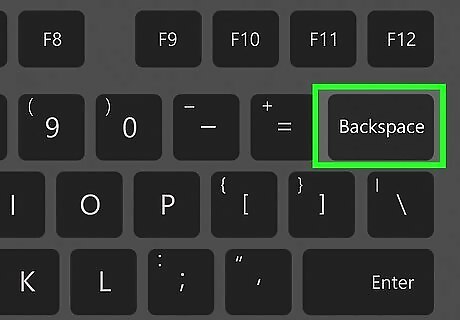
Press ← Backspace. This key may look like a left-facing arrow. The line should be deleted. If it doesn't delete, try to highlight more lines above and below the line, and then press Backspace again. If the line remains, it may be a border. Continue to the next step to remove it.
Using the Borders Menu
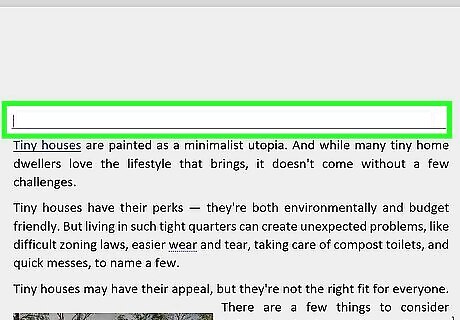
Click the row immediately above the horizontal line. Use this method if you're unable to delete a horizontal line with the Backspace key. If you aren't already on the Home tab, click it to navigate there now.
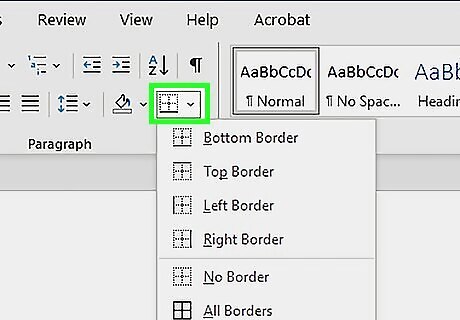
Click the arrow next to "Borders and Shading". This looks like a box with dotted lines. A drop-down menu will open.
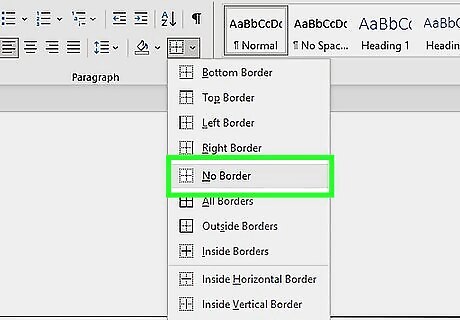
Click No Border. This should be underneath Right Border. When you click it, the line will disappear immediately. Be sure to save your document when you're finished.
Using the Page Borders Menu
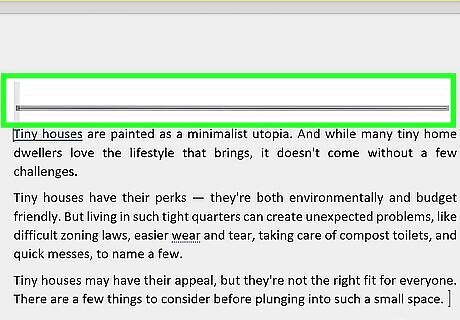
Select the horizontal line. Click the space immediately above the unwanted line, and then drag it to the row below.
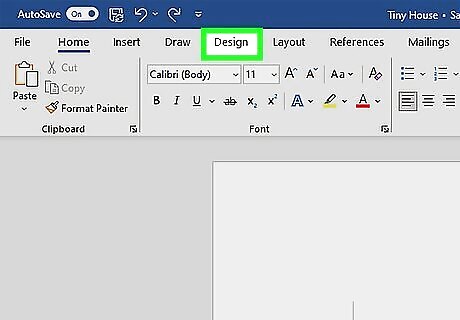
Click Design. This will be in the top toolbar, between Draw and Layout.
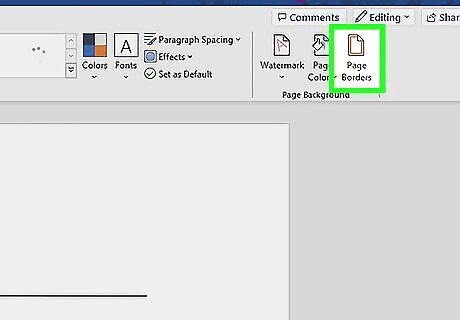
Click Page Borders. This will be on the right side of the top toolbar, next to Page Color. This is how you can edit or add page borders to Word.
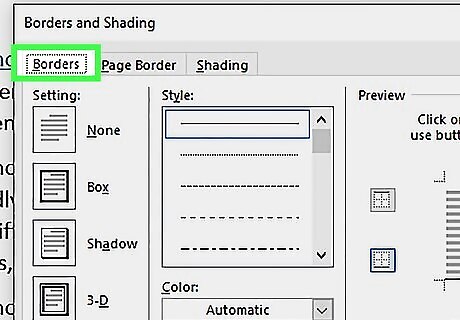
Click the Borders tab. This will be at the top of the dialog box.
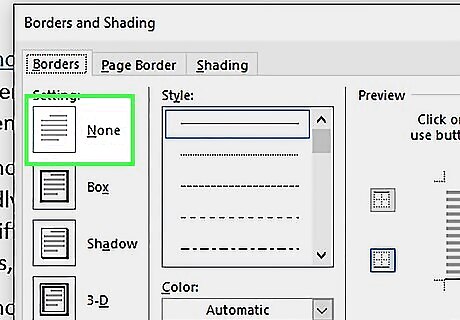
Click None. This will be in the left panel.
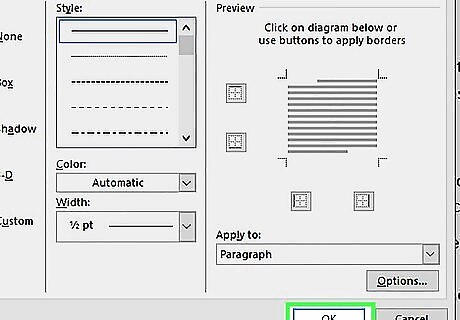
Click OK. The border line will disappear. If needed, you can also remove a blank page.
Disabling Text Boundaries
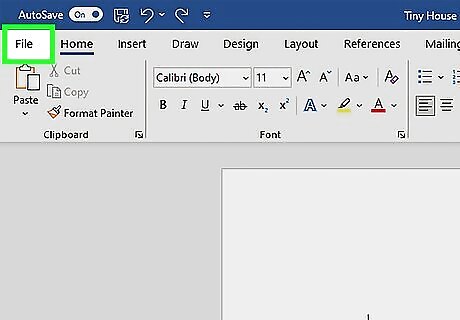
Click File. This will be in the top-left corner, next to Home. Use this method to remove text boundaries, which are the dotted lines above and below paragraphs.
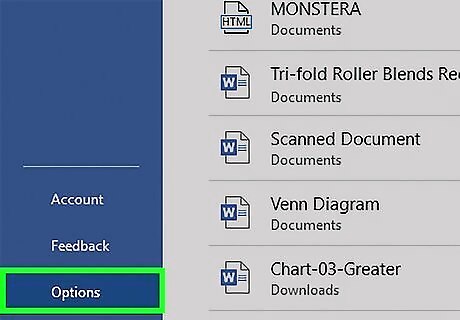
Click Options. You can find this on the very bottom of the left panel.
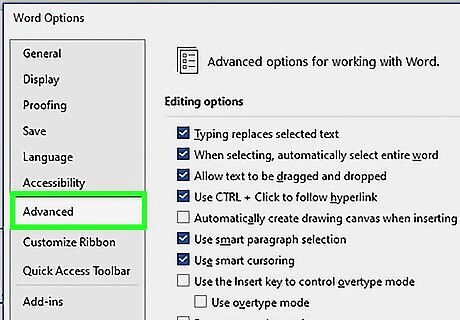
Click Advanced. This will be in the left panel, underneath Accessibility.
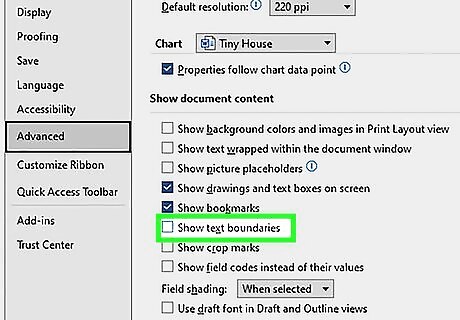
Uncheck the box for "Show text boundaries". You may need to scroll down to find this option; it will be underneath the Show document content header.
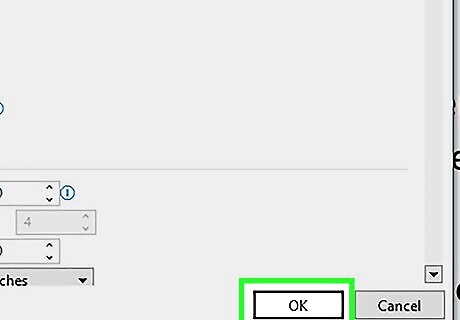
Click OK. The dotted lines should disappear.
Disabling Intense Quote
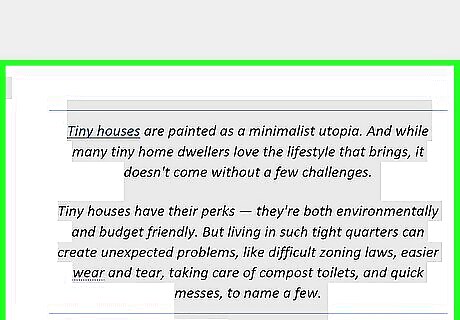
Select the affected text. Click the space above the line and drag it below. If there's a horizontal line above and below your text, you may have added Word's default style, Intense Quote, to your text.
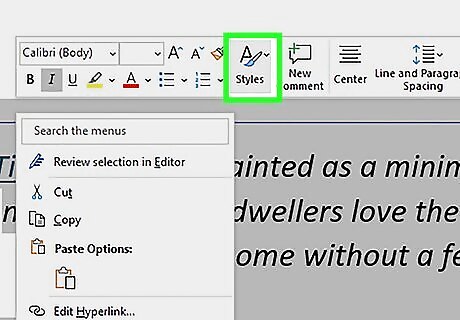
Click the diagonal arrow in the "Styles" section. You'll see previews of the default Styles; the arrow will be at the bottom-right corner of this section. A pop-up menu will open.
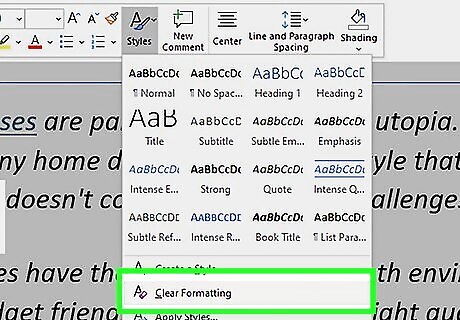
Click Clear All. This will clear any style formatting added to your text. The lines should disappear. Alternatively, you can select a different style for your text.


Comments
0 comment