
views
Using the Taskbar

Click the speaker icon in your taskbar. It's usually on the far right side of the taskbar next to the Wi-Fi icon. If you don't see this icon, you may need to click the up arrow to open your system tray. You'll see your current output device.

Click the arrow next to the current audio output. A list will open with all available output devices. For Windows 11, you will see the arrow next to the sound slider instead. If you don't see your device, make sure it's plugged into the correct port and the sound drivers are updated.
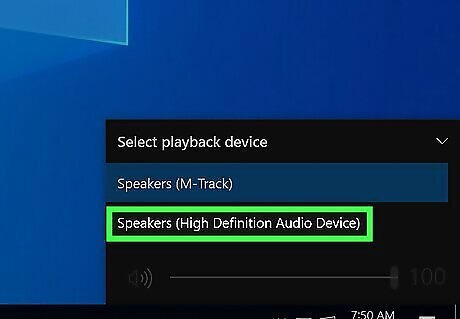
Click the audio output you want to use. When you do this, the sound will play through the audio output device you selected from the list. You may have to repeat this process every time your computer shuts down or any time you want to change the audio output. If you don't want to have to do this all the time, see the next section to change your default audio device.
Changing the Default Audio Device
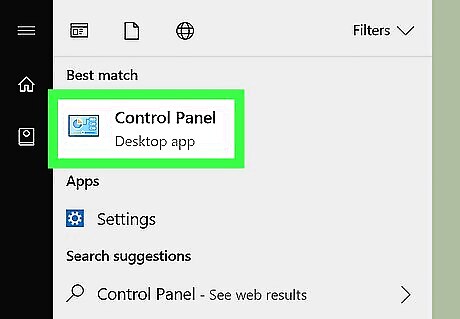
Open the Control Panel. Click the Start menu and type "control panel". Click the first option.
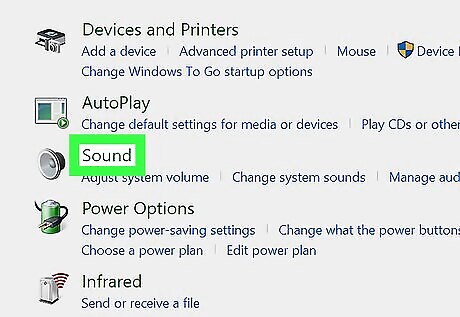
Click Sound. It's next to the icon that resembles a speaker. This displays the Sound options window.
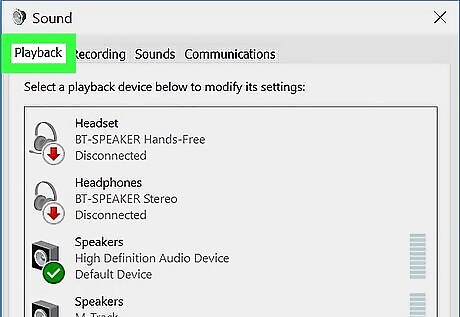
Click the Playback tab. The Playback tab is the first tab at the top of the Sound options window. This displays a list of available audio devices. If you're already on this tab, skip this step.
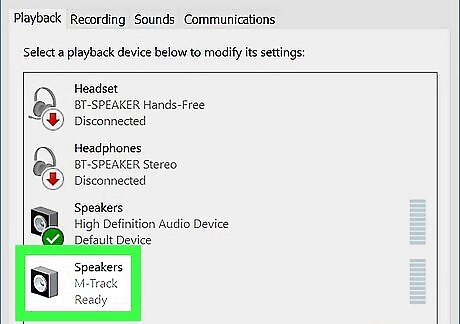
Click the audio device you want. This may include internal speakers, monitor speakers, a USB device, or Bluetooth speakers/headphones.
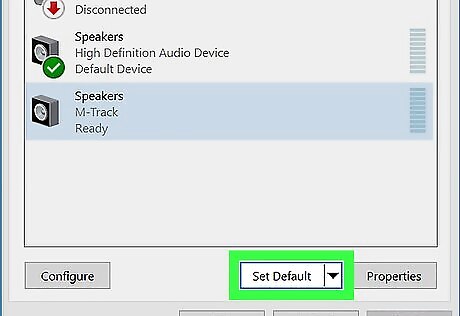
Click Set Default. It's the button below the list of devices in the sound options. This sets the audio device as the default audio device.
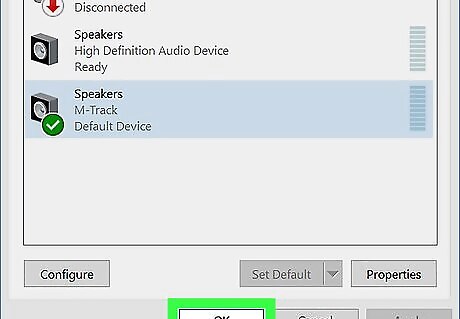
Click OK. It's in the lower-right corner of the Sound options window. This closes the Sound options window.


Comments
0 comment