views
Spray-Painting
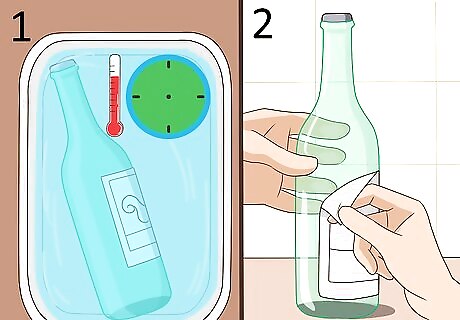
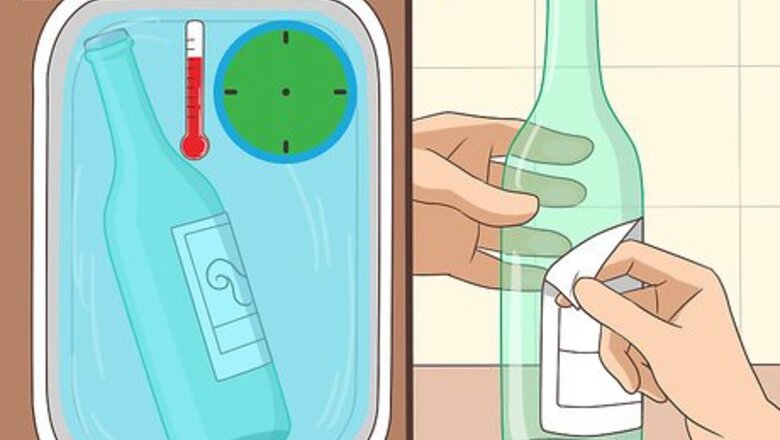
Remove the labels. The best way to do this is to submerge them in hot water and let them soak for at least an hour. After soaking, they should come off easily.
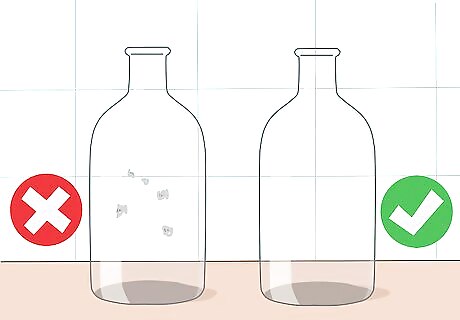
Dry the bottles thoroughly. Be sure that the surface of the bottle is completely smooth. If there are any problem areas where adhesive remains, scrape it off with a utility knife.
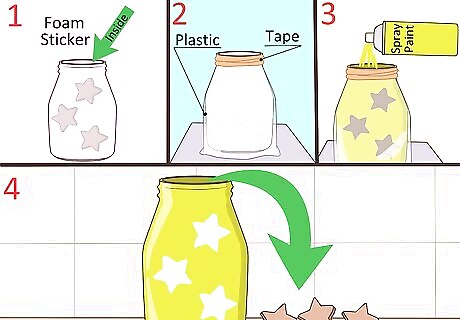
Create designs for the inside of the bottle. If you want simple designs to appear imprinted on the bottle, use foam stickers to cut the designs. Simple shapes or letters work best. If you are using letters in your design, remember to cut them in reverse. To complete the process: Insert the foam stickers into the bottle. If the neck of the bottle is narrow, use a utility knife to carefully feed the sticker into the jar. Once your sticker is in the jar, use a pencil or any other long, narrow object to press the sticker against the side of the jar. Wrap your bottle in a plastic bag. Tape the bag to the neck of the jar to keep it in place. Set the wrapped bottle in a tarped area or in a box. Put on some gloves, while you’re at it. These measures will help you avoid getting paint anywhere you don’t want it. Insert the spray paint nozzle into the jar. Spray a layer of paint into the jar or bottle. Wait a few minutes and spray another layer. Rotate the glass bottle so that the paint covers the entire inside. After the bottles are completely dry, remove the foam stickers from the inside of the bottles with a utility knife. If you notice that a little paint dripped into one of your covered areas, you might be able to scrape this off with your utility knife.This can happen if the sticker did not fully adhere.
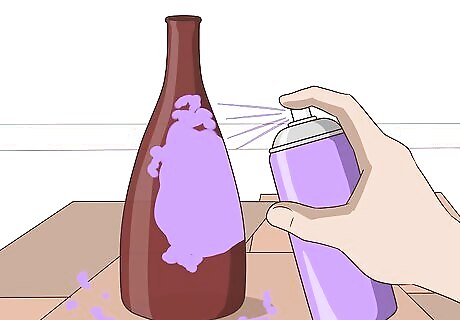
Spray your first coat of paint on the outside of the bottle. If you only want to decorate the outside surface of the bottle, place your bottles upright on a covered surface, preferably cardboard or cloth, before you begin painting. Make sure that you have enough space in the area that you’re working in, and that you don’t get too close to the bottles when you spray paint. This could cause dripping and uneven areas on your finished bottles. Add a second coat if needed.
Allow your bottles to dry. Always follow the recommendations on the label for dry times, which can vary depending on the brand and type of paint. Leaving them to dry overnight also works well, as this will allow the paint to fully set before you touch or move the bottles.
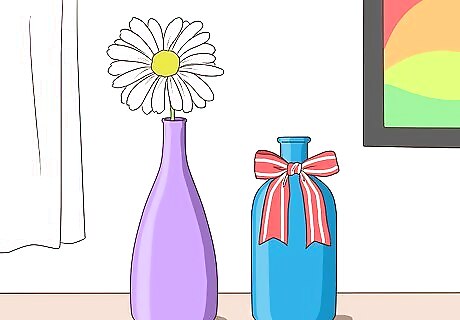
Add your own decorative touches. For simple bottles, adding a flower or candle to the bottle creates an elegant look that’s great for holidays or special occasions. If you want something a little fancier, you can use ribbons, lace, decals or beads. A craft box full of scraps and leftovers is a great place to look for finishing touches and extra decorations for the outside of the bottle.
Hand-Painting
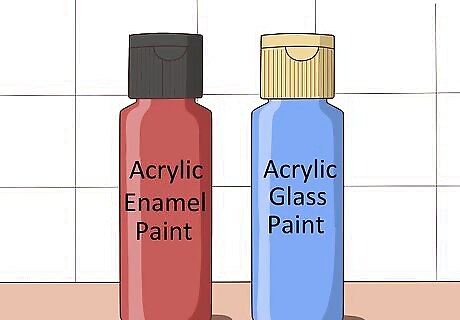
Choose a type of paint. Acrylic enamel paints or acrylic glass paints are generally the easiest to use for glass-painting projects. Solvent-based paints are not a good idea for any glassware you intend to wash on a regular basis. Always read the labels thoroughly before selecting a paint. If it doesn’t indicate that it’s intended for glass, it will likely chip off soon after your design dries.
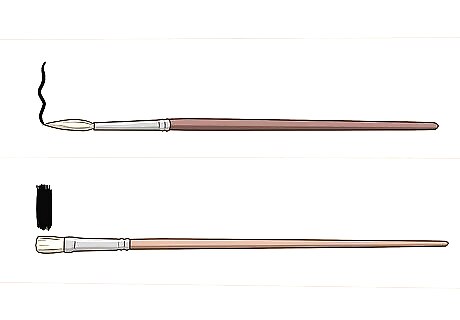
Choose a type of brush. There is no specific type of brush required, but some paint manufacturers may recommend a particular type of brush for their paints. If you want to achieve an intricate, finely detailed design, use a smaller, pointier brush. Broader brushes can be used for less elaborate designs.
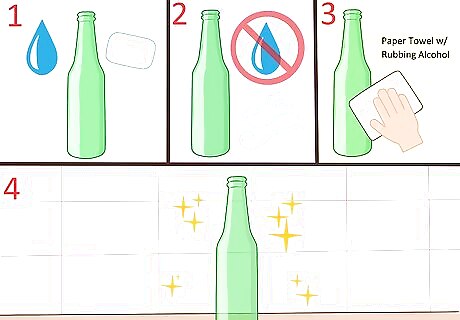
Prepare the glass before applying paint. First, you’ll need to wash the glass thoroughly in order to remove any dirt, dust, or smudges. Then, rinse the glass thoroughly and let it dry completely. Finally, dampen a paper towel in rubbing alcohol or white vinegar and wipe it down to ensure there is no soap residue remaining. If the glass is not perfectly clean, it can make the paint job uneven or spotty. EXPERT TIP Douglass Brown Douglass Brown Glassblowing Expert Douglass Brown is a Glassblowing Expert based in Half Moon Bay, California. He has over 25 years of experience as a glass artist, and is the owner and operator of 2 glass blowing studios in the San Francisco Bay Area, Half Moon Bay Art Glass and Mare Island Art Glass. Douglass believes in sharing hot glass experiences with anyone who wants to learn about the processes of blowing and sculpting glass. When not teaching, Douglass creates glass art that is a mix of his takes on nature and functional glassware. He has also created the Glass Troubadours, which is a mobile glass blowing studio that hosts parties, events, and visits craft shows. Douglass Brown Douglass Brown Glassblowing Expert Cleaning the glass is a crucial step to take before painting. You want to avoid any films, oils, or anything that could affect the adhesion of your paint.
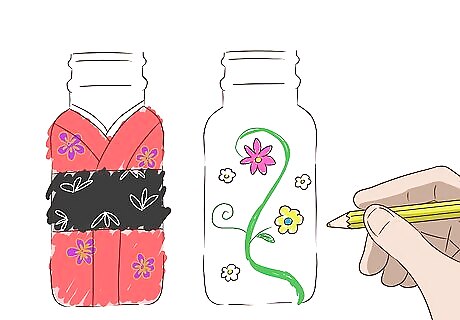
Sketch your basic design on a piece of paper. Practice your design on paper before you attempt to recreate it on the bottle itself. If you’re having an issue with your design on paper, this will alert you to any potential problems with the design before you start marking up the bottle itself. Practicing your design ahead of time is especially helpful if you only have a vague idea or concept at the outset.
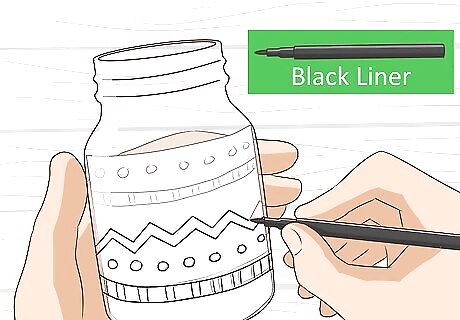
Reproduce the design on the glass surface. Place your paper sketch inside the glass bottle. Use a black liner to trace the design onto the surface of the glass, and keep an alcohol-soaked cloth nearby to remove any smudges that occur. If you have a very steady hand, you can use a permanent marker.
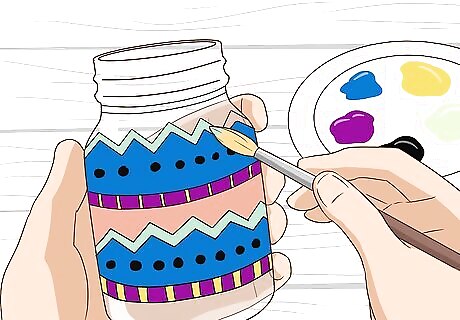
Apply layers of glass paint to the design. Avoid using too many paint tones in your first projects until you become more comfortable with glass painting. Choose basic primary colors and mix them to achieve the desired paint tones. Use paint thinner as needed if you’ve accidentally applied too much paint. Use caution with paint thinner. Too much may result in dripping paint that will not set properly.
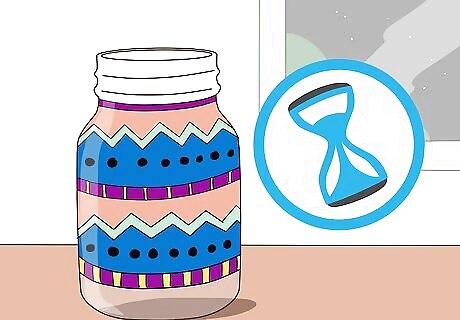
Allow your bottle to dry for at least 24 hours. Depending on the type of paint used, air drying may be the final step. If you have used paint that requires heat setting or curing, you will need to let it dry for 24 hours before applying heat.
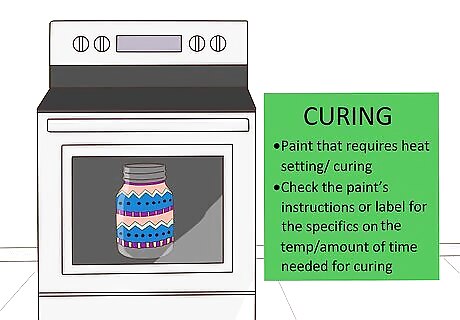
Cure your bottle in the oven. If you used paint that requires heat setting or curing, cure it in the oven. Check the paint’s instructions or label for specifics on the temperature or amount of time needed for curing. This could vary based on the paint used. EXPERT TIP Douglass Brown Douglass Brown Glassblowing Expert Douglass Brown is a Glassblowing Expert based in Half Moon Bay, California. He has over 25 years of experience as a glass artist, and is the owner and operator of 2 glass blowing studios in the San Francisco Bay Area, Half Moon Bay Art Glass and Mare Island Art Glass. Douglass believes in sharing hot glass experiences with anyone who wants to learn about the processes of blowing and sculpting glass. When not teaching, Douglass creates glass art that is a mix of his takes on nature and functional glassware. He has also created the Glass Troubadours, which is a mobile glass blowing studio that hosts parties, events, and visits craft shows. Douglass Brown Douglass Brown Glassblowing Expert Paints that require heat drying will last longer. Use the right kind of paint and procedures to ensure longevity. When colored glass is properly cured with heat, it can be baked in the oven and washed in dishwashers without fading or peeling.
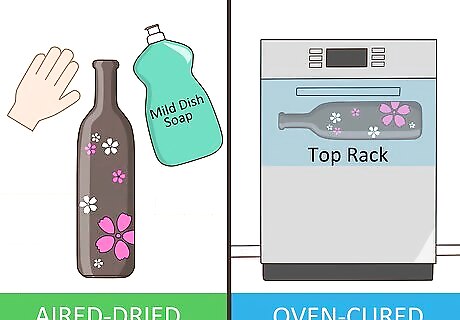
Wash the glass. For items that have been air-dried, wash by hand with mild dish soap. If oven-cured, wash on the top rack of your dishwasher. Air-dried items are not suitable for washing in the dishwasher. Air-dried or oven-cured painted glassware should never be soaked.
Alternative Painting Methods
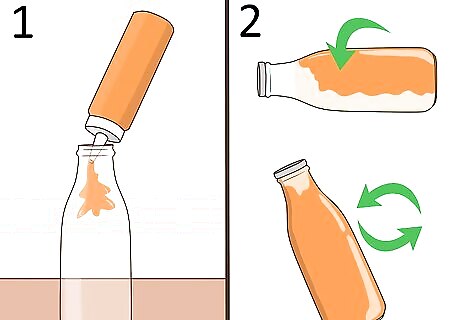
Use a syringe to change the bottle’s color. If you only want to change the color of the bottle, or paint something on the outside of the bottle while the background of the bottle is a different color, this is the easiest method. It’s also not as messy as spray-painting can be. Fill the syringe with the desired color and insert it into the bottle. Inject the paint into the bottle. Rotate the bottle in order to cover it on all sides.
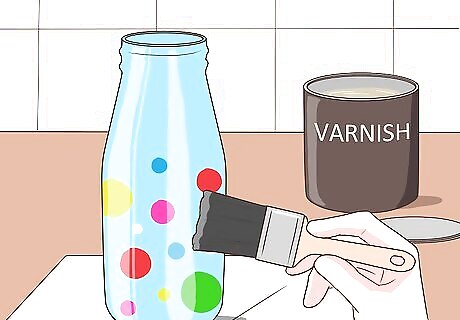
Add a varnish layer to make it extra shiny. After painting the outside of your bottle, you can also cover it in a layer of varnish to give it a shiny, new look.
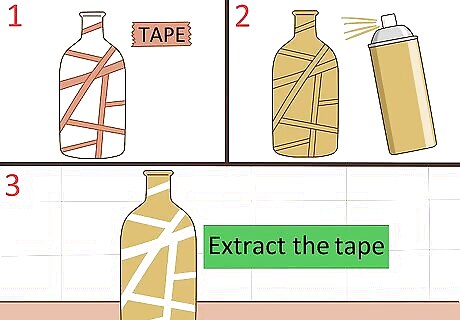
Use tape to create patterns. This is the perfect method to use if you want your bottle to look like you bought it in a store. The result will be one of a kind. Cover the bottle in strips of tape and leave gaps in between each strip; then, paint the entire bottle. After the paint has completely dried, carefully extract the tape.
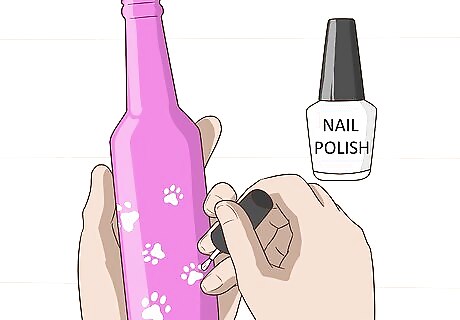
Apply nail polish to create small designs. This is a simple and quick-drying way to achieve your look. This works well if you only want to apply spots or very specific, small drawings, as opposed to larger designs.




Comments
0 comment