views
Attempting the Pedal Wheelie
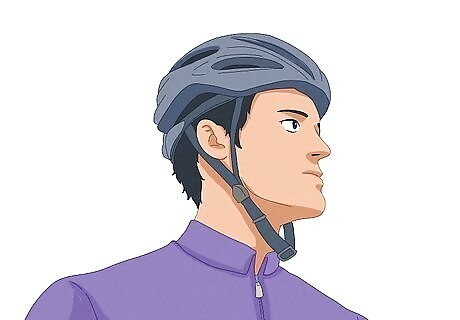
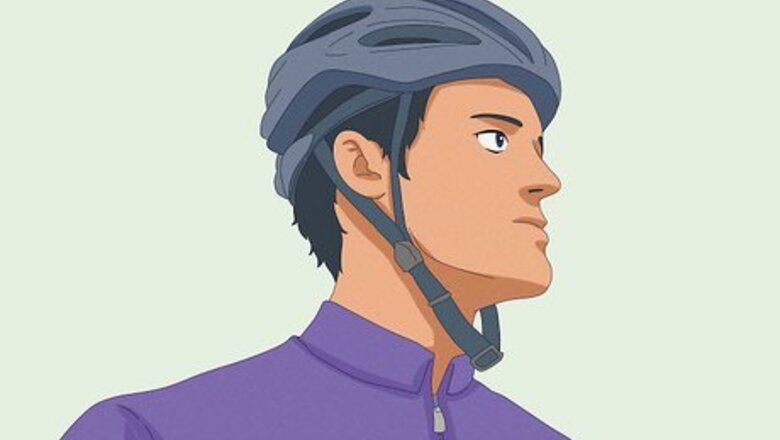
Wear a helmet. You should wear a helmet just when doing general riding. So it is especially important to wear one when attempting a trick like a wheelie, where you're more in danger of falling than usual. And you'll get the respect of your friends and fellow riders for showing that you're not reckless, and are taking bike riding seriously.
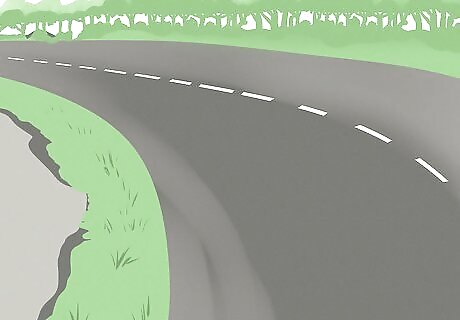
Choose the terrain that best fits your ability. You might want to begin practicing on a level grass field in case of a fall. Test the flatness of the field by riding through it once before beginning. Otherwise, if you're confident enough, find a slightly uphill dirt or concrete path.
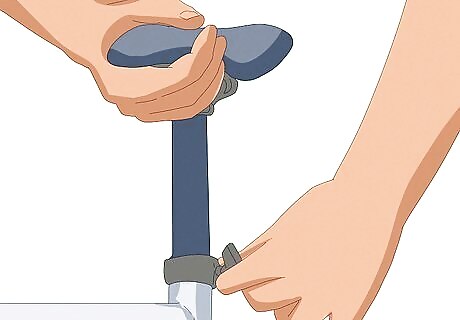
Adjust the seat to a low position. You'll be sitting down for the whole trick, and the lower you sit the better-positioned your center of gravity will be. But make sure you're able to sit firmly on the saddle without slipping off the back. Test this by lifting the front wheel at a standstill and leaning back on the seat.
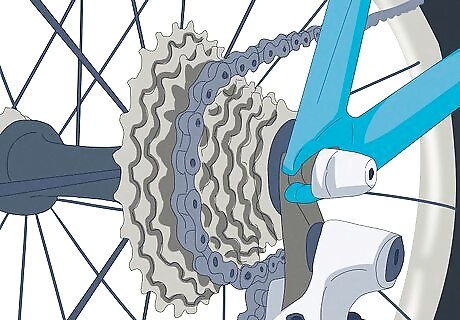
Start off in a low-to-medium gear, at a little faster than a walking pace. If you start in too high or too low a gear, it will be difficult to pedal with enough force to lift the front wheel. Adjust the gears higher or lower as you find the right speed for your ability and the terrain.
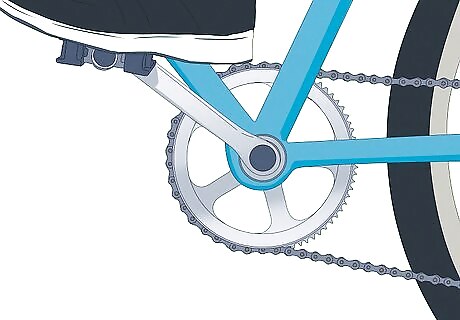
Set the cranks at the 11 o'clock and 5 o'clock position. This allows you to put as much drive as possible into your initial pedaling. You'll want to initiate the first thrust from 11 o'clock with your strongest leg, which should be the leg you usually begin pedaling with from a standstill.
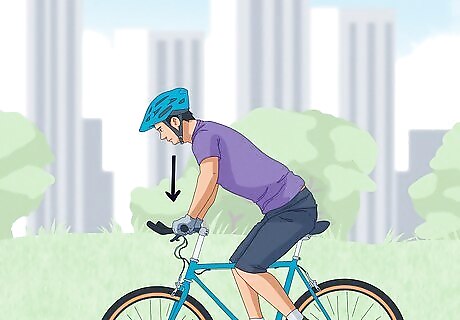
Shift your weight forward. Bend your arms and move your upper body over the front of the bike in a crouch position, but stay sitting.This will help you to "load the spring"--you're positioning your body toward the front at first in order to create more force for the sharp backward movement that will follow.
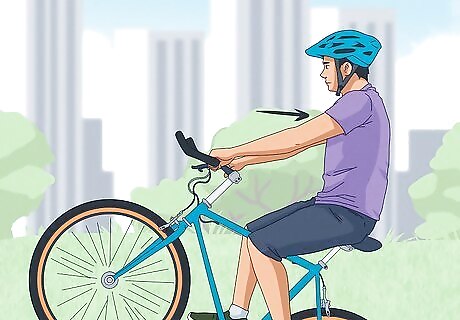
Lean back quickly over the rear wheel. This should be done with a sharp movement, giving a strong pedal stroke at the same time. Let your arms straighten without pulling the handlebars back (the front wheel should pop up without your needing to pull back). Continue pedaling at a consistent rate. If you stop pedaling, the front wheel tends to fall back down. Keep your fingers on the rear brake--this is your safety in case you feel yourself losing balance and tilting too far backward.
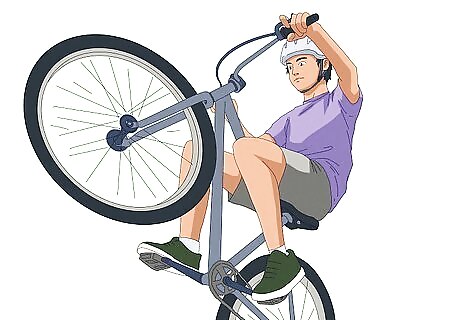
Control sideways and vertical balance at the same time. Feather the rear brake (to lower the front wheel) or pedal (to lift the front wheel) to adjust the vertical balance. To help balance sideways, flare your knees or arms out, or turn the handlebars in the direction opposite to the side the bike is leaning to.
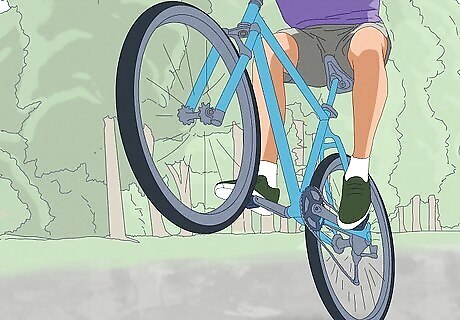
Straighten the front wheel before bringing it down. Lean slightly forward and let the front wheel land softly back down. Be careful not to lean too far forward, just try to shift your weight back to center.
Learning the Manual Wheelie
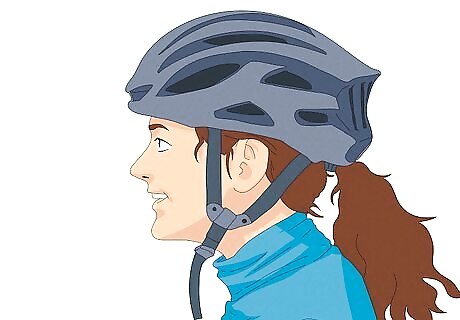
Wear a Helmet. You'll be going faster while doing the manual wheelie than when doing the pedal wheelie, making a potential fall more dangerous. You'll feel more at ease wearing a helmet by knowing that if you make a mistake and fall, you'll be well protected.
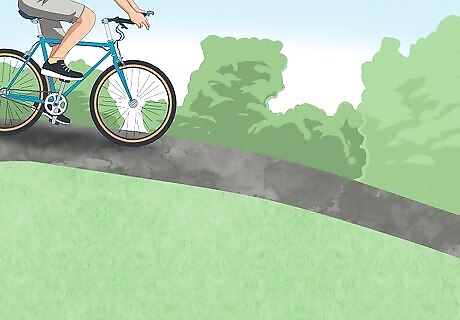
Start on a slight downhill slope at medium speed. It will be easier to coast with this wheelie on a decline once you've figured out your balance. Since you won't be pedaling, the downhill slope will help keep the bike moving at a steady speed.
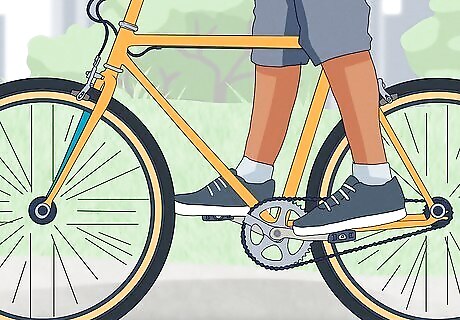
Position your feet and hold the pedals in place. Set the cranks level with each other at the 9 o’clock and 3 o’clock position, and stand up on the pedals with your knees slightly bent. Your weight should be just back of center. The cranks will rotate slightly as you move backwards, but otherwise you won't need to pedal.
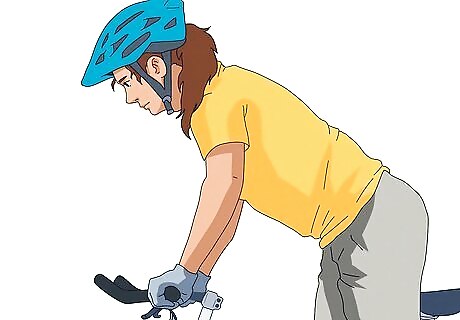
Lean forward over the handlebars, then lean back quickly. The front wheel should be lifted mostly by the shift of your weight backwards, and only slightly by lifting the handlebars. Lock your arms straight, keeping your feet level with each other on the pedals. Your rear end should be behind the seat at this point, and your body should have a “U” shape, with the arms and legs straightened.
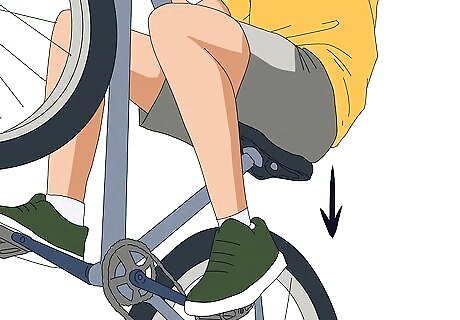
Center your weight over the rear wheel. To be able to coast with the front wheel off the ground, you’ll need to find a point of balance over the rear wheel and hold it there. As your arms straighten and you lean back, push forward on the pedals with your feet (but don’t pedal) to adjust your balance.
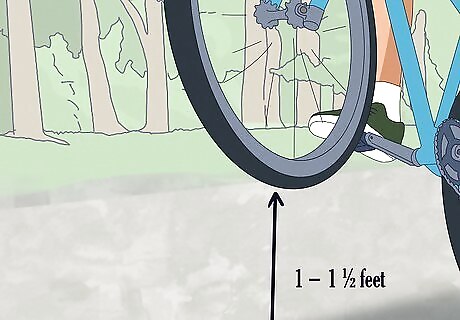
Keep the front wheel 1 to 1 ½ feet off the ground. Steady your balance and coast for as long as you need to. If you feel yourself falling too far backward, feather the rear brakes to bring the wheel down. If the front wheel begins to fall forward, rock your hips in a backward motion while pushing outward on the pedals. Most obstacles on the trail won’t be much higher than a few inches (tree branches, rocks). But in order for you to be able to coast with the front wheel off the ground, you need to fix your center of balance over the rear wheel, and this should bring up the front wheel at least one foot.
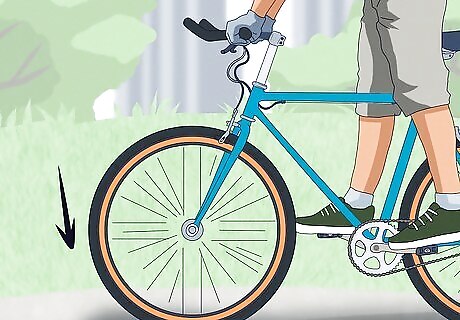
Bring the front wheel down steadily. Either feather the rear brakes or shift your center of gravity forward to bring the wheel softly down. If you're avoiding obstacles on the trail, make sure the path is clear before finishing the wheelie--bringing the wheel down directly onto a rock or branch could cause a fall.



Comments
0 comment