
Using iTunes
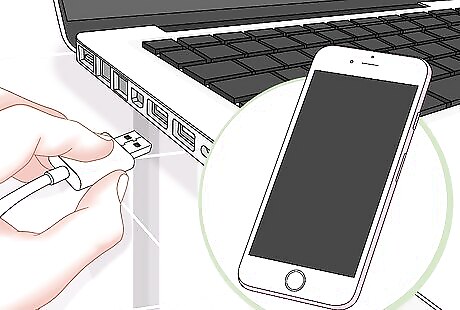
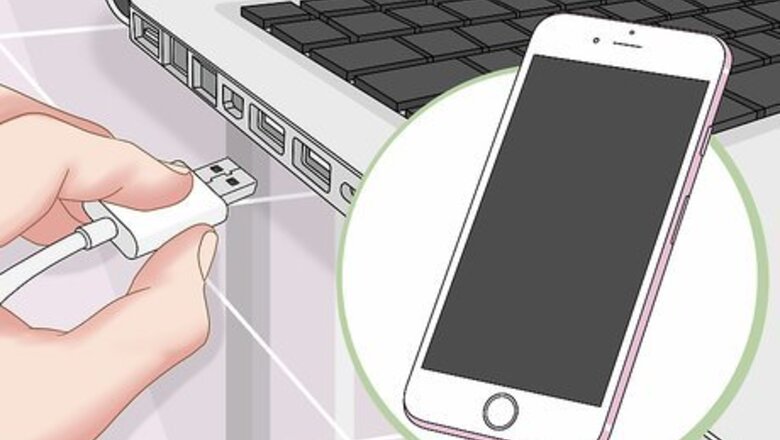
Connect your iPhone to your computer. Use the iPhone's charging cable to connect it to one of your computer's USB ports. If you're on a Mac that doesn't have a USB port, you will need to purchase a USB-C to USB-3.0 adapter.
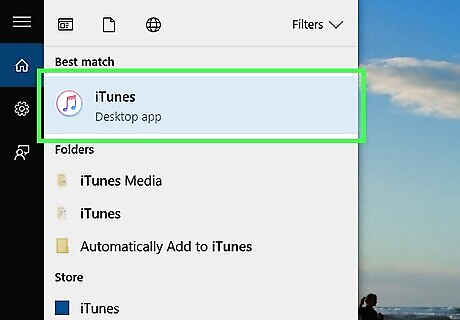
Open iTunes. If iTunes doesn't open automatically, double-click the iTunes program icon to open it. iTunes resembles a multicolored musical note on a white background.
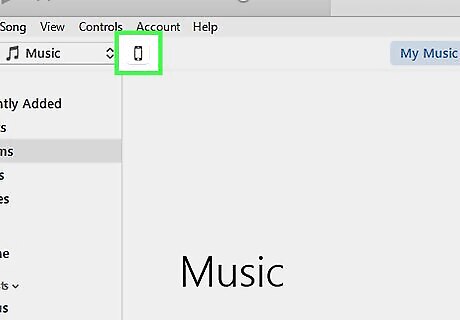
Click the iPhone icon. This iPhone-shaped icon is at the top of the iTunes window. Doing so opens the iPhone's page.
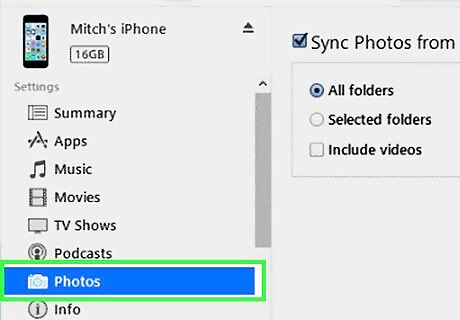
Click Photos. This tab is in the left-hand sidebar below the "Settings" heading.

Check the "Sync Photos" box. It's at the top of the Sync Photos page. Doing so will allow you to add photos from your computer to your iPhone.
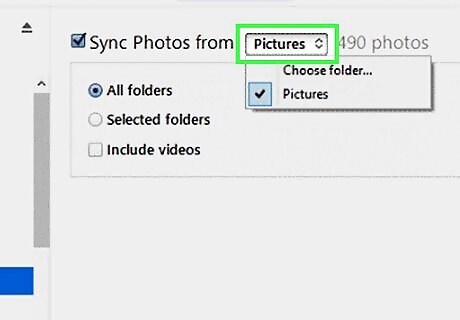
Click the "Copy photos from:" drop-down box. You'll find this option near the top of the Sync Photos page. Clicking it prompts a drop-down menu.

Click Choose folder…. It's at the top of the drop-down menu.
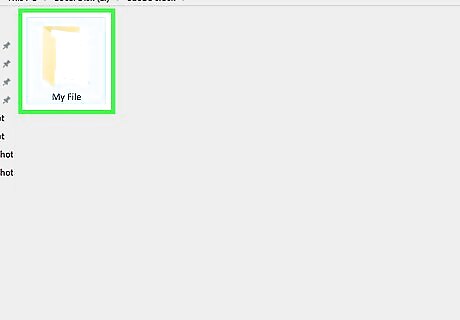
Select a folder. Click the folder from which you want to upload photos, then click Select Folder.
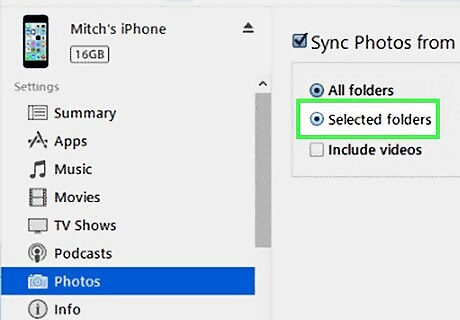
Select subfolders if necessary. If the picture folder you selected has one or more folders in it that you don't want photos from, check the "Selected folders" radio button and then check each folder you want to use to upload photos.
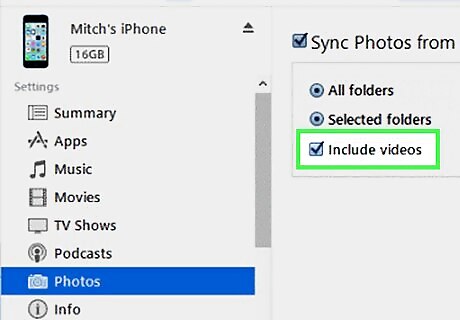
Determine whether or not you want to include videos. Check the "Include videos" box in the middle of the page to upload videos in your selected folder, or leave the box unchecked to upload only pictures.
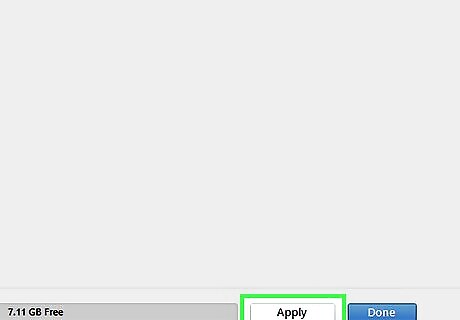
Click Apply. Your selected photos will begin uploading to your iPhone. Once the photos finish uploading, they will appear on your iPhone.
Using a USB Cable for Android on Windows
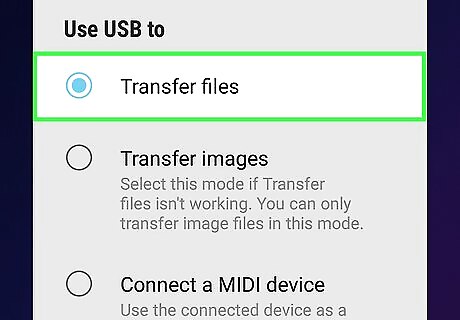
Connect your phone to your computer. Attach one end of the charger cable to your Android and the other to your computer's USB port. This method will only work with an Android phone, since iPhones require iTunes to transfer photos over a USB cable. Tap Media device (MTP) on your Android's screen if prompted.
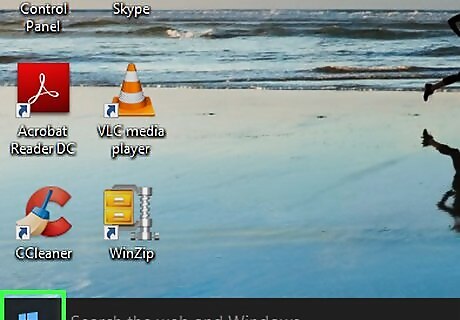
Open Start Windows Start. Click the Windows logo in the bottom-left corner of the screen.
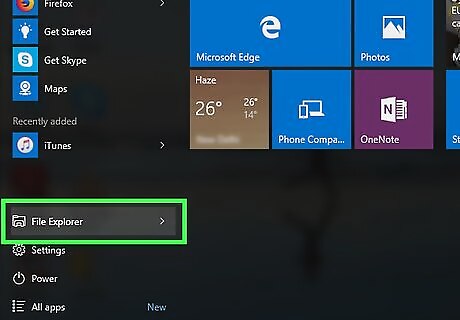
Open File Explorer Windows Start Explorer. Click the folder-shaped icon in the lower-left side of the Start window.
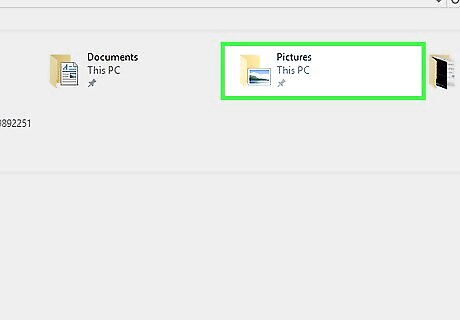
Click your pictures' folder. This will normally be the Pictures folder in the left-hand sidebar, but if you're transferring images from a different location, click that folder in the sidebar instead.
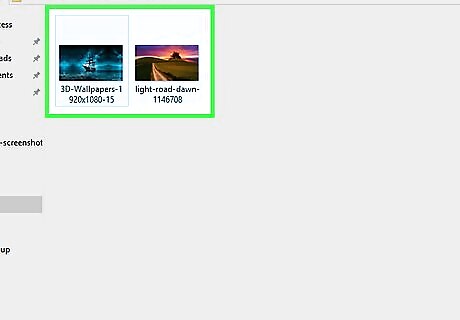
Select pictures to move. Click and drag your mouse across a group of pictures you want to select, or hold down Ctrl and click each picture you want to select individually.
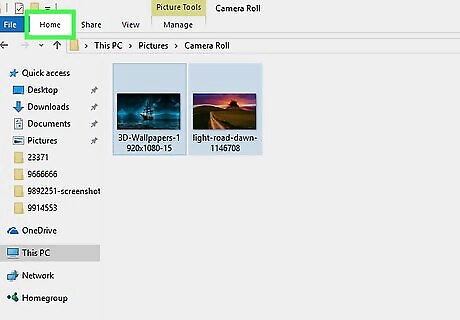
Click Home. This tab is in the upper-left corner of the window. A toolbar will appear below the Home tab area.
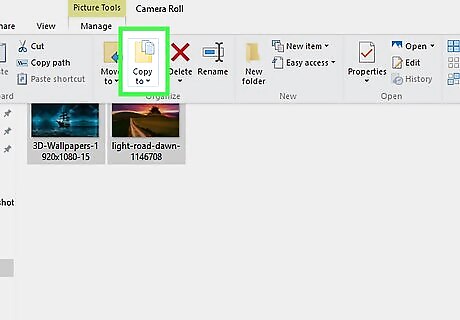
Click Copy to. It's a folder-shaped icon in the "Organize" section of the toolbar. Doing so prompts a drop-down menu.
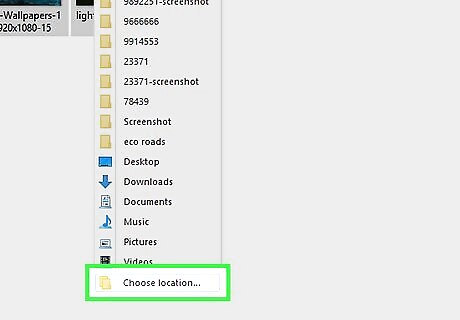
Click Choose location…. This option is at the bottom of the drop-down menu. A pop-up window will appear.
Click your Android's name. You'll find it in the middle of the window, though you may have to scroll down first.

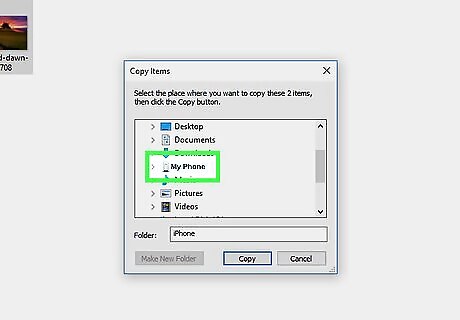
Click the DCIM folder. It's below the Android's name. Doing so expands the DCIM folder to show its contents.
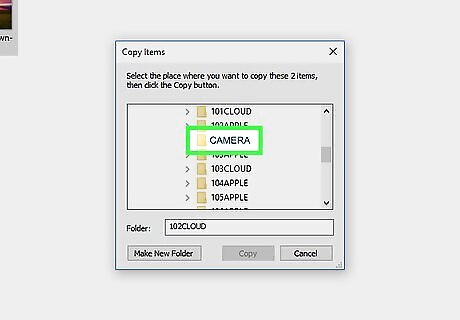
Click the Camera folder. This is below the DCIM folder. Click it selects the Camera folder as the copied images' destination.
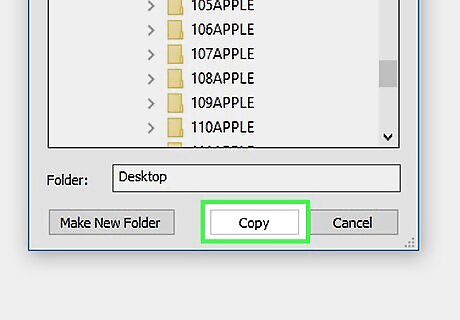
Click Copy. It's a button in the bottom-right corner of the pop-up window. Doing so will begin transferring the selected photos to your Android's internal storage; once there, they will be viewable from your Android's Photos app.
Using a USB Cable for Android on Mac

Connect your Android to your Mac. Use the Android's charging cable to connect your Android to one of your computer's USB ports. If your Mac doesn't have a USB port, you will need to purchase a USB-C to USB-3.0 adapter. If your Android prompts you to select a connection type, tap Media device (MTP) on its screen before continuing.
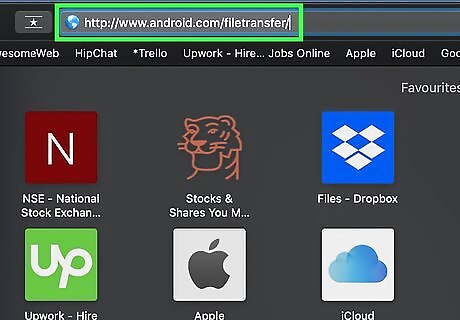
Download and install Android File Transfer. To do so: Go to http://www.android.com/filetransfer/ Click DOWNLOAD NOW Install Android File Transfer

Open the Finder. This blue-faced icon is in your Mac's Dock.
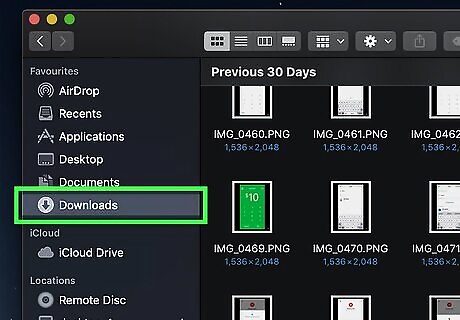
Select your pictures' location. Click the pictures' folder in the left-hand column of folders. This will open the folder in the Finder window.
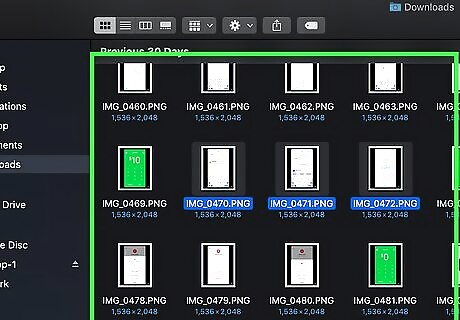
Select pictures to transfer. Click and drag your mouse across a group of pictures you want to select, or hold down ⌘ Command and click each picture you want to select individually.

Copy the pictures. Click the Edit menu item, then click Copy in the resulting drop-down menu.
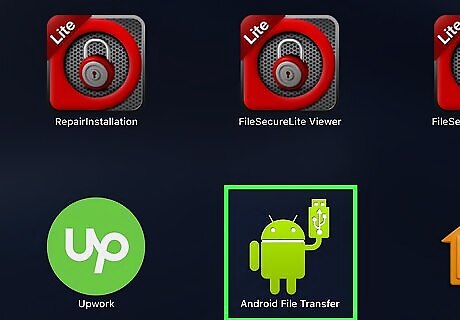
Open Android File Transfer. If Android File Transfer doesn't automatically open, click the Launchpad spaceship icon, then click the Android File Transfer icon, which resembles a green Android mascot. You can also click Spotlight Mac Spotlight in the top-right corner of the screen, type in android file transfer, and then click the Android File Transfer icon.
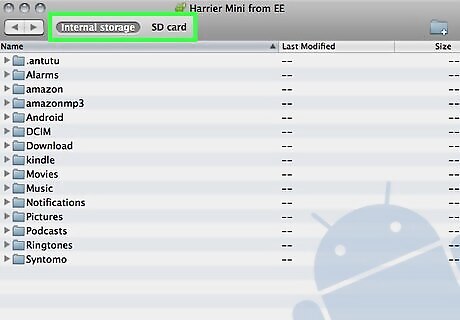
Double-click the Internal storage or SD card folder. Depending on where you want to store your photos, this step will vary.
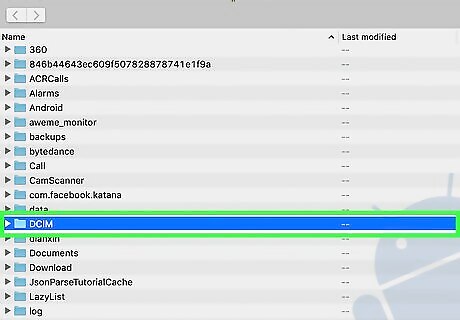
Double-click the DCIM folder. This will open to another folder.
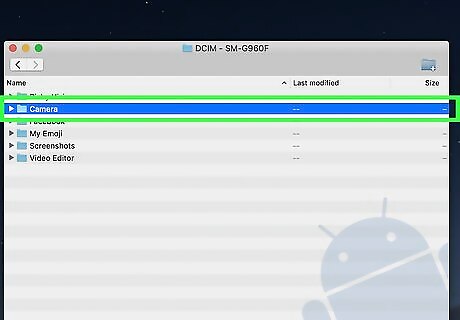
Double-click the Camera folder. It's where your Android's photos are stored.
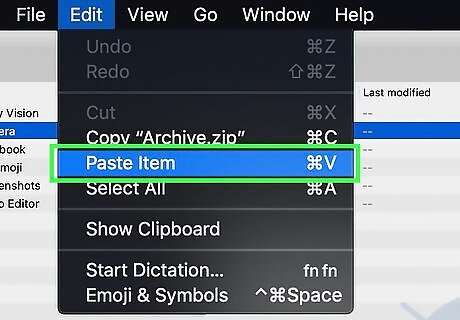
Paste the pictures into this folder. Click anywhere in the folder, then click Edit and click Paste Items in the drop-down menu. Your copied photos will begin transferring over to your Android. Once they finish doing so, you'll be able to view them in your Android's Photos app.
Using iCloud
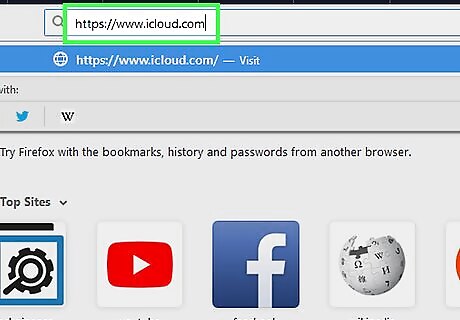
Open the iCloud site. Go to https://www.icloud.com/ on your computer.
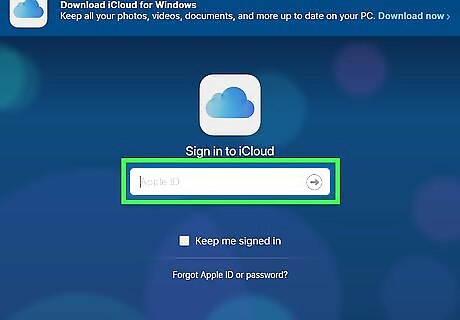
Log into iCloud. Enter your Apple ID and password that you use for your iPhone, then click →. This will log you into your iCloud account. If you're already logged in, skip this step.
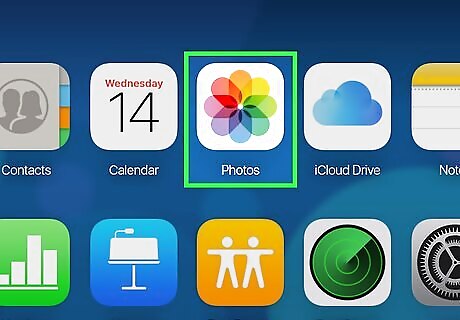
Click Photos. It's a multicolored pinwheel icon on a white background. Doing so will open your iCloud Photos app.

Click the "Upload" button. This icon resembles a cloud with an upward-facing arrow. Clicking it prompts a File Explorer (Windows) or Finder (Mac) window to open.
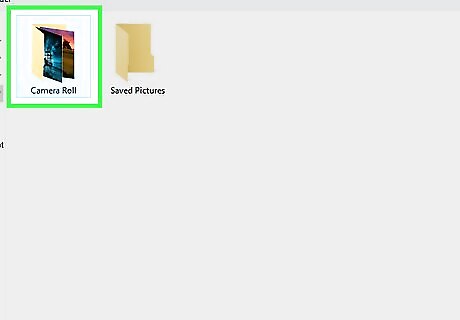
Click the photos' storage folder. Click the folder in which your photos are stored. You'll find a list of folders on the left side of the window, so look for the pertinent folder there.
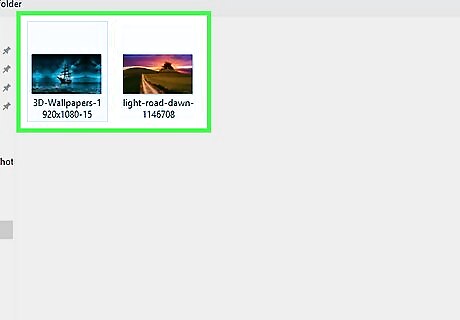
Select photos to upload. Click and drag your mouse across a group of pictures you want to select, or hold down Ctrl (Windows) or ⌘ Command (Mac) and click each picture you want to select individually.
Click Open. It's in the bottom-right corner of the window. Doing so will prompt your photos to begin uploading to iCloud.
Wait for your photos to finish uploading. This will take some time depending on how many photos you're uploading. Once the upload is complete, your photos should be accessible on your iPhone. In order for the photos to show up on your iPhone, you must have iCloud Photo Library enabled on your iPhone.
Using Google Photos
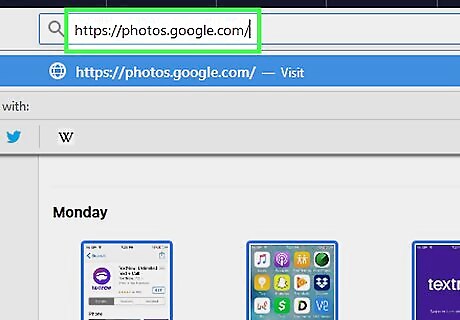
Open the Google Photos website on a computer. Go to https://photos.google.com/. This will open a page with your Android's photos if they are backed up. You may first have to sign into your Google account with your email address and password if this is your first time opening Google Photos.
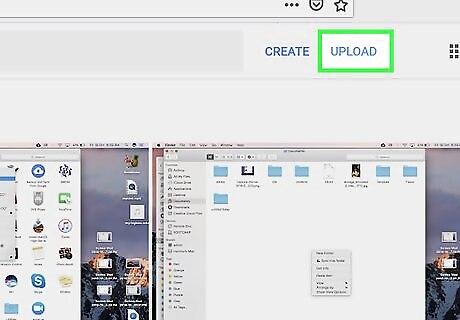
Click UPLOAD. This blue button is in the top-right side of the page. Clicking it prompts a File Explorer (Windows) or Finder (Mac) window to open.
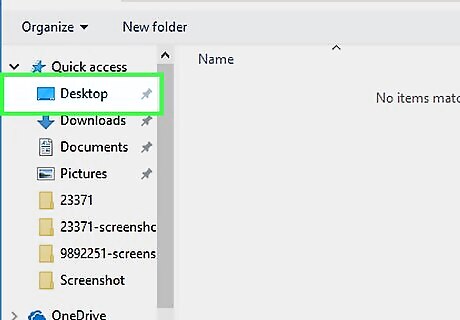
Click your photos' location. Click a folder with photos in it on the left side of the File Explorer or Finder window.
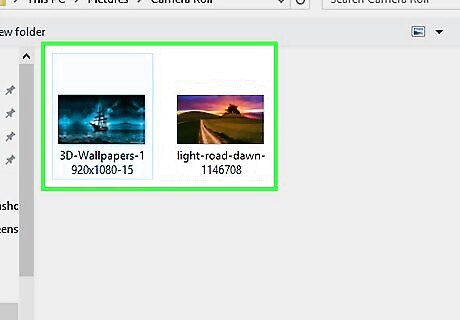
Select photos to upload. Click and drag your mouse across a group of pictures you want to select, or hold down Ctrl (Windows) or ⌘ Command (Mac) and click each picture you want to select individually.
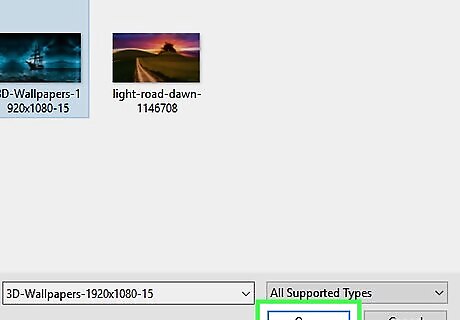
Click Open. It's in the bottom-right corner of the window.
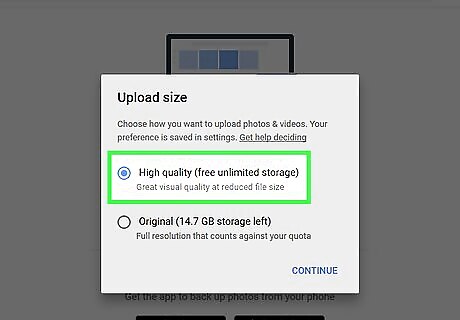
Select an upload quality. Check one of the following options: High quality - Uploads the photo(s) in high quality resolution at a reduced file size. This does not count against your Google Drive storage limit. Original - Uploads the photo(s) in the original resolution, which may be higher than the "High quality" option. This counts against your Google Drive storage limit.
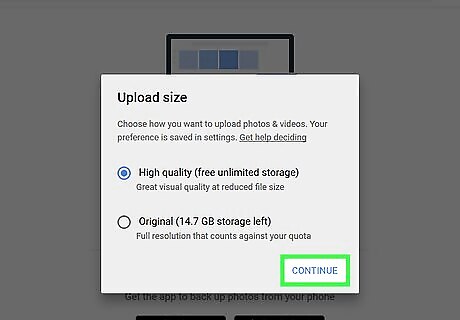
Click CONTINUE. This option is in the bottom-right corner of the quality window. Doing so will prompt the photo(s) to begin uploading to your Google Photos account.
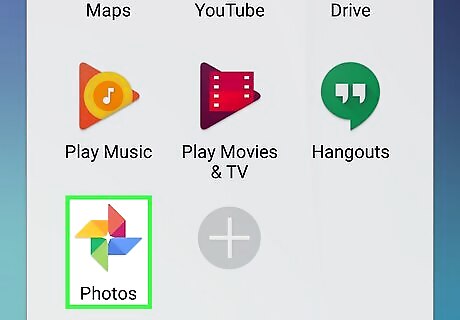
Open Google Photos on your Android. This app resembles a red, yellow, green, and blue four-point star. If you aren't signed into Google Photos, you'll first enter your email address and password when prompted.
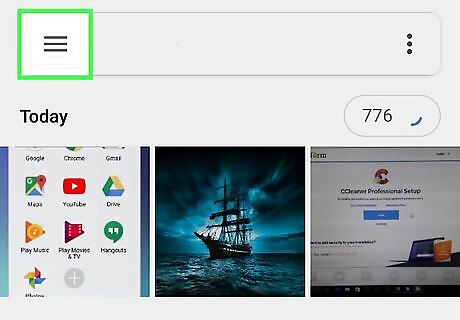
Tap ☰. It's in the top-left corner of the screen. A pop-out menu will appear.
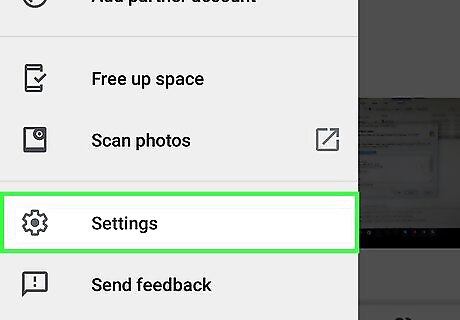
Tap Settings. It's near the bottom of the pop-out menu.
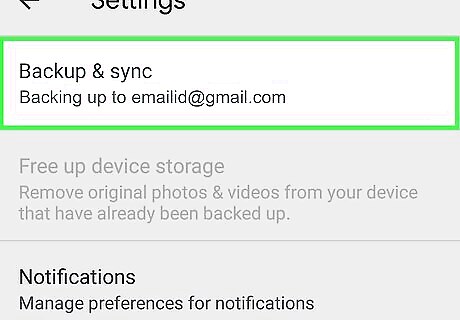
Tap Back up & sync. This is near the top of the Settings menu.
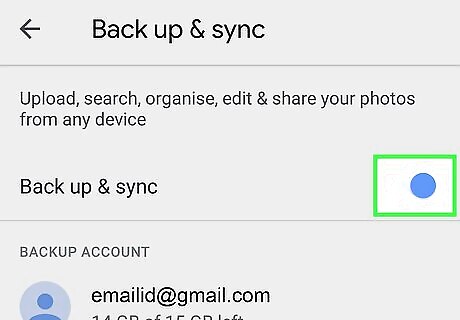
Make sure the switch is set to "On" Android 7 Switch On. If it isn't, tap the switch to turn on backup for your photos. This will enable synchronization between your Google Photos account and the Google Photos app, which will put the photo(s) you just uploaded to Google Photos on your Android.
Using Nearby Share by Google
Download and install the Nearby Share app on your Windows PC. It can be downloaded from the Nearby Share for Windows Website.
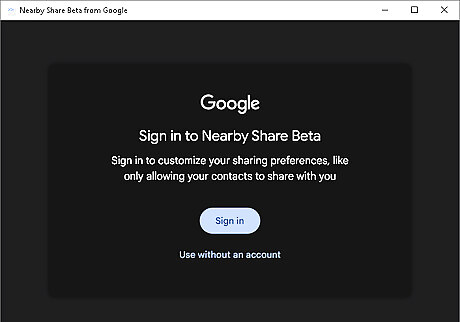
Sign in with your Google Account. By signing in with your Google Account, you can sync your Google Contacts and change discoverability settings to only be visible to your contacts or only to your own devices. You can also opt to not use an account.
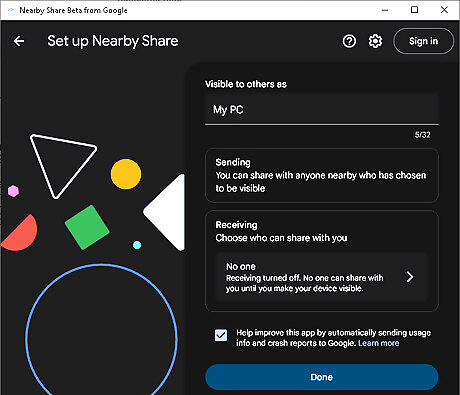
Set up Nearby Share by choosing a device name. This device name will be used to identify your device and it will be visible to other people.
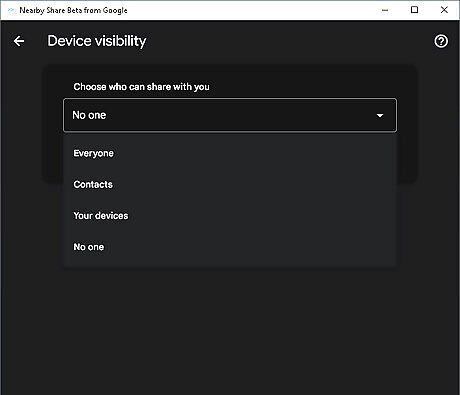
Choose device discoverability settings. On the setup page, click on the option inside the "Receiving" box to select who will be capable of discovering your device via nearby share. You can opt to be visible to Everyone, only to your Contacts (contacts from your Google Account), only to your devices (requires a Google Account), or to no one.
Go back to the setup page and click Done.
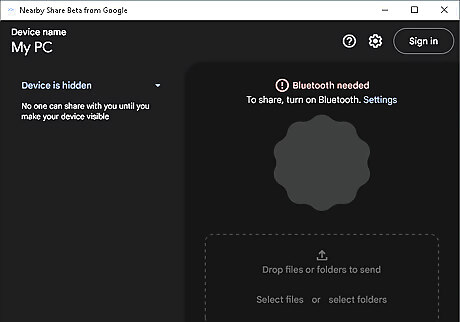
Enable the necessary hardware as requested by the app. Nearby share requires Bluetooth and Wi-Fi.
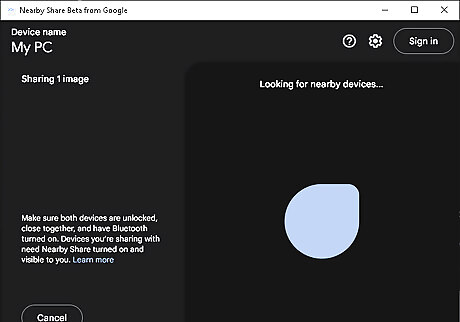
Drag and drop pictures to the Nearby Share app on your Computer. The nearby share app will start looking for nearby devices.

Wait for the "Device nearby is sharing" notification on your Android device. Turning on Wi-Fi and Bluetooth and connecting your Android device to the same Wi-Fi network with your computer can speed up the process. Nearby Share is available for Android 13 and up.
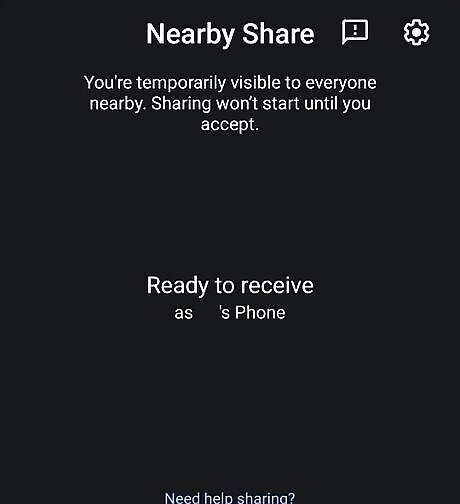
Tap on the notification or manually change the visibility of your Android Phone. Tapping the notification will launch nearby share on your Android device and will set your device visibility to be visible for everyone temporarily. You can also manually change this on the Nearby Share settings on your Android device and set-up visibility to only your contacts or to your own devices.
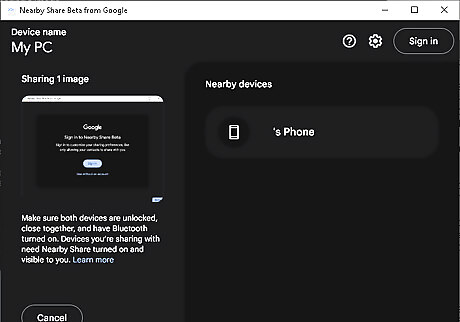
On the Nearby Share app on your PC, click on the device where you'll send the picture.

Accept the file on your phone.


Comments
0 comment