
Preparing Your Shoes and Design
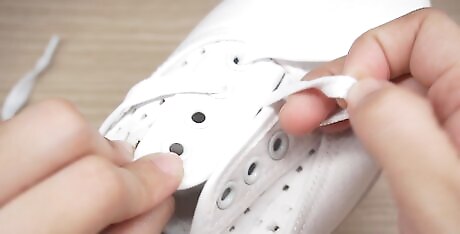
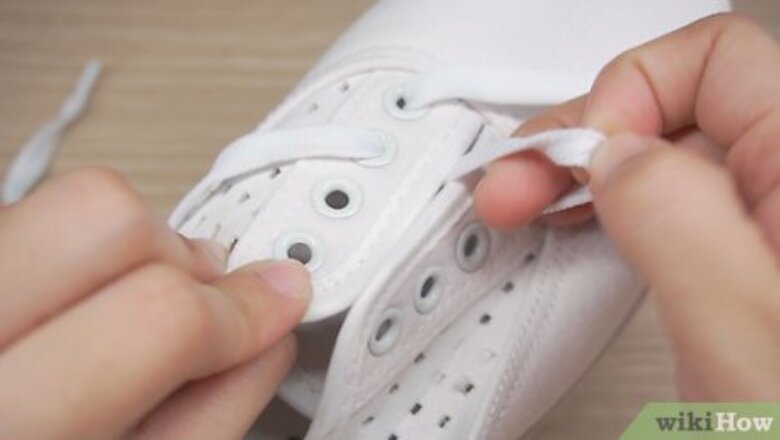
Remove the shoelaces to keep them white. If your canvas shoes have laces, they will get dyed as well if you leave them in your shoes. Unlace each shoe before you get started so you can keep them clean. Doing this exposes the tongue section, so you can dye it too if you’d like. Alternatively, keep the laces in if you want them to be part of your tie-dye effect!
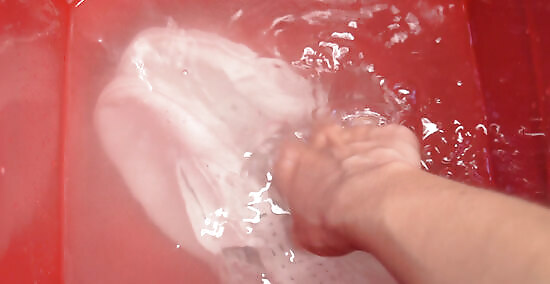
Soak your canvas shoes in water and soda ash for 10 minutes. Many tie-dye kits come with soda ash and instructions to prepare your shoes. On average, mix ½ cup (118.3 g) of soda ash and 1 gallon (3.8 L) (4404.9 mL) of warm water. Then, put your shoes in a bucket, and pour the mix over top. Let your shoes soak for at least 10 minutes. This helps the canvas fabric absorb the dye better. If you aren’t using a tie-dye kit, you can purchase soda ash separately at most craft supply stores.
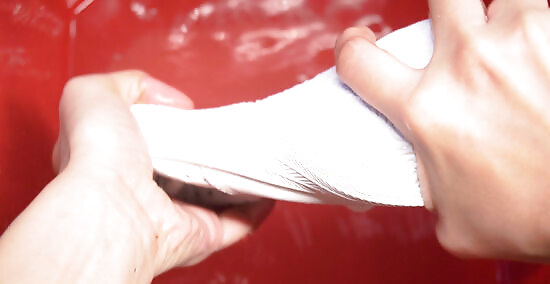
Wring out your shoes and let them dry completely. After your shoes have soaked for at least 10 minutes, squeeze out the excess water from the fabric. Then, set them in the sunshine for 1-3 hours until they are dry. You do not have to rinse the shoes after you take them out of the soda ash mixture.

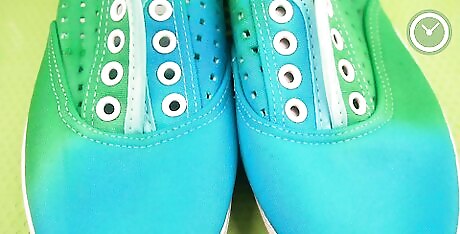
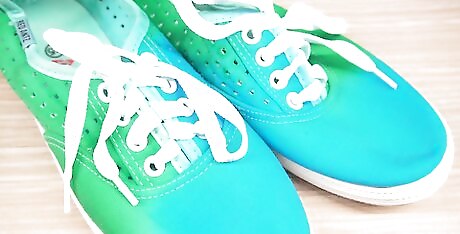
Plan out your tie dye colors and design in advance. Before you color your shoes, examine them and pick out the overall look of your shoe. For example, you can paint on random blobs of color for an abstract look, or you can plan your color placement in advance for a particular design. This way, your shoes will look neat and artistic. For example, apply 3-5 colors in 1–3 in (2.5–7.6 cm) sections for a striped effect. Apply 2-4 colors in a swirl pattern for a 70s-inspired shoe.
Mixing Your Dyes
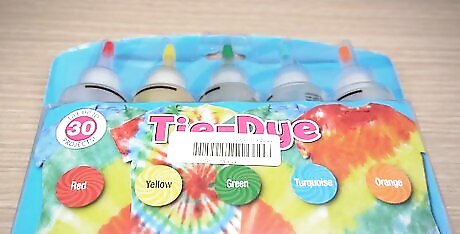
Use a tie-dye kit to easily transform your shoes. Purchase a tie-dye kit from a craft supply store. Most kits come with 3 or more colors, and you can select a kit based on your color preference. The kit comes with everything you need to customize your shoes, including easy to follow instructions for mixing the dye. Alternatively, purchase dye mix individually and mix the color with water following the specific instructions of your dye. Each dye type is different, but in general, you can mix the dye with several cups of water to create your coloring. Do this for each individual dye color.
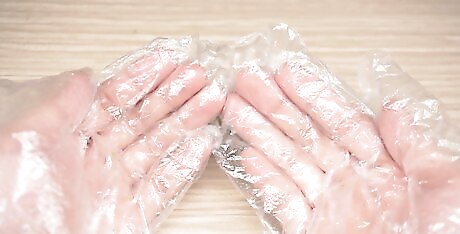
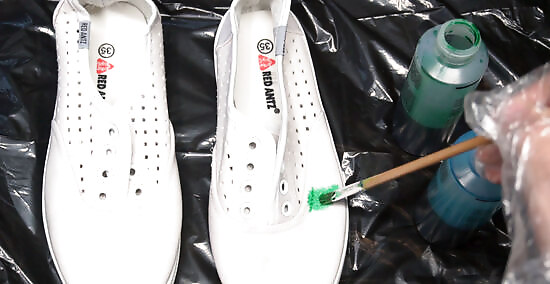
Wear a pair of plastic gloves to protect your hands from getting stained. Do this after your shoes are dry and you are ready to dye them. This way, your hands will stay free of dye. In addition, lay down a plastic covering or newspaper to protect your work surface. Typically, tie-dye kits come with a pair of gloves. You can also use plastic medical or kitchen gloves.
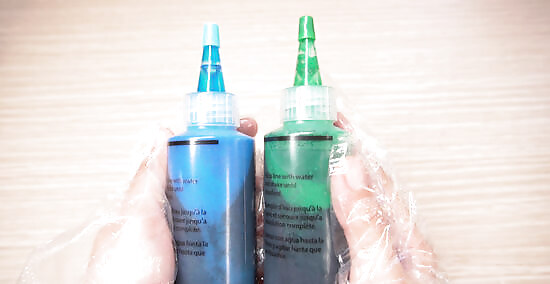
Fill up your applicator bottles with water in order to mix the colors. Your kit likely comes with small plastic applicator bottles full of pre-portioned dye. Fill the bottle to the top with water from your faucet, secure the tops, and shake it up. Then, remove the caps from the bottles so you can dip your paintbrush inside.
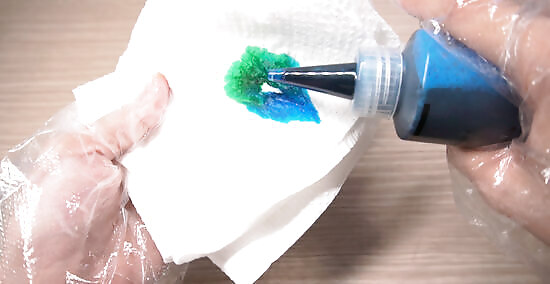
Test out your dye using a paper towel so you can see the true colors. Before you color your shoes, grab a piece of paper towel, and paint your intended design using your dye. Blend the colors together to get a sense of what they look like using your dye and a paintbrush, and make adjustments in your plan as needed. This is a great way to see how the colors will look and ensure you like your shoes. For example, yellow often looks better blended with blue than it does purple. Yellow and blue blend to create green, while yellow and purple can look brown and muddy.
Applying the Fabric Dye
Start by applying the lightest color before adding the darker hues. Dip your small paintbrush into the dye, and bring the brush to the fabric. Apply all of your first color before moving on to the next shade. Begin with shades like yellow, orange, pink, and light green. Then, move onto darker shades like red, blue, and purple. Using a small brush gives you greater control of the dye, so you can easily create a cool tie-dye effect. Doing this prevents the colors from bleeding together. Dark colors may overpower lighter colors if you apply them first. For instance, if you start with a dark blue and then try to color in a section yellow, the yellow may appear less visible because of the intensity of the dark shade.
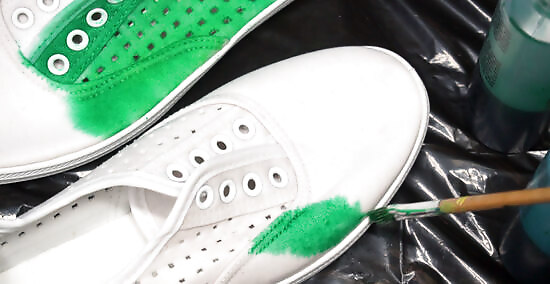
Dye each sneaker simultaneously so you can color them evenly. As you work on your shoes, it is helpful to work on both simultaneously, rather than finishing 1 shoe and then starting the next. This way, your design matches as close as possible. You can also easily blend colors and fix any mistakes working this way. For instance, fill in the toe of both shoes before you move onto the sides.
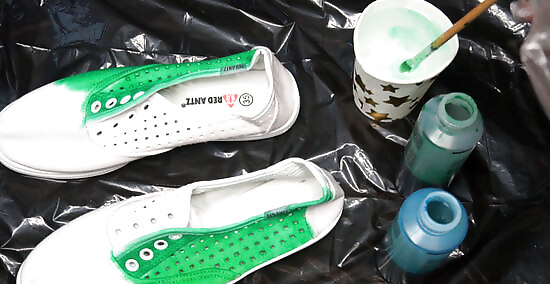
Wash your brush in clean water in between colors to avoid bleeding. Fill up a small cup, and place it next to your workspace. Then, dip your brush into the cup after you finish painting the first color. Do this each time you swap colors so the colors remain separate, rather than mixed. If you don’t rinse off your brush, you may contaminate the dye with the previous color.
Leave ⁄4 in (0.64 cm) of space in between colors for the dye to run. After you paint on your first color, apply the next shade a little further away from the first hue. As you paint the next color, the dye will effortlessly blend with the next color, creating a gradient effect. Do this for all of your shades until you finish your desired look. The amount can vary based on your intended look.
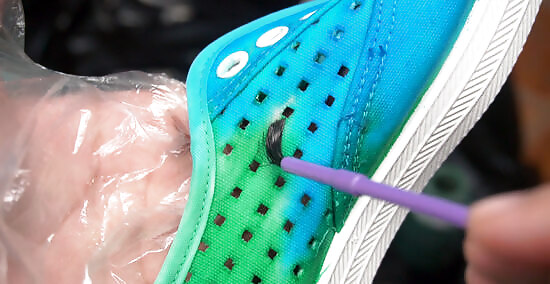
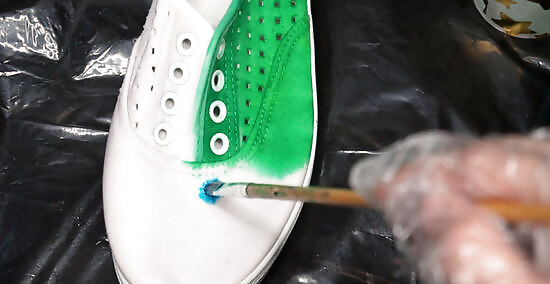
Blend the colors with a dry brush if your shoes need a touch-up. After you fill in your shoes with the dye, clean your brush and locate a small, dry brush. Put the tip of the dry brush in between 2 colors, and wiggle it back and forth to blend the dyes. It is best to do this while the dye is still wet. Continue blending the color until you like the way it looks. If you are satisfied with the look of your shoes prior to blending, skip over this.
Setting the Color
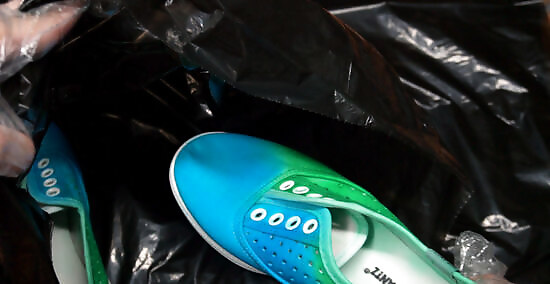
Wrap your shoes in a plastic bag or saran wrap so the colors can set. When you are finished dyeing your shoes, cover them in plastic so the dye will not get messed up. A plastic bag is the easiest option, though you can also wrap them up using several sheets of saran wrap. With either option, make sure the shoes are completely covered.
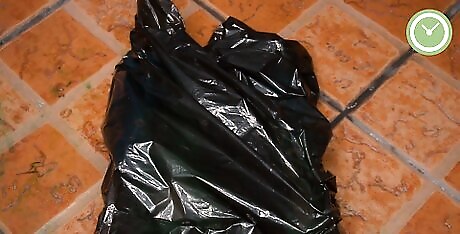
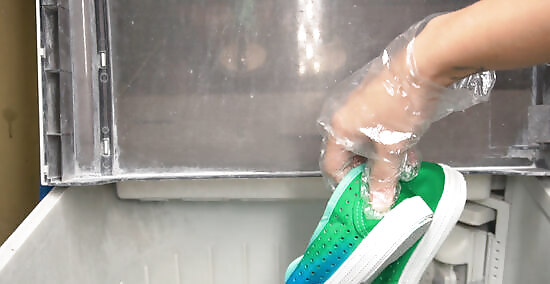
Let the shoes sit for 12-24 hours for best results. After about 6 hours, your dye sets into the canvas fabric. You can wash them at this point; however, if you let them sit for longer, the color absorbs better. Leave your shoes wrapped in plastic overnight or until the same time the next day if you want bright, saturated dye.
Wash your dyed shoes by hand or using the washer. You can use either washing option to wash your dyed shoes, as both work well to remove the dye or chemicals. Wash the shoes by themselves so the colors don’t dye other items. Use cold water, 1/4 cap of regular liquid detergent, and a normal wash cycle if washing with a machine. If washing by hand, scrub your shoes with 1-3 squirts of mild dishwashing soap and cold water. If washing by hand, use a washcloth to scrub the outside of your shoes and rinse them until the water is clear. If using the washing machine, remove your shoes from the washer after the wash cycle is complete.
Let your shoes air dry. Place your shoes outside in a sunny spot for 1-3 hours. Using the dryer may make your colors fade and look less vibrant. Check on your shoes periodically to see how dry they are. When the fabric is dry to the touch, bring them back inside. For instance put your shoes on your deck or front porch. If you have slip-on canvas shoes, you can wear them after they dry.
Replace your laces after your shoes are clean and dry. Choose to lace your shoes straight across, or go with the classic criss-cross method. Once your laces are back in place, you can put on your shoes and show them off! If you place your shoelaces on while the shoes are still wet, they may look slightly tinted in color later on.


Comments
0 comment