views
Skinning a Whole Raw Chicken
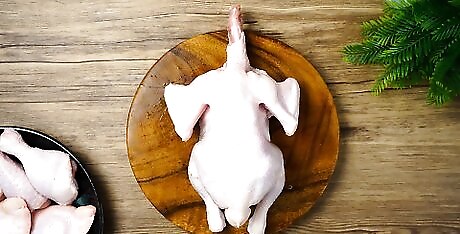
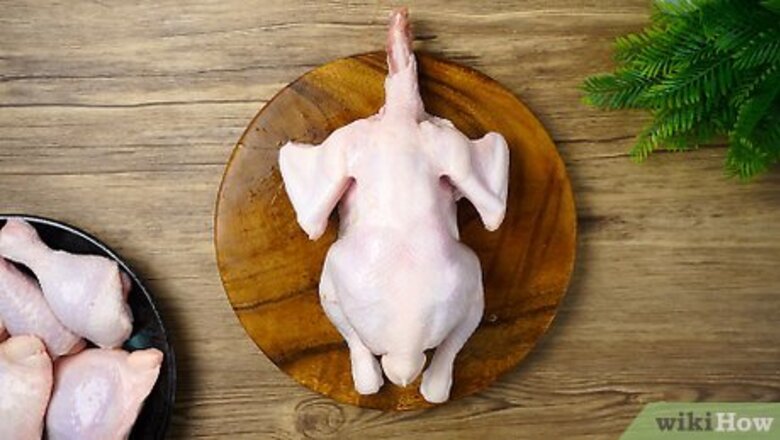
Place the chicken on a clean cutting board. Before you begin skinning the chicken, it's important to ensure that your work area is ready to go. Wash the cutting board or other surface that you plan to skin the chicken to ensure that you don't contaminate the chicken. Once the surface is clean, set the chicken on the cutting board with the breast side down. When you're working with chicken and other meats, a plastic cutting board is usually the best option because it's easier to sanitize and doesn't trap bacteria as easily. If you're washing a plastic cutting board, a chlorine-based cleaner, such as a bleach and water solution, works best. Add a tablespoon of bleach per gallon of water to create a cleaner that you can use for up to two weeks. For washing a wooden cutting board, a quaternary ammonium-based disinfectant is usually the best option. Dilute a quaternary ammonium product, such as Mr. Clean, with water according to the directions to create a cleanser for your board. Make sure to dry your cutting board completely before setting the chicken on it.
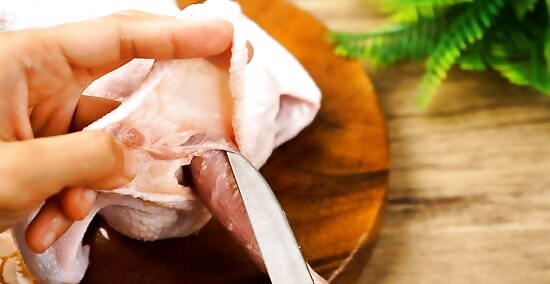
Start cutting the chicken skin at the neck. With a long, sharp knife, begin separating the skin from the other tissue at the neck of the chicken. You'll need to slide the knife beneath the skin to separate it from the rest of the chicken. Continue working your way along until you reach one of the wings beneath the skin. It's best to use short, precise cutting motions as you work to free the skin from the chicken, especially if you want to keep the skin intact.
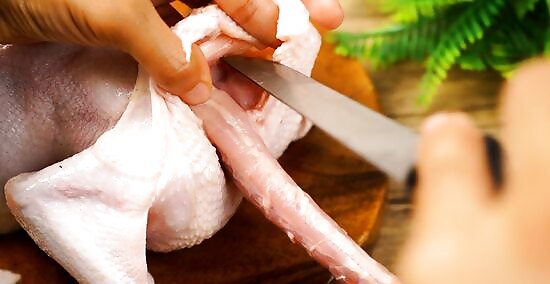
Cut the wing free at the first joint. When you reach the first joint of the wing, use your knife to slice it and free it completely from the skin. Remove the wing bone and its meat from inside the skin and continue cutting the rest of the wing free from the skin, turning it inside out to make it easier. Once you've freed the wing that you're working on, repeat the entire process with the other one.
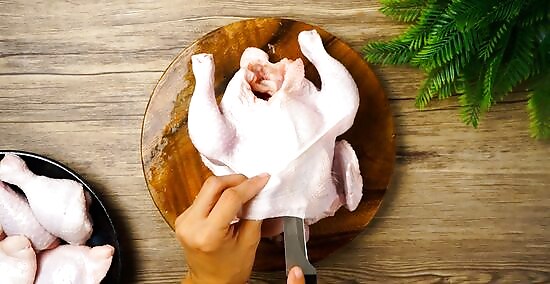
Separate the skin from the meat over the breast area of turkey. Once you've freed both wings, you can continue to loosen the skin from the breast of the chicken. If you don't need the skin for another recipe and don't care if it remains intact, you can use your knife to carefully slice it free along the breast, thigh, and back of the chicken. If you want to keep your chicken skin intact, use a tablespoon instead of a knife to separate the skin from the meat. Slip the handle of the spoon between the skin and the meat to split them, but work carefully. While the spoon handle is dull, it can still tear the skin if you're not careful. Leave areas that won't easily separate alone.
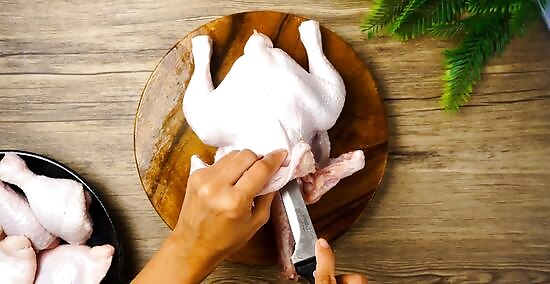
Slice the skin on the back free. The area in the middle of the chicken's back is usually especially tough, so you need to take time to carefully cut it free with your knife. Work slowly and carefully, pulling back the skin as you go to make the process easier. Make sure to go as high as the skin allows to fully separate it from the meat on the back. If you've used a spoon to help separate the skin from the breast area, you'll need to switch back to a knife to cut away the skin at the middle of the back. The spoon just isn't strong enough to free the skin in that spot. If you don't want to damage the skin, keep your cuts small to avoid cutting it.
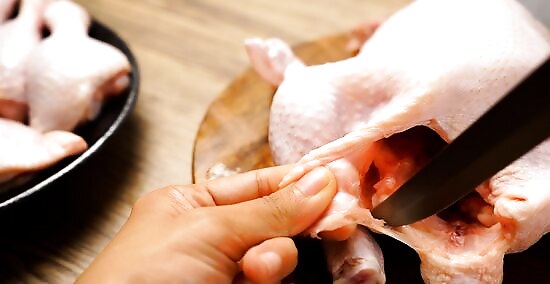
Trim the skin around the ends of the thighs. Once the skin is completely loose around the breast and back area, use your knife to cut the skin that covers the end of the bone in each thigh. Once you've cut the skin at the end, continue to use your knife to separate it from the thigh meat. Make sure to slice completely around the bone at the end of the thighs to ensure that the skin is free all the way around.
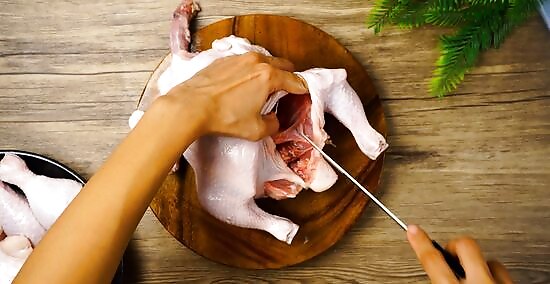
Cut the hip joints and snap the thighs free. Once the skin is separated enough, you can remove the thighs. Slice each one at the hip joint to ensure that the thighs are loose enough. Using your hand, snap each thigh at the joint to completely sever it from the chicken. Next, pull the thighs free from the skin, and place them on the cutting board. It's important to use a sharp enough knife to cut through the hip joints. You may want to sharpen yours just before this step to ensure that it's capable of doing the job.

Pull the skin completely free from the chicken. Once the thighs are removed, you're ready to completely separate the skin from the chicken. As you're working it free, pull on it back from the neck almost as you would pull up on sock. If you find any areas where the skin is still attached, use your knife to carefully separate it and then continue pulling. If you're removing the skin simply to make your recipe healthier, discard it in the trash. If you need the skin for a certain recipe, follow the instructions for what to do next.
Removing Skin from Individual Raw Chicken Pieces
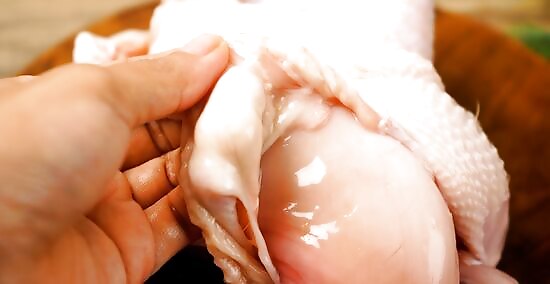
Pull the skin away from one side of a breast. When you want to remove the skin from a chicken breast, place the breast on a clean cutting board so the skin side is facing up. Choose one side of the breast and take hold of the skin to carefully pull it away from the meat. Don't worry if the skin doesn't pull off in one piece. Just grab the remaining piece and tug until all of the skin is removed from the breast.
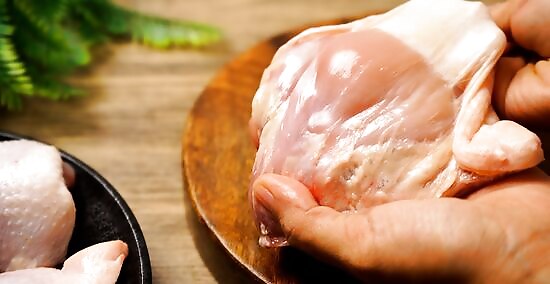
Grasp the skin at the joint side of a thigh. To skin a chicken thigh, it's important to start at the joint where the skin is usually most strongly attached. Grab the skin right where it connects to the joint and pull it off in one piece. If you meet any resistance along the way, use a sharp knife to cut the skin free. If you feel like your fingers on slipping on the slick skin, you can use a paper towel to grab it and get better traction. Dipping your fingers in salt can also help, but be sure to pour the salt into a small dish and throw the remainder away after use so you don't contaminate your salt with bacteria from the raw chicken.
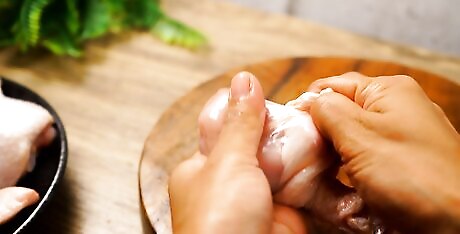
Tug the skin away from the meaty end of a drumstick. When you're removing the skin from a chicken drumstick, you should take hold of the meaty end, not the bone. With a firm grip on the skin, pull down toward the bone until it comes off the end. It should come off in one piece, but if the skin tears, just grab the remainder and pull it off the end. If any small bits of skin get stuck along the bone and you want to remove them, use a small knife to carefully scrape them off.
Taking the Skin Off Cooked Chicken
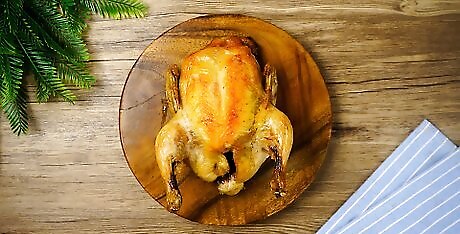
Allow the chicken to cool. You can usually easily remove the skin from a cooked chicken by hand, but that means it's important to ensure that it's not too hot to handle. That way, you won't burn yourself. After you've finished cooking the chicken, let it sit for approximately 10 minutes. You'll know that the chicken is cool enough when you can touch it without discomfort. To ensure that the chicken retains enough heat to eat, you may want to set a piece of foil over it as it cools.
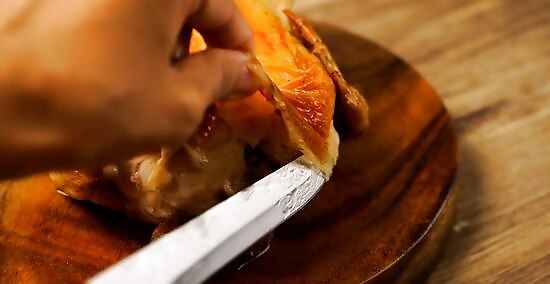
Use a knife to free an edge of the skin. Cooking the chicken actually helps loosen the skin from the meat, so there may be an edge that you can easily grab hold of without much effort. However, in some cases, the skin may not be loose enough for you to grasp, so you'll need to take a knife and gently slide it between the skin and meat. When the skin lifts up, grab it between your fingers. It's usually best to cut the cooked chicken into pieces before you start to remove the skin.
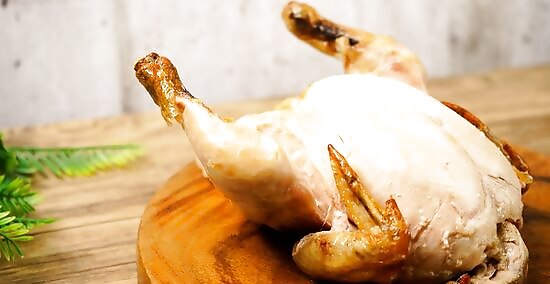
Peel the skin off. Chicken skin typically becomes crispy when you cook it, so in most cases, it's easier to peel it off after it's cooked. Pull the skin from one side of the chicken to the other to remove it. It probably will not peel off in one clean piece, so you may need to repeat the process a few times to remove all of the skin. Leaving the skin on the chicken while it cooks can actually help keep the meat tender and juicy. Removing the skin prior to eating, though, gives you much of the same health benefits as skinning the chicken before you cook it.


Comments
0 comment