
views
This puppet theater is basically a theater-shaped curtain that hangs in any doorway. Making this puppet theater requires a few hours, basic sewing skills, and some inexpensive supplies. Once done, it should provide hours of creative entertainment.
If you can't sew or don't have the time, see the tips for a no-sew version that you can improvise from household objects you already have.
Measure the width of a doorway, preferably the door where the theater will go. These curtains, and most tension curtain rods, are adjustable, but it will help to have an approximate finished size in mind as you sew. This doorway is about 28 inches wide.
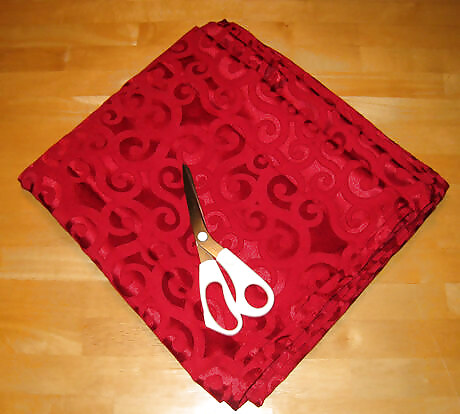
Choose a suitable piece of fabric. This is a red tablecloth, found at a local thrift store. It was chosen because it was large, inexpensive, lightweight, and fairly opaque. It also happens to be red (as many real theater curtains are) and it has an interesting but not overpowering pattern. This entire project used a piece of the tablecloth that was 5 feet (1.5 m) x 6 feet (1.8 m). A dark colored or satin bed sheet or a lightweight blanket might also work.
Wash and iron the fabric. This is a particularly good idea if the fabric was previously used for some other purpose or if it came from a garage sale or thrift store. It will help the finished project to have a smooth, finished appearance and to hang straight.
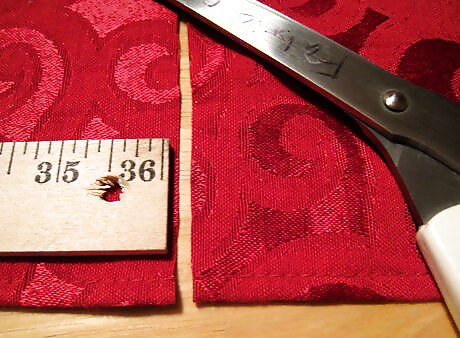
Measure and cut the fabric. You will need a total of four rectangles: a valance, two matching side panels, and a lower curtain. The sizes are easy to adjust, according to the doorway and your preferences. Here are the measurements and the reasoning behind them. Puppet_theater_4.jpg Valance: 12 inches (30cm) tall x 60 inches (150cm) wide. The valance forms the top of the theater frame. It will hang down about six inches from the tension rod at the top. It also needs a casing large enough to fit over the tension rod. The width, 60 inches, was the width of the original tablecloth, but it makes the curtain about twice as wide as the door where it will hang. Aim for at least one and a half times as wide as the door. Side panels: 30 inches (75cm) tall x 15 inches (40cm) wide. These are the sides of the frame. The thirty inches will be the height, and it takes into account both the desired finished height of the theater and the original width of the tablecloth. The width includes a bit of extra for hems on both sides. It will bunch to about half that dimension when hung up. Lower curtain: 36 inches (90cm) tall x 60 inches (150cm) wide. Again, the 60 inches was the original tablecloth width and includes excess for bunching. The 36 inches, minus a hem and a casing, will be the height of the lower curtain. It was chosen to be tall enough to hide young puppeteers if they choose not to be part of the scene but short enough to allow them to stand or kneel and join in the action. The heights will be somewhat adjustable once the curtains are hanging. A yardstick or tape measure will help to keep things fairly straight.
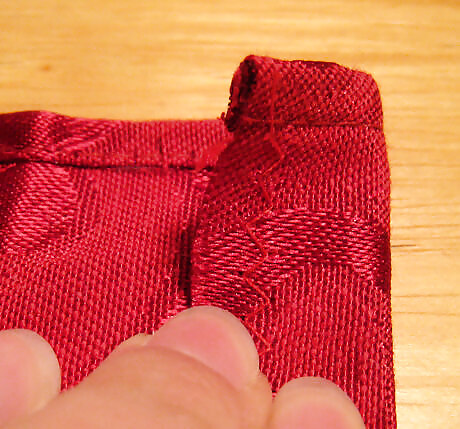
Hem the lower curtain on three sides. In this case, all three of these hems came with the tablecloth, so there was no need to sew them. Run a zigzag stitch around if necessary, to keep the edges from fraying.
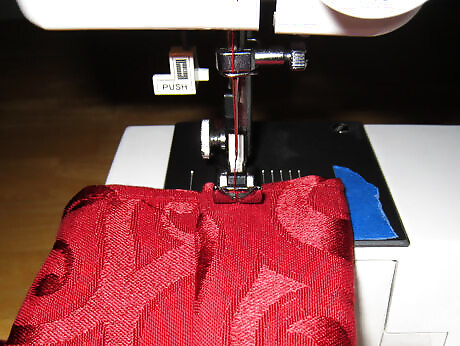
Turn the edge under and sew a wide casing on the fourth side of the lower curtain. The casing should be large enough to fit easily over the dowel, at least 1.5 inches (4cm) wide. Sew a zigzag stitch along the edge of this side before sewing the casing, if the fabric seems inclined to unravel.
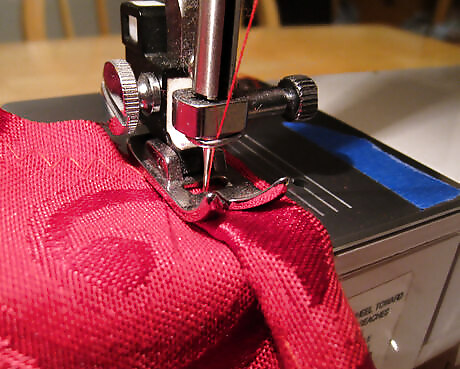
Hem the three "free" edges of both side panels. That is, hem both long edges and one short edge. Leave one side raw or with a zigzag stitch. Take advantage of any existing hems.
Hem the three "free" sides of the valance. That is, hem one long edge and both short edges. Take advantage of any existing hems.
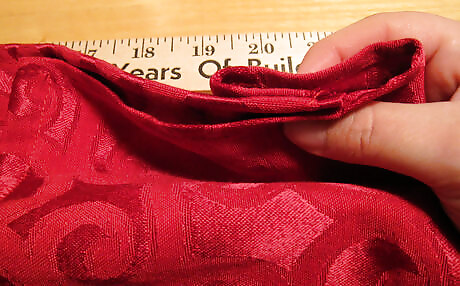
The same thing in a diagram. The black is the side panel, the green is the valance, and the red dashed line is where the stitches will go. Pin the casing on the fourth side of the valance, and pin the raw edges of the side panels into the casing as shown, on either end. Use a ruler or tape measure to keep the valance length and casing height consistent across the width of the valance. Make it a generous width, at least 2 inches (5cm) when flat.
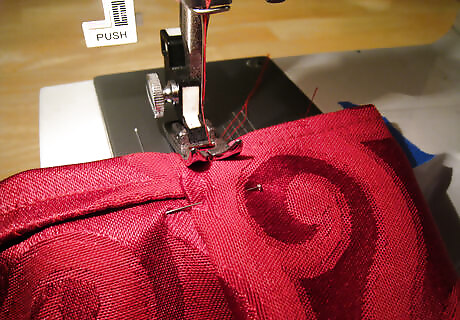
Sew the valance casing so that the side panels are sewn into either end. This casing will run all the way across the valance, and it will catch the side panels at either end.
Adjust the length of the tension rod to fit the doorway where the puppet theater will hang. This is likely to be easier to do without the curtain on it.
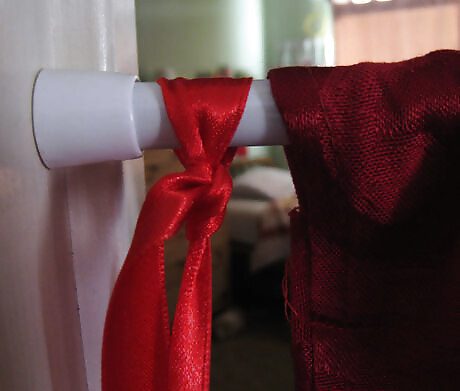
Insert the tension rod into the valance casing. Arrange the upper curtain on the rod so that the bunching is fairly even.
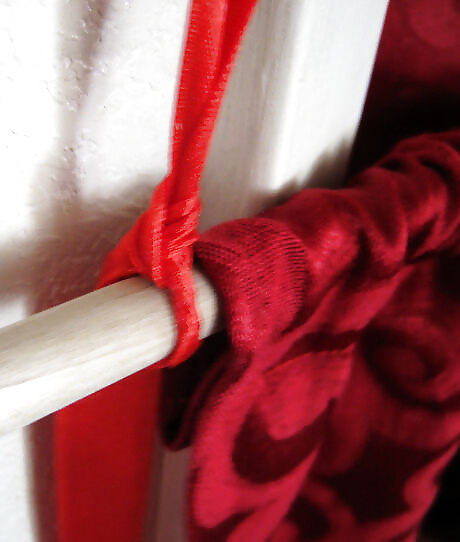
Insert the dowel into the lower curtain. Arrange the curtain on the rod so that the bunching is fairly even.
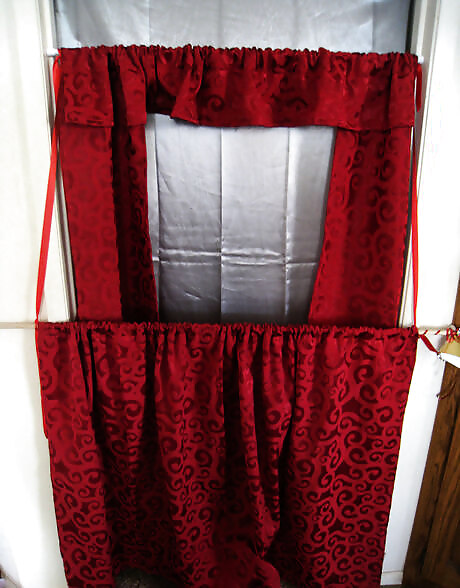
Suspend the dowel from the tension rod using a strip of leftover fabric, heavy cord, or ribbon. Adjust the heights as desired.

Hang the finished product in a doorway, provide some puppets, and challenge some young puppeteers to present a puppet show!


Comments
0 comment