
Setting Up the Hardware
Download the image link and copy it with Etcher to the microSD card.
Insert the SD card into the Pi.
Connect the Raspberry Pi to a monitor.
Power up the Raspberry Pi and login with: Login: "Pi" Password: "Raspberry" Type: sudo raspi-config
Change the following settings: Under Locale, change your timezone and keyboard layout if necessary. Under Network Options, set your wifi or LAN configurations. Under Interfacing Options, set SSH to enabled.
Apply changes by typing sudo reboot into the Terminal.
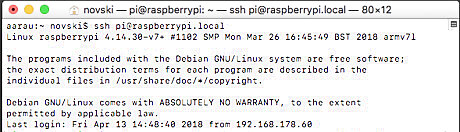
Connect your laptop or PC to the Raspberry Pi. Make a SSH connection by typing the following into a Terminal: ssh [email protected]
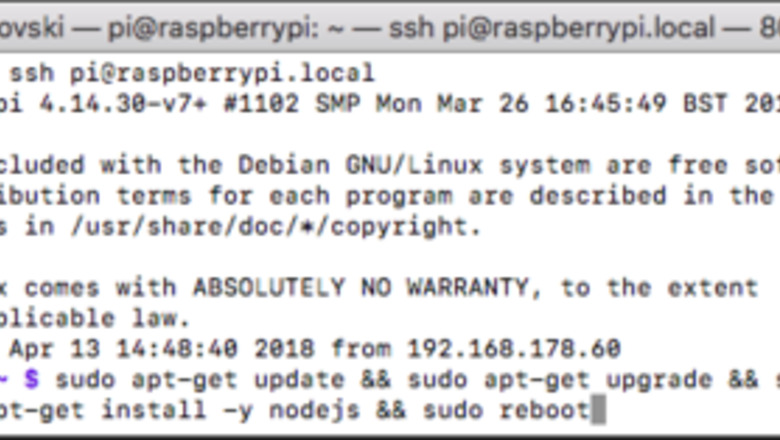
Update Raspbian and install Node.js. Paste the following into the Terminal or Bash: sudo apt-get update && sudo apt-get upgrade && sudo apt-get update && sudo apt-get install -y nodejs && sudo reboot
Login to the Raspberry Pi again using SSH.
Installing and Configuring Homebridge on the Raspberry Pi

Install all dependencies necessary for Homebridge by typing the following into the Terminal: sudo apt-get update && curl -sL https://deb.nodesource.com/setup_7.x | sudo -E bash - && sudo apt-get install -y nodejs && sudo apt-get install gcc-4.9 g++-4.9 && sudo apt-get update && sudo reboot

Install Homebridge using the following command: sudo apt-get install libavahi-compat-libdnssd-dev && sudo npm install -g --unsafe-perm homebridge hap-nodejs node-gyp && cd /usr/lib/node_modules/homebridge/ && sudo npm install --unsafe-perm bignum && cd /usr/lib/node_modules/hap-nodejs/node_modules/mdns && sudo node-gyp BUILDTYPE=Release rebuild && mkdir ~/.homebridge && nano ~/.homebridge/config.json
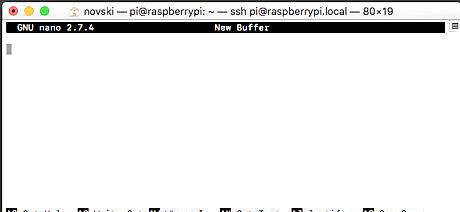
Copy and paste the Homebridge configuration from this source into the above window.
Press Ctrl+X.
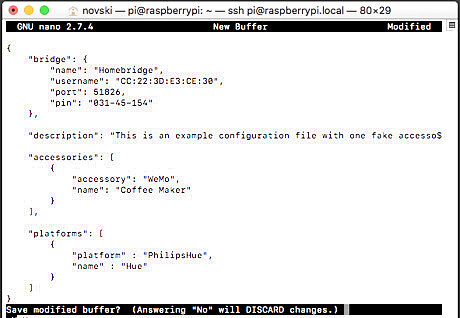
Save changes using Y.
Open the environment file for homebridge using: sudo nano /etc/default/homebridge
Enable autostart by pasting this source file into the Terminal.
Save your changes with the following keystrokes: Ctrl+X then Y.

Find the homebridge path by typing: which homebridge Be sure to write this path down!
Configuring Your Path and Credentials to Autostart Homebridge
Open the systemd service file for Homebridge by typing: sudo nano /etc/systemd/system/homebridge.service
Paste the default homebridge service configuration into the Terminal.
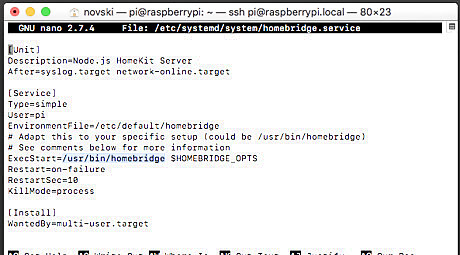
Change the command that appears afterExecStart= to the line that was printed with the command which homebridge.
Change user=homebridge to user=pi.

Test your Homebridge configuration by typing homebridge into the Terminal. If you see a QR Code similar to the one in the image below, your installation works!
Terminate Homebridge with Ctrl+X.

Activate autostart by typing the following into the Terminal: sudo mkdir /var/lib/homebridge && sudo cp ~/.homebridge/config.json /var/lib/homebridge/ && sudo cp -r ~/.homebridge/persist /var/lib/homebridge && sudo chmod -R 0777 /var/lib/homebridge && sudo passwd root && systemctl daemon-reload && systemctl enable homebridge && systemctl start homebridge && sudo systemctl -l status homebridge If the above command prints out a green dot and: "Active: active (running)" you successfully installed homebridge and you can try to connect your personal iOS Home App. Bildschirmfoto 2018 04 13 um 14.59.23.png
Configuring Your iOS Device
Open the Home app on your iOS device.
Press the + sign to add a device.
In the menu that pops up, tap "Add Accessory".
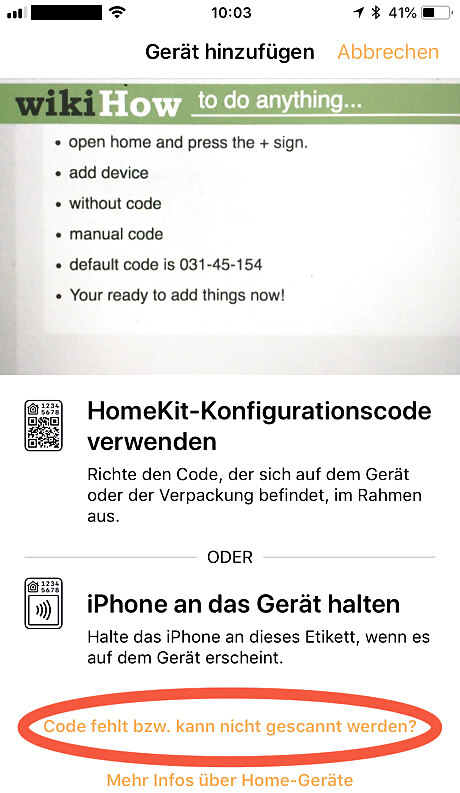
Tap on "Don't Have a Code or Can't Scan?".

Under "Manual Code", tap "Enter Code".
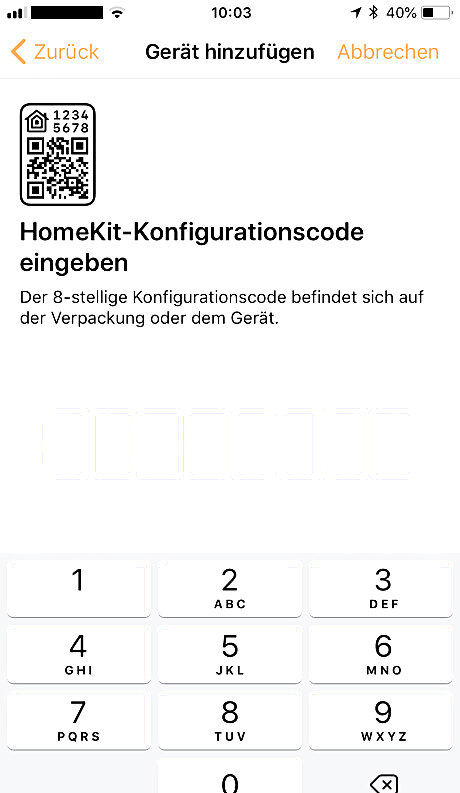
Enter "031-45-154". This is the default code.
Adding Accessories and Platforms
Install any connector from this npm package list to add an IoT device.
Install the connector with: sudo npm i homebridge-{packagename} This is a sample for netatmo devices: npm install -g homebridge-netatmo
Configure the connector with: sudo nano /var/lib/homebridge/config.json Be sure to read the help of the npm site/connector for configurations as they are different for every device.
Apply configuration changes by restarting the Raspberry Pi: systemctl daemon-reload && systemctl start homebridge && sudo systemctl -l status homebridge


Comments
0 comment