views
Getting the Room Ready
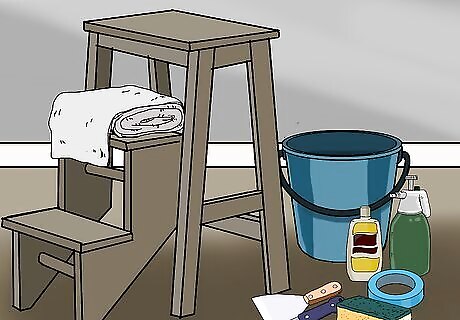
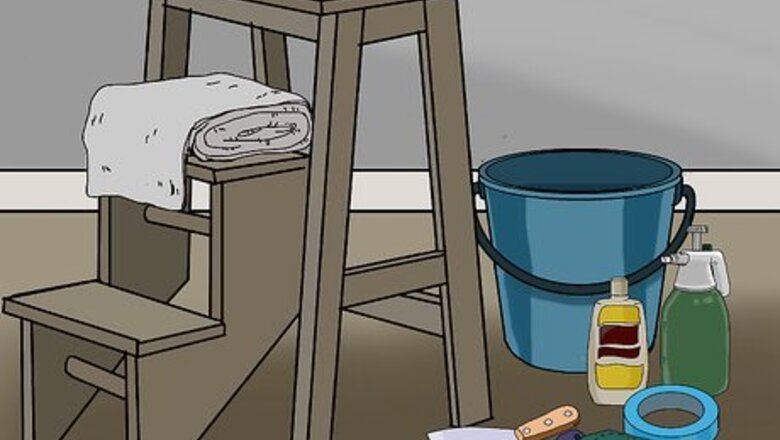
Gather your supplies. For this project, you'll need some specialized equipment that’s designed for removing wallpaper from drywall, plus some basic wallpaper-removing tools, and protective gear for the room. You will need: Plastic covers or tarps Painter’s tape Scoring tool Chemical wallpaper stripper Wallpaper removing fabric sheets Compression sprayer or spray bottle Sponge Bucket Hot water Ladder or chair Scraper
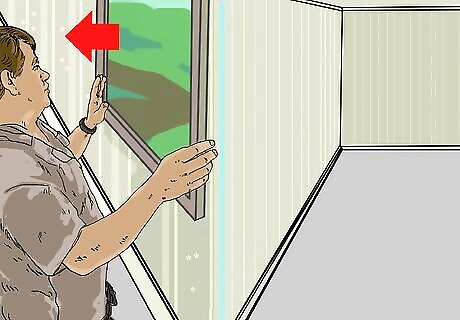
Clear the walls. You can't take wallpaper off the walls if they're full of pictures and decorations, so you need to remove it all. This includes anything that’s attached to the wall, such as: Pictures Furniture Sconces and lights Televisions Mounts Switch plates Vents Hardware like screws and nails
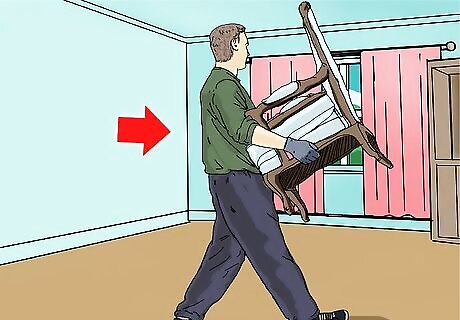
Clear the room. Removing wallpaper is messy business, and the best way to protect furniture, rugs, and other décor is by removing it from the room before you start. Take out beds, sofas, chairs, shelves, decorations, area rugs, and everything else that’s in the room. Store them in another room until the wallpaper has been removed and the room redecorated. If you cannot remove certain objects, move them to the center of the room to protect them and to give yourself more room to work.
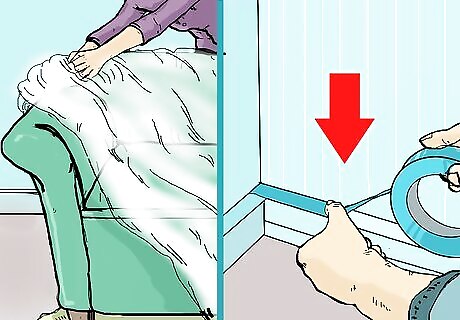
Cover everything with plastic. Once you’ve removed everything you can from the room, cover whatever remains with tarps or plastic sheets. Cover the floors completely to protect carpet, tile, and hardwood. Tape the edges of the plastic sheets to the baseboards so water and paste don’t leak onto the floor or soak the baseboards. If there's any furniture left in the center of the room, cover it with plastic as well.
Removing the Wallpaper
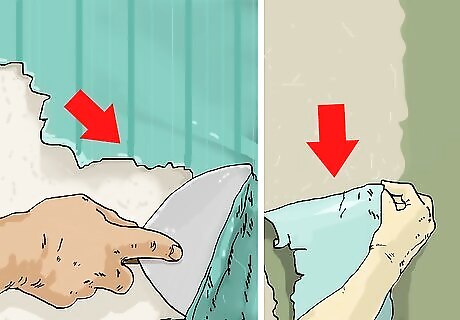
Dry strip what you can. The type of wallpaper that’s on the walls will determine how much effort you have to put into removing it. Newer wallpaper is called strippable wallpaper, because you can strip it off with your hands and a scraper without adding water or stripping chemicals. No matter what kind of wallpaper you have, begin by tearing off all the loose pieces you can. If you have strippable wallpaper, you'll be able to remove all the wallpaper without chemical strippers. Continue stripping and dry scraping the paper to remove the majority of it. Loosen the corners with a putty knife or scraper, and then peel off the paper at a 15-degree angle. Use a damp sponge to moisten any leftover paper, and use a scraper to remove the rest of it. If you have peelable wallpaper, you'll be able to remove the top layer of paper easily, and the backing will stay behind on the wall. You'll remove this backing later with water and chemical stripper.
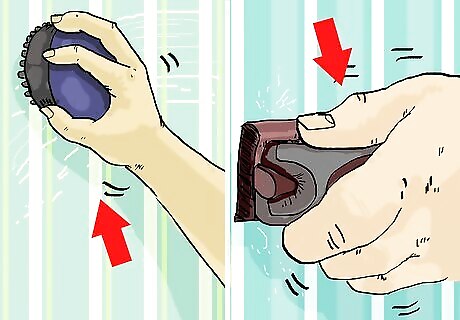
Score the remaining wallpaper. With the wallpaper scoring tool, carefully go over all the wallpaper surfaces that you want to remove. This will punch small holes in the wallpaper or backing. Don’t press too hard, because the scorer can damage the drywall underneath. It’s important to score the wallpaper or the backing because this will give the chemical stripper access to the paste underneath. Once the paste is soaked with the stripper, the wallpaper will come off easily. Use course sandpaper to rough up the surface of the wallpaper or backing if you don’t have a scoring tool.
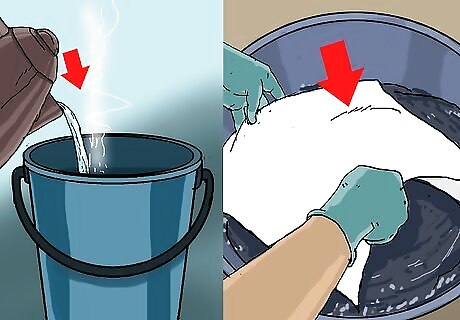
Soak the wallpaper removal sheets in hot water. Fill a bucket with hot water and soak the wallpaper removing sheets to saturate them. This will allow them to stick to the walls, and will start to loosen the glue under the paper or the backing. If you're using a powdered chemical stripper that gets mixed with water, you can also soak the sheets in the chemical stripping solution instead of plain water. Wallpaper strippers can come as a premixed liquid, a liquid concentrate, or a powder. If you have a powder or liquid concentrate, place the stripping chemical in a bucket and mix it with water according to the manufacturer’s instructions. When working with harsh chemicals, consider wearing gloves and protective eyewear. Always work in a well-ventilated room.
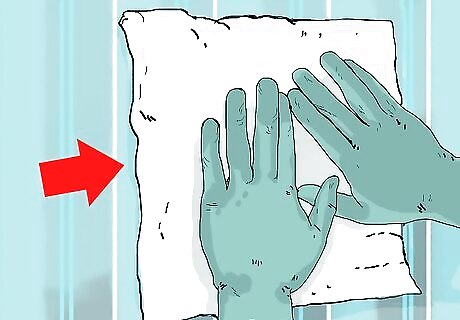
Put up the wallpaper removing sheets. Remove the sheets from the bucket and place them on the wall one at a time. Gently wring out each sheet to remove excess water. Place the sheets on the wall vertically, starting at one of the corners. Don’t overlap the sheets, but make sure the edges are touching to ensure there are no areas of exposed paper between them. It’s important to use the wallpaper removing sheets when using chemical strippers to remove wallpaper from drywall, because the sheets will protect the drywall from excess moisture and water damage. You'll probably only have enough sheets to cover a portion of the wall, so you'll have to work in sections until all the wallpaper has been removed.
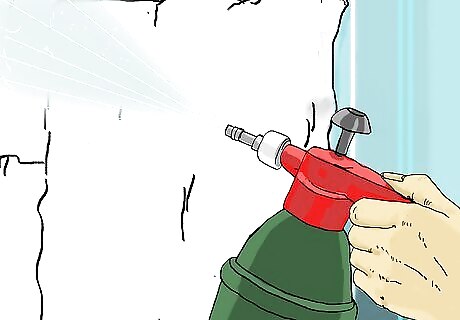
Spray and soak the cloths with stripping solution. Once you’ve installed all the sheets on the wall, spray them down with an even layer of chemical stripper. For both ready-made and unmixed solutions, you can either use a spray bottle to soak the sheets, or transfer the mixture to a compression sprayer for faster application. Leave the sheets to soak on the walls for about 30 minutes. While you normally wouldn’t want to let drywall soak for more than 15, the sheets will stop it from getting too wet. As the wallpaper soaks, the chemical solution will soak in through the holes you poked in the paper or backing and dissolve the glue underneath.
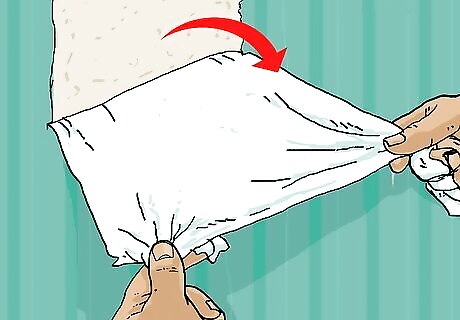
Peel off the wallpaper. Starting in the same corner at the top of the wall, grab the first sheet and the wallpaper underneath and gently peel the two away from the wall. It’s ok if more than one sheet’s worth of wallpaper comes off at a time. Repeat the peeling steps until all the sheets have been removed. When you remove a sheet from the wall, separate the sheet from the wallpaper and discard the wallpaper. Place the sheet back into the solution to soak again so that you can reuse it on a new section of wallpaper. If you still have more wallpaper to remove, remove the sheets from the solution and repeat the removal steps.
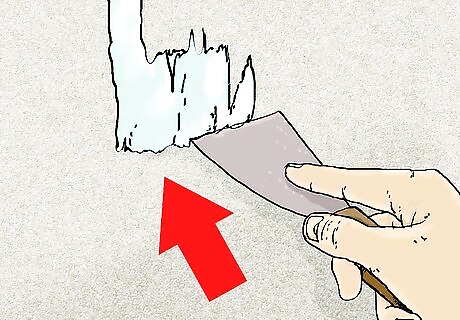
Scrape off leftover wallpaper. Use a scraper or putty knife to gently scrape away any leftover paper or paste from the wall. To avoid damaging the drywall, carefully slide the scraper between the paper and the drywall and lift the excess wallpaper off. As you work, remove as much glue with the scraper as possible as well. Be careful with the sharp corners of the scraper, as they can poke holes in the damp drywall.
Preparing the Wall for New Décor
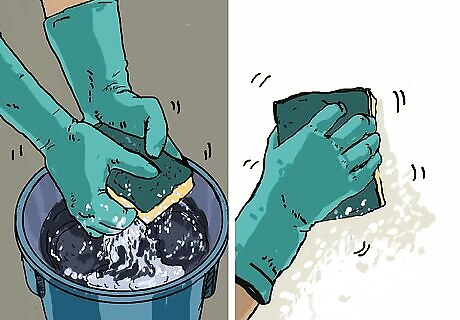
Remove leftover adhesive. Fill a clean bucket with hot water. Soak a sponge or rag in the water and go over every inch of the wall to rinse and wipe away excess glue. When you shine a light on the wall, dark spots indicate that there's still glue left there. As you work, rinse and wring out your sponge frequently, changing the water as necessary. Continue wiping down sections of the wall until all the glue has been removed.
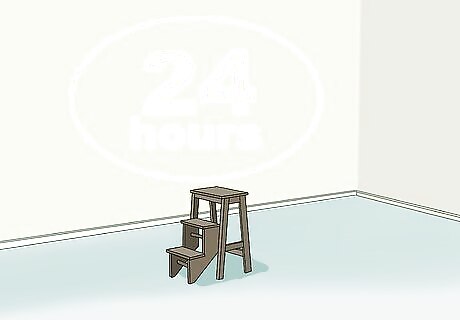
Allow the walls to dry. Let the walls dry out for at least 24 hours before you do anything else. This will give the drywall time to fully dry out. Make sure there are no wet spots or dark patches on the drywall before you start patching or redecorating.
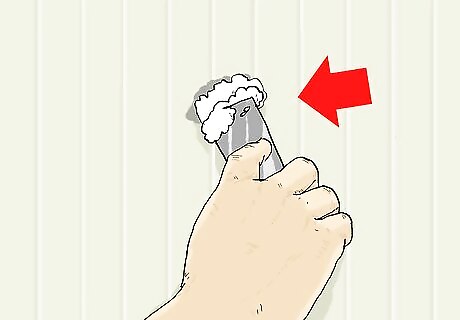
Patch holes. The wallpaper may have been covering dents and dings, or there may be holes or gouges in the drywall from the removal process. Fill these with spackle before repainting or re-wallpapering. Place a small amount of spackle on a putty knife, and use the knife to press the spackle into the hole. Smooth out the spackle with the putty knife and leave it to dry. For larger holes, use joint compound instead, and apply it with a trowel.
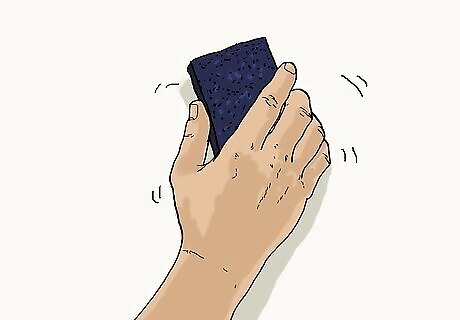
Sand the walls. This is the final touch that will ensure you have a perfectly clean and smooth surface for new paint or wallpaper to stick to. When the spackle or joint compound has dried fully, go over the entire surface of the wall with 120-grit sandpaper. Spackle generally takes a few hours to dry, while joint compound takes about 24. Check the manufacturer’s instructions about drying time before you sand the walls. Consider wearing protective eyewear and a mask to prevent dust from getting in your eyes, nose, mouth, and lungs.
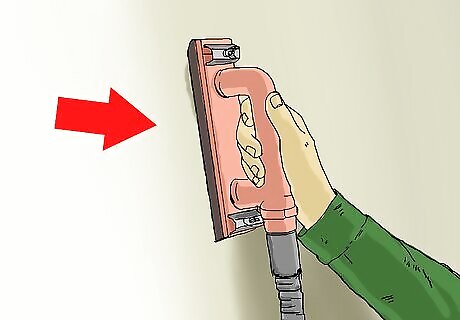
Vacuum or dust. To remove all traces of dust and dirt from the walls from sanding, vacuum the walls. Then go over the walls with a slightly damp cloth. Allow the walls to completely dry before priming, painting, or putting up new wallpaper. Once you’ve sanded and wiped the walls, you can remove all the protective plastic from the room. You can also leave it in place if you plan to paint.




Comments
0 comment