

Using Windows

Open any Excel spreadsheet on your computer. Find and double-click a spreadsheet file to open it. It doesn't matter which file you open here. You will only need it to access the File menu.
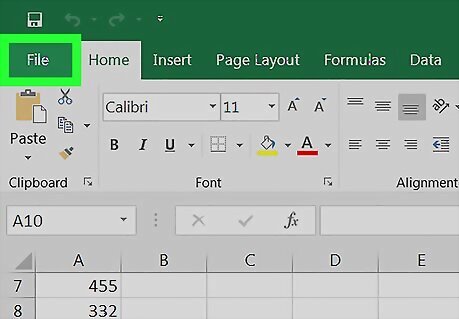
Click the File tab on the top-left. This button is located above the toolbar ribbon in the upper-left corner of your spreadsheet. It will open your File options a new screen.
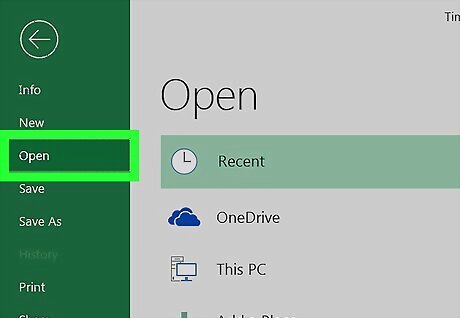
Click Open on the left menu. This is the third option from the top on the File menu. Find and click it on the left-hand side of your screen.
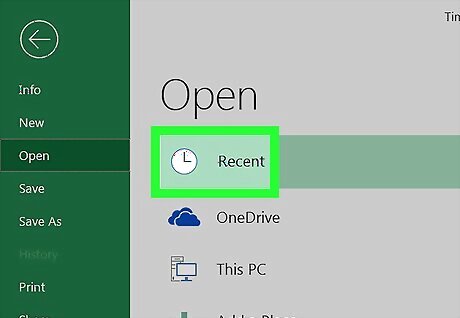
Click Recent under the Open heading. This option is listed next to a clock icon at the top of the Open page. It will show you a list of all your recent spreadsheet files.
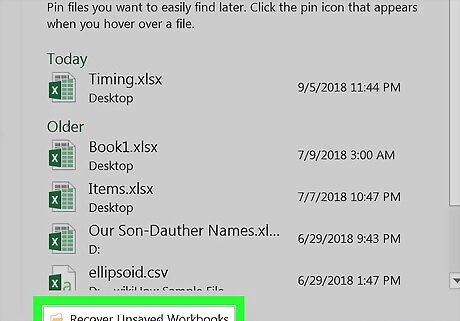
Click the Recover Unsaved Workbooks button at the bottom. You can find this button at the bottom of the Recent page. It will open a new dialogue box, and show you a list of all your automatically-recovered, unsaved spreadsheets.
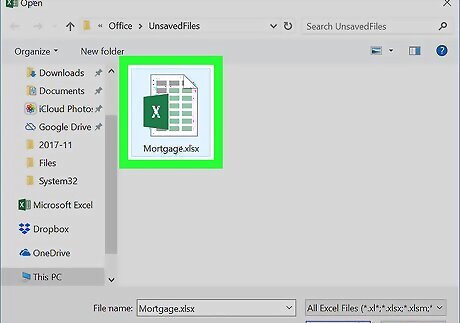
Select the spreadsheet you want to recover. Find the spreadsheet file you want to recover here, and click on its name to select it.
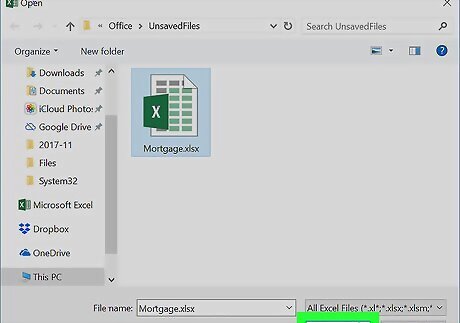
Click the Open button. This button is in the lower-right corner of the dialogue box. It will recover and open the selected worksheet. Once you open a recovered worksheet, make sure to save it to another location on your computer.
Using Mac

Open your Mac's Terminal app. Terminal allows you to enter and process command lines to perform actions. Here, you will have to make hidden files visible in Finder before you can access Excel's AutoRecovery folder. Open your Applications folder. Click the Utilities folder in Applications. Click Terminal in Utilities.
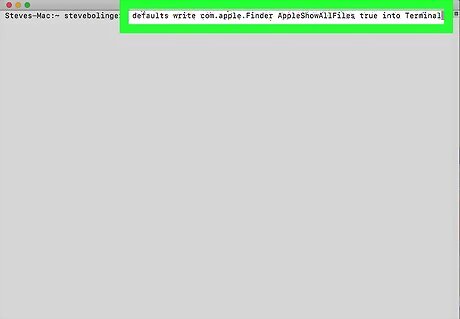
Type defaults write com.apple.Finder AppleShowAllFiles true into Terminal. This command line will make all hidden files and folders visible in Finder. If you want to make hidden items invisible again, open the Terminal after you're done, and run the defaults write com.apple.Finder AppleShowAllFiles false command.

Hit ⏎ Return on your keyboard. This will process your command line, and make all hidden items visible.
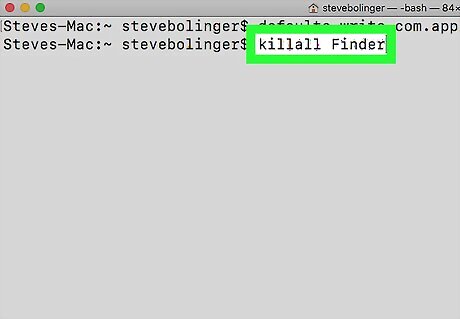
Type killall Finder into Terminal. This will restart all the Finder windows, and make all items visible.
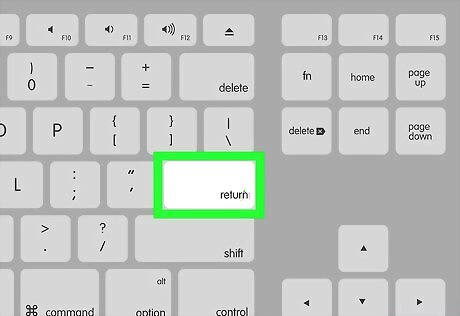
Hit ⏎ Return on your keyboard. This will process the command line, and restart Finder with all hidden items made visible.

Open your Mac's Finder. Click the blue face icon on your Dock to open a new Finder window.

Click the Go button on the menu bar. You can find it between View and Window in the upper-left corner of your screen. It will open a drop-down menu.
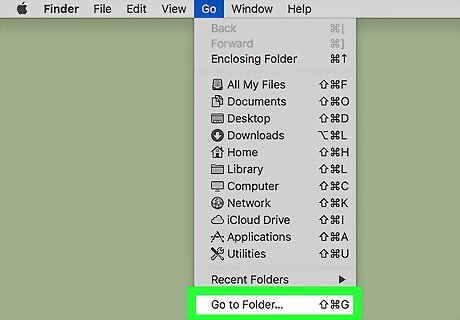
Click Go to Folder on the Go menu. This will open a new pop-up window, and allow you enter a folder path to quickly open this location. You can also press the ⇧ Shift+⌘ Command+G shortcut on your keyboard to open the Go to Folder pop-up.
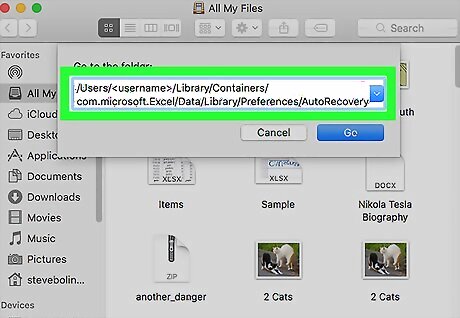
Type /Users/

Replace
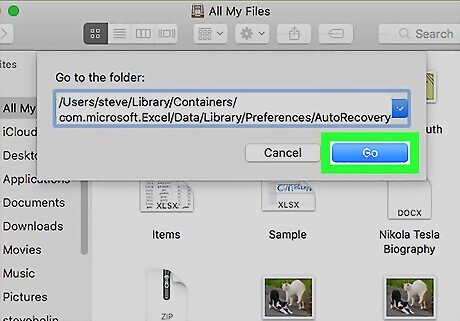
Click the Go button. This is a blue button in the Go to Folder window. It will open Microsoft Excel's AutoRecovery folder.
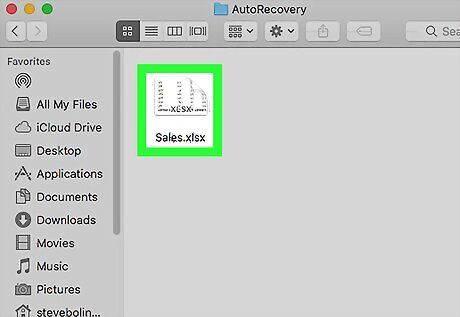
Find your recovered spreadsheet file in the AutoRecovery folder. Excel saves all the auto-recovery files in this folder. You can find and open your automatically-recovered spreadsheet file here


Comments
0 comment