
views
Prepping the Boat

Clean the boat thoroughly. You need to get everything off of the surface, from dirt and sand to marine life and seaweed. In general, it is easiest to clean the surface of the boat as it comes out of the water. Use a high-pressure hose, a scrapper, and rags to make the boat spotless.

Remove hardware from the boat. You want to take off as much as possible, down to any aluminum window siding. This could cause a crease between the hardware and the paint, which will allow water to get into the cracks and ruin the paint. Anything you cannot remove you should cover in painter's tape to keep clean and protected.
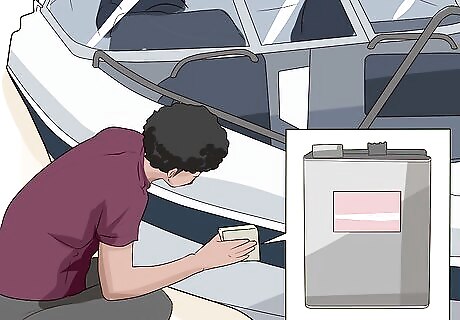
Use a solvent to remove the waxy coating from the boat. If you can feel the greasy, waxy finish on your boat you will need to remove it before painting. Using rough sponges and boat solvents, like Awl-Prep, scrub away the waxy finish. Generally, running your finger along the surface, top or bottom, will tell you if there is still a coating-- it feels like a candle or a freshly waxed car. If you are in any doubt about the coating, go over the boat again -- paint will not stick to this waxy surface, so it all needs to go.
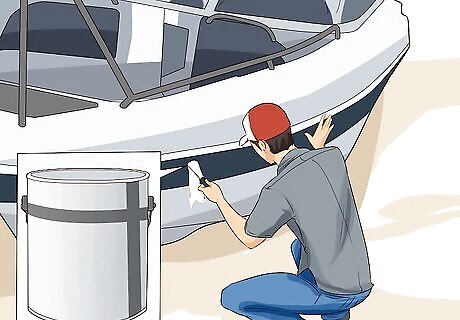
Make any necessary repairs to the boat surface. Fill in any nicks, cracks, or corrosion before you start painting to prevent holes or imperfections in the final paint job. Make sure you fill in any holes with marine-grade epoxy, found near the marine paint in hardware and boat stores.

Sand the boat thoroughly. Using 80-grit sandpaper and a random-orbit or finishing sander, sand the entire surface of the boat. This gives the paint a surface to "grip" to and promotes an even coat of paint. When in doubt, sand away all of the old paint. There are several important considerations to take when sanding: If the old coat of paint is flaky or damaged you will need to strip it and sand it away entirely. If the old paint is a different type than the one you plan to apply (non-vinyl vs vinyl paint), then remove it entirely. Never use a belt sander on your boat Warning: wear a respirator and eye protection when sanding, as paint chips are toxic.
Painting the Boat

Paint on a dry, cool day for the best results. You do not want excessive heat, humidity, or wind to ruin your paint job. When possible, paint your boat on a day that's roughly 60–80 °F (16–27 °C) with roughly 60% humidity. When available, paint your boat in a covered area.
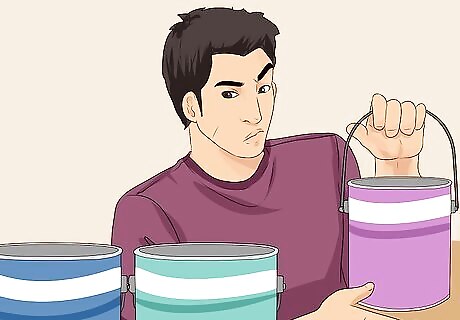
Choose the right paint for your boat. There are a lot of different paints on the market for boats -- from gel coats and simple enamels to complex two-step paint mixes. If you are painting your own boat, the best "bang for your buck" is definitely one-step polyurethane paint. Two step polyurethane paint, while longer lasting, takes precise mixing and application techniques to use. Most gel coats, excepting expensive, high-end options, will fade in 1-2 years.
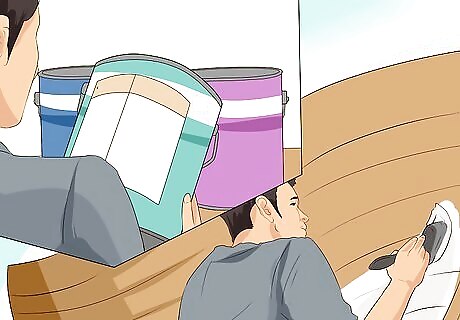
Apply 1-2 full coats of primer. Make sure that your primer is compatible with your paint by reading the labels on both cans. Primer helps paint bond with your boat and prevents cracking and bubbling. After the first coat has dried, lightly sand the boat (300-grit sandpaper) and apply another coat.
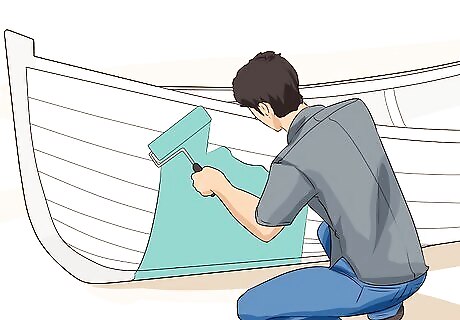
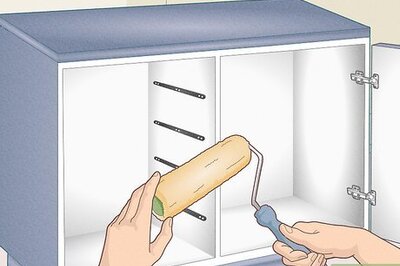
Paint the boat using a roller and brush. You want to work quickly, using the roller to paint from the bottom of the boat up. Perform the bulk of the work with a paint roller and use the brush to get smaller areas afterwards.
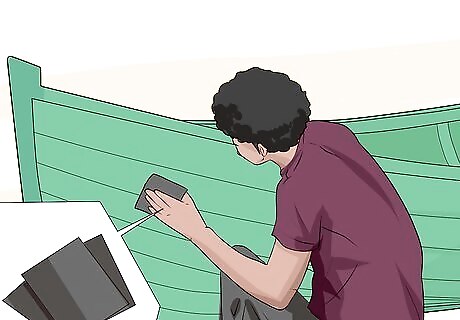
Lightly sand the paint after it has dried. This may take anywhere from an hour to a day. Using 300-grit sandpaper, lightly sand the paint. This removes any spots, issues, or bubbling paint.
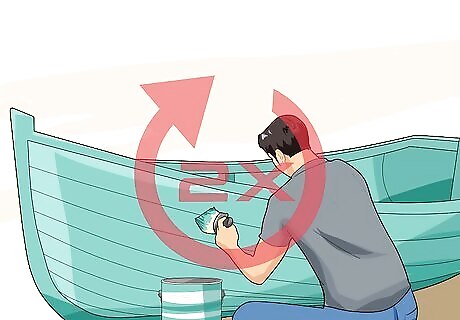
Apply 2-3 more coats of paint. Sand the boat lightly after every coat has dried. While this takes time, applying 2-3 clean layers of paint ensures your boat won't fade or crack for years to come.





Comments
0 comment