views
Using Google Drawing
Go to https://docs.google.com/ and open your document. If you want to create a new document, click the green, red, blue, and yellow plus icon in the bottom right corner of your web browser.
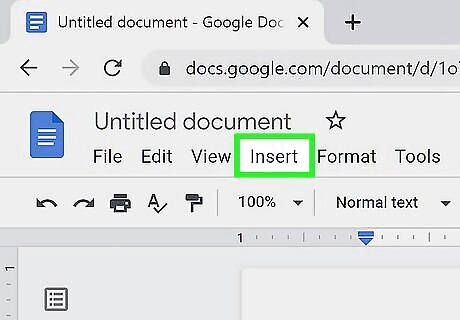
Click Insert. It's in the editing menu above your document space.
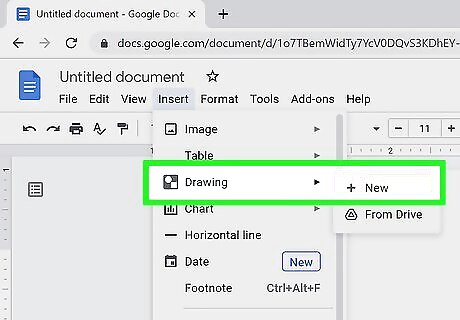
Hover your mouse over Drawing and click New. A Google Drawing window will open.
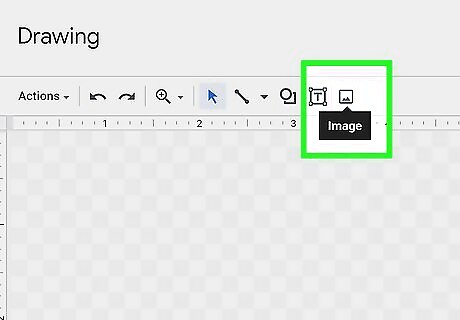
Click the image icon. It's the last icon in the row with the Actions drop-down box and it looks like a small picture with mountains. The Insert Image window will open.
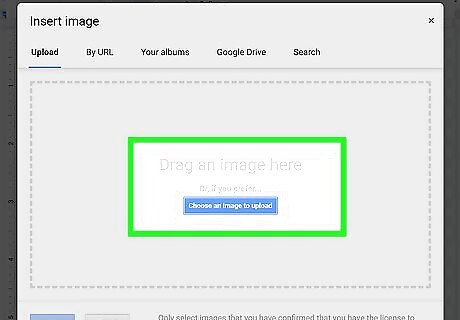
Choose the first image that you want to use. You can either drag to insert an image, click Choose an image to upload, use a URL, search your Google Photos albums or Google Drive, or perform an internet search. Click Select to choose your picture and it will load in the Google Drawings window.
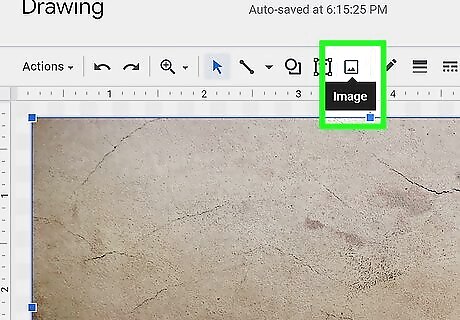
Click the image icon again (if you want to add a text overlay, click the T icon instead). The Insert Image window will open again and you'll need to navigate to your second image. Click Select to choose your second picture and it will load in the Google Drawings window.
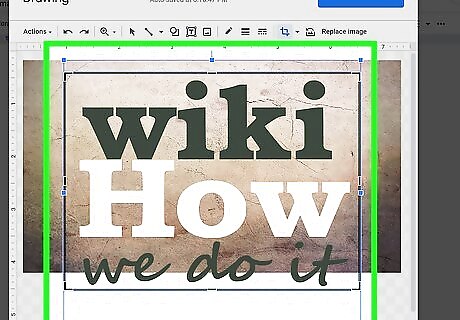
Drag and drop, crop, resize, and move your images as needed. You can right-click an image to change its order, rotate it, or change its positioning. Edit text by using the tools in the menu or click the three dots to see more editing options.
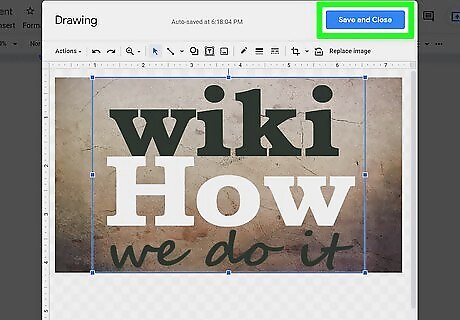
Click Save and Close. The edited image will appear in your Google Doc at your cursor, but if you don't like the positioning, you can drag and drop it within the document. If you want to edit this image, double-click it to open the Google Drawing window again.
Using Wrap Text
Go to https://docs.google.com/ and open your document. If you want to create a new document, click the green, red, blue, and yellow plus icon in the bottom right corner of your web browser.
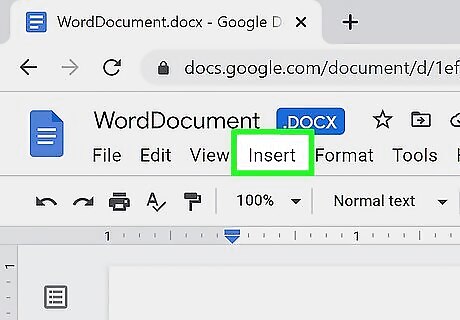
Click Insert. It's in the editing menu above your document space.
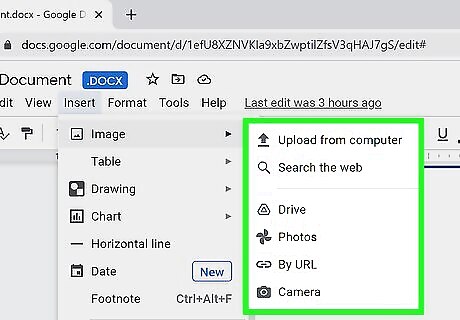
Hover your mouse over Image and choose from the menu. You can upload local images by clicking Upload from computer, but you can also opt to Search the web or upload from your Drive, Photos, URL or Camera, which will open your computer's camera, if you have one.
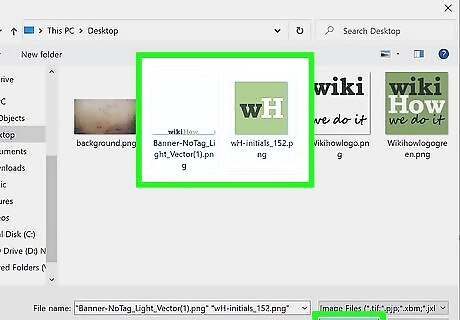
Select your pictures. If both images are in the same location, like your Google Photos, you can save time by selecting them both to insert into the Doc. If they are in different locations, you'll need to repeat this step two times to insert both images.
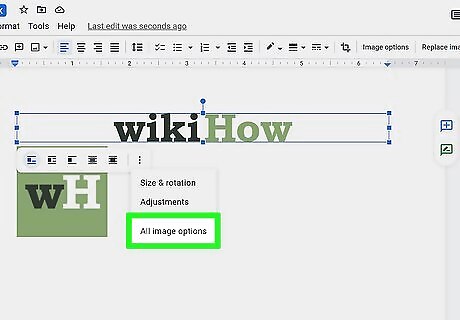
Click the image to select it, then click ⋮ and All image options. You'll see this three-dot menu icon near the bottom of your selected image and the menu will pop up from the three dots. The Image Options will display in a panel on the right side of your web browser.
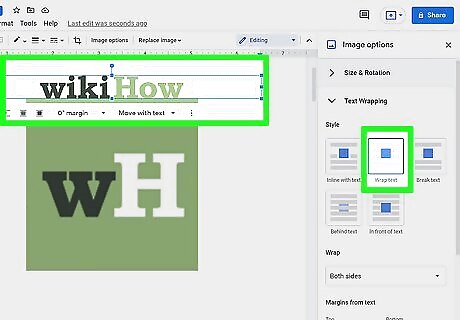
Click Text Wrapping and select Wrap text. Once you click the "Text Wrapping" header, it will expand. The wrap text tile that you'll click is usually indicated by a blue block in the middle of writing. More options will appear in the panel under the image in your Doc when you select the wrap type. Click the "⅛" margin" drop-box and select 0".
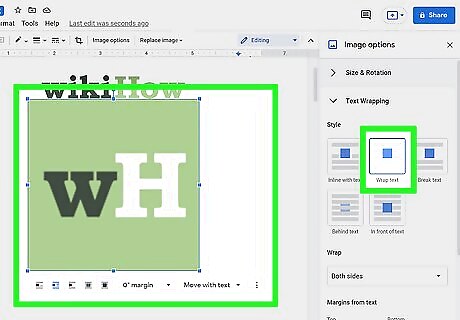
Change the text wrapping to "Wrap text" and change the margins to 0" for the second image. Instead of repeating the previous steps, you can change the text wrapping by clicking the second icon from the left in the menu that appears under the image when you select it.
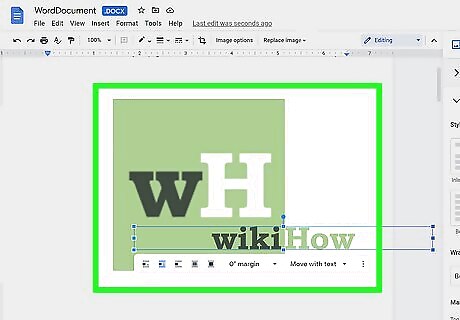
Drag and drop, crop, resize, and move your images as needed. You can right-click an image to change its order, rotate it, or change its positioning.








Comments
0 comment