
Reorder your labels by renaming them.
Labels in Gmail are organized by letter and number. This means you can’t drag and drop them to reorder them, but you can change their order by renaming them. To do this, open Gmail in a browser on your computer, then hover your cursor over the name of the label you want to edit. Click the down arrow ▼ or menu button … that appears next to the label and select Edit from the menu that pops up, then change the name of the label and click Save. For instance, if you want to have multiple “Work” labels, you can organize them by labeling them “Work1,” “Work2,” “Work3,” and so on. Or, put letters at the beginnings of folders with different names to change their display order—e.g., “A-Work,” “B-Receipts,” and so on.
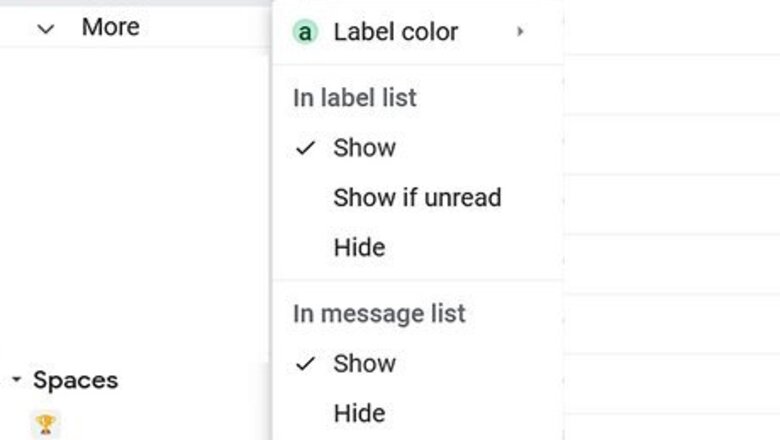
Drag labels you use less often into the More section.

This will keep your list of labels from getting cluttered. To move a label under the More section, open Gmail in a browser, then click and hold the label you want to move. Drag it down the list of labels under the word More at the bottom of the list (or Less, if you have that section expanded). Another way to do this is to show or hide your labels using the Settings menu. Open Gmail in a browser, then click the Settings icon Windows Settings in the upper right corner and select See all settings. Click the Labels tab, then click show or hide next to the label you want to edit. If you hide a label, it will move down under the More section in your Gmail sidebar.
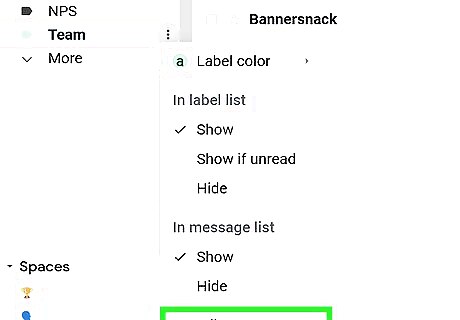
Group related labels with the nesting feature.
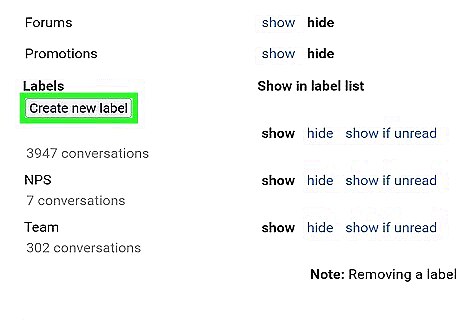
This feature allows you to create sublabels, similar to subfolders. To create a new nested label, open Gmail in your web browser and click Settings Windows Settings in the upper right corner of the window. Click the See all settings button and then select the Labels tab at the top of the Settings window. Scroll down and click the Create new label button, then type in the name of your label. Check the box next to Nest label under:, then select the parent label from the dropdown menu. The new label will now be displayed under the parent label in your list of labels on the left-hand menu bar in Gmail. You can collapse or expand the list of sublabels under each label. If you want to nest a label that’s already been created, hover over it with your cursor and then select the More button ⋮. Select Edit from the pop-up menu, then check Nest label under: and select the parent label from the dropdown menu. The menu under the More button ⋮ will also give you the option to add a new sublabel to an existing label. Scroll to the bottom of the menu and click Add sublabel, then fill in a name for your new label and click Create.
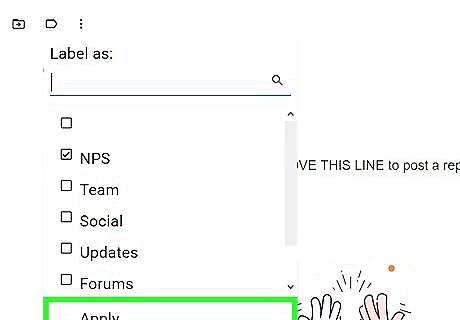
Drag and drop messages to move them to the desired label.
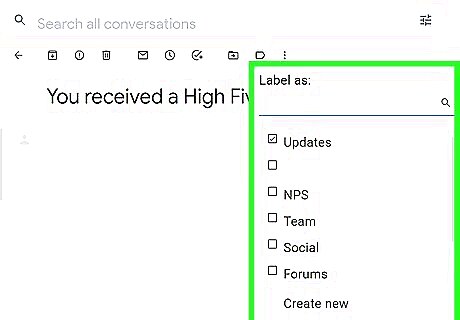
You can also do it by clicking the label button at the top of the message. To get started, open your Gmail account in a browser. Click and hold the message you want to move, then drag it to the label you want in the menu on the left side of the screen. You can also drag a label from the left-hand menu bar onto the message to apply it. Alternatively, open the message and click the Labels button Android 7 Label at the top of the message window. Choose the label(s) you want from the drop-down menu, then hit Apply. Or, click Create New at the bottom of the menu to make a new label. If you’re using the Gmail app, open the message and select the Menu button … at the top left side of the screen, then tap Label or Change labels, depending on which version of the app you’re using. Check the label(s) you want to add to the message, then tap Android 7 Done or OK to apply the changes.
Open a message to change it to a different label.
You can uncheck the current label and add a new one. If you’re on your computer, open Gmail in a web browser and click the message you want to move to a new label. Once the message opens, click the label icon Android 7 Label at the top. Uncheck the current label(s) and check the new one(s) you want to apply to the message, then click Apply. The message will now appear under the new label(s). If you’re using the Gmail mobile app on an Android device, open the message, then tap More ⋮ and select Move to and select the desired label(s). If you’re using the iOS app, open the message you want to move and tap More … and then select Change labels. Uncheck the boxes next to the label(s) that are already assigned, then check any new ones you’d like to add. Click Apply Android 7 Done in the top right part of the menu.


Comments
0 comment