views
Making a Honeycomb Ornament
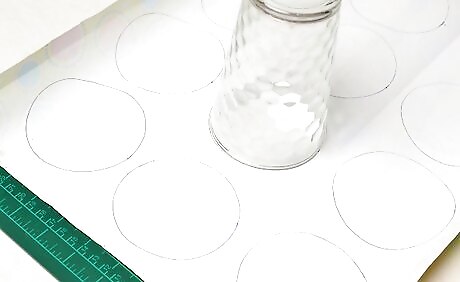
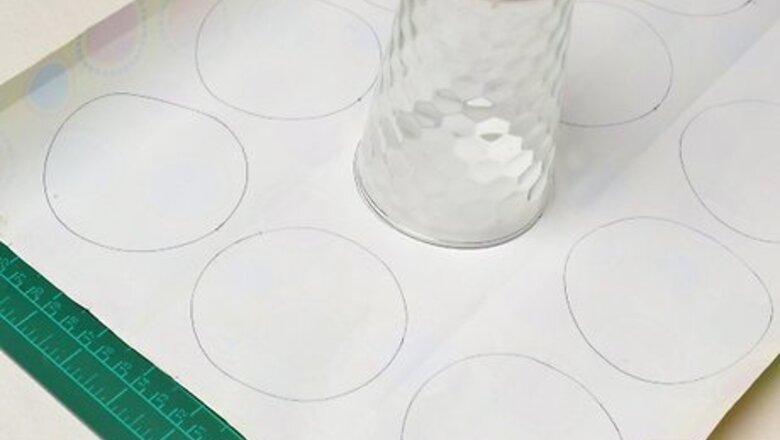
Use a glass to trace 12 circles onto lightweight paper, then cut the circles out. The circles can be any size you want, but something around 1½ to 2 inches (3.81 to 5.08 centimeters) would be ideal. Book pages, origami paper, tissue paper, and wrapping paper are all great options. Some scrapbooking paper may also work. Avoid using cardstock, as it is too thick. You can use the same color of paper for all of the circles, or experiment with using different colors. For a more interesting ornament, consider using double-sided paper.
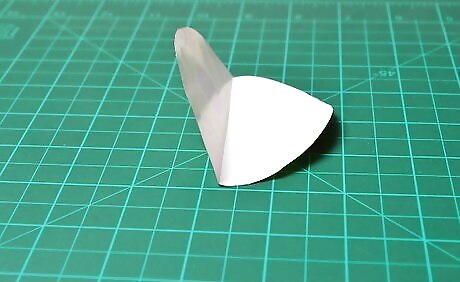
Fold the papers in half to make a crease, then unfold them. If you are using double-sided paper, make sure you are folding them all the same way. The pattern on side A should be on the inside, and the pattern on side B should be on the outside.
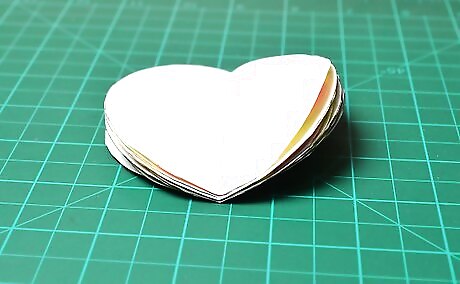
Stack the papers on top of each other. Make sure that the creases are all nestled inside each other. If you are using double-sided paper, make sure that the same design is facing upwards. If you are using two or more different colors, start with your first color, then stack the rest in groups of two. For example: Red, green, green, gold, gold, red.
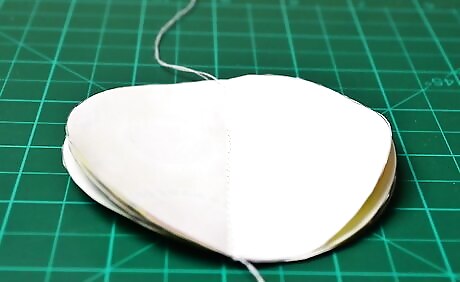
Sew a straight line down the center. If you don't have access to a sewing machine, you can tie thread around the middle, using the crease as a guide. Leave the tail ends long, as you will be using them to make the loop. Consider using gold or silver thread for this. You will be using the tail ends to make a loop so that you can hang your ornament.
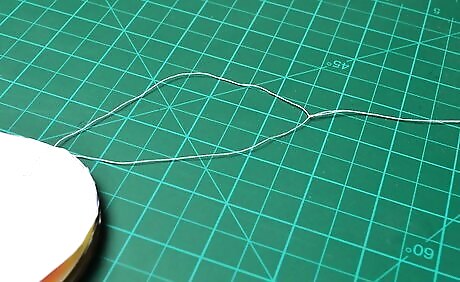
Tie the tail ends to make the loop. The loop needs to be big enough to fit over a branch on your Christmas tree. You can also tie the tail ends around a small jump ring, then trim them off; make sure that the jump ring is flush with the top of the stack. This way, you can slip an ornament hook through the jump ring.
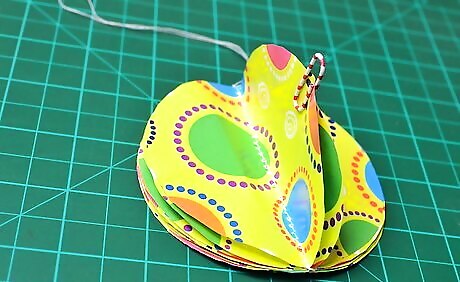
Place two glue dots along the outer right edge of your circle. Set the stack down on the table. Place a glue dot along the right edge of the circle, one-third of the way from the top. Place another glue dot one third from the bottom. Use permanent glue dots; the stronger the hold, the better. If you don't have any glue dots, you can use a small dot of liquid glue. Use paper clips to hold the paper together while the glue dries.
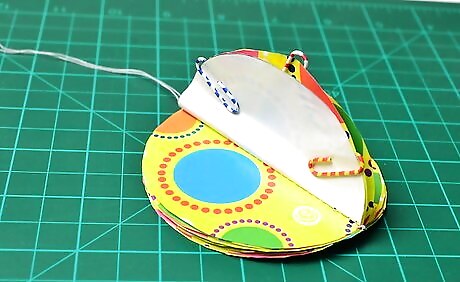
Fold the circle over, sandwiching the glue dots in between. Use the crease you made as a guide. Once you have the paper folded, run your finger along the edges to seal the glue dots.
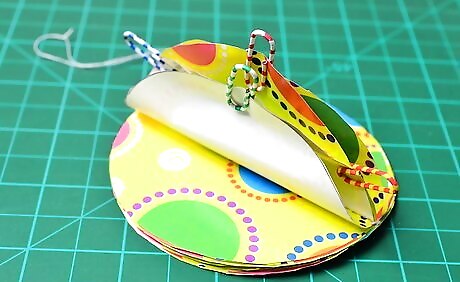
Place another glue dot along the outer right edge. This time, place the glue dot right at the halfway point. It should be right between the first two glue dots.
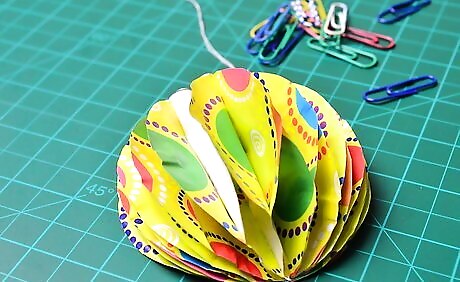
Keep folding and gluing until you reach the end of the stack. Alternate between using two glue dots and one glue dot. When you reach the end, flip the stack over, and do the other side.
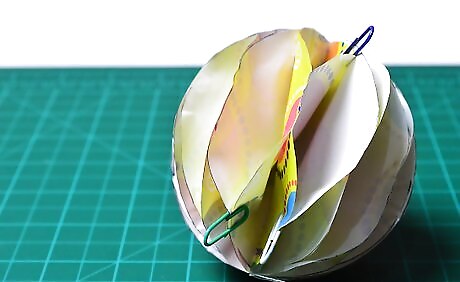
Close the ornament, and flare it out. When you get to the end, seal the final two pieces of paper using one or two glue dots (depending which you are on). This pulls the paper into a sphere shape. You may have to slip your finger into the slots to help them open up.
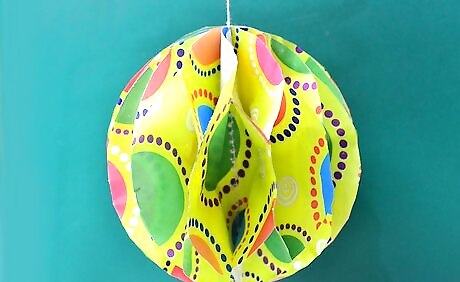
Hang your ornament. If you added a jump ring, slip an ornament hook through the jump ring, then hang the ornament.
Making Paper Strip Ornament
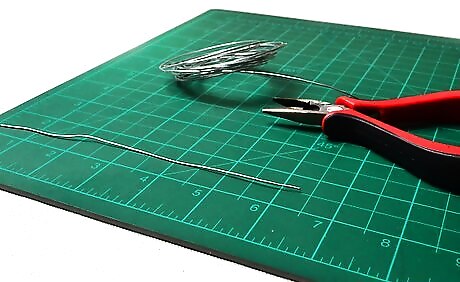
Cut a 6-inch (15.24-centimeter) piece of thin wire and fold the end into a small loop. Use a pair of wire cutters to cut the wire. Pinch the end of your wire with a pair of round-nose pliers, then twist it until it forms a small loop. Pull the pliers out and set them aside. The loop will keep the bead from sliding off.
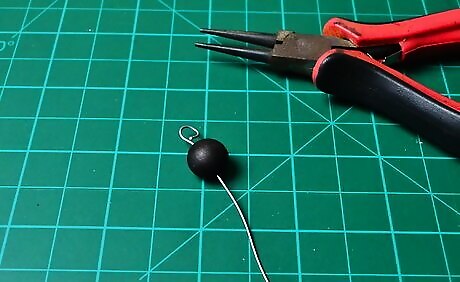
Slide a wooden bead onto the wire. You can leave the bead blank, or your can paint it first to match the color of your ornament. You can also use a glass or crystal bead for a fancier ornament instead. Set the wire with the bead on it aside when you are done.
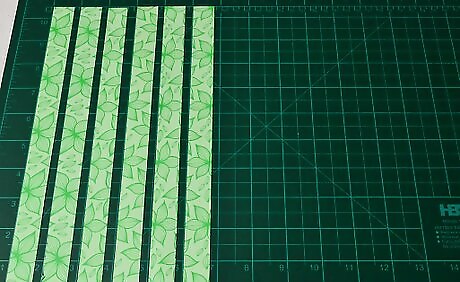
Cut six ¾ by 10½-inch (1.91 by 26.67-centimeter) strips out of colorful cardstock. Cut your paper down to 4½ by 10½ inches (11.43 by 26.67 centimeters) first, then use a ruler and pencil to draw vertical lines, spaced ¾ inch (1.91 centimeters) apart. Cut your paper along the lines that you drew. You will need 6 strips. You can also use scrapbooking paper or construction paper.
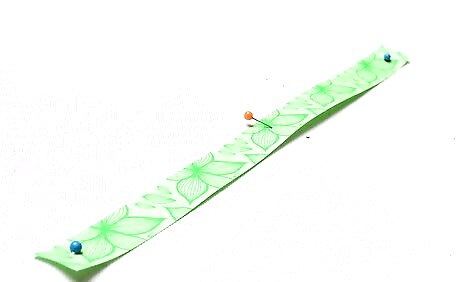
Poke a small hole into the center and both ends of each strip of paper. Make sure that the hole is in the same spot on each strip of paper. A good way to do this would be to set the entire stack down on a piece of foam, then pierce the center and both of the narrow ends with a yarn needle or thumbtack. If you don't have a yarn needle, you can use your wire instead. You will need to pierce the strips individually, however.
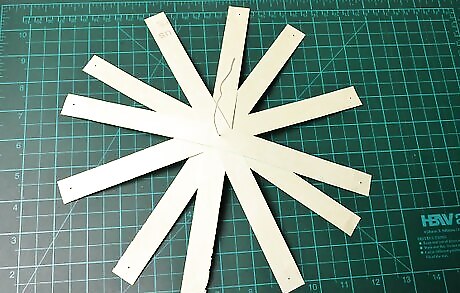
Thread the strips onto the wire through the middle hole. Fan the strips out evenly, then place a drop of glue on top of the stack, right where the wire is.
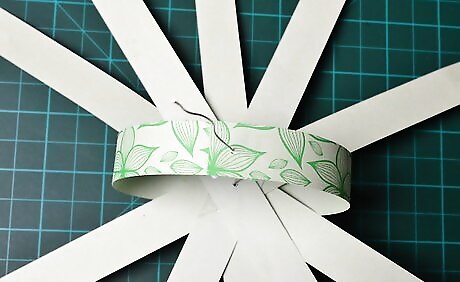
Thread both ends of the bottom-most strip of paper onto the wire. Take the strip that is on the bottom of the stack, closest to the best. Thread the left end onto the wire, and then the right end. Secure the paper with a drop of glue.
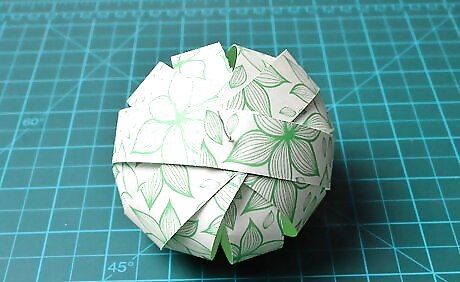
Keep threading the strips of the paper onto the wire until you reach the top of the stack. Take the second strip of paper, and thread the left end and then the right end onto the wire. Work your way to the top, then seal the last strip with glue.
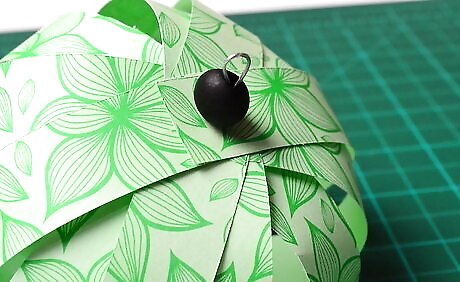
Thread another bead onto the wire, then twist the end to form a loop. You can squish your papers down as much as you'd like. The more you squish them, the more oval your ornament will be. Use your round-nose pliers to make the loop, and your wire cutters to trim off any excess wire.
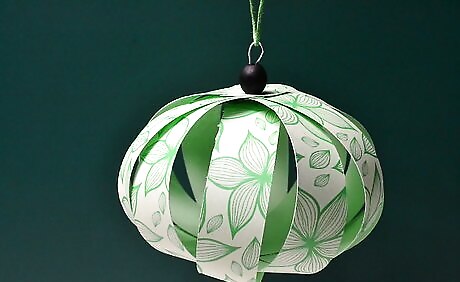
Thread some ribbon or twine through the top loop, then hang your ornament. Tie the ends of the ribbon or twine to make a loop big enough to fit over a branch on your Christmas tree. When you are done, hang your ornament. Alternatively, you can skip the ribbon/twine, and slip an ornament hook through the wire loop instead.
Making a Folded Circle Ornament
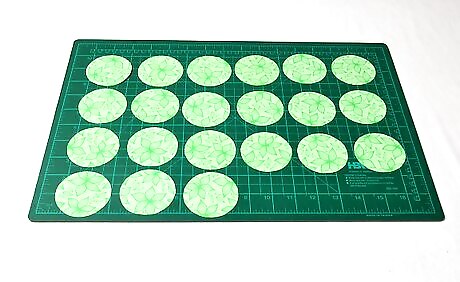
Cut 21 2-inch (5.08-centimeter) circles out of cardstock. You can make them all one color, or different colors. You can even use old Christmas cards. One of these circles will be your template.
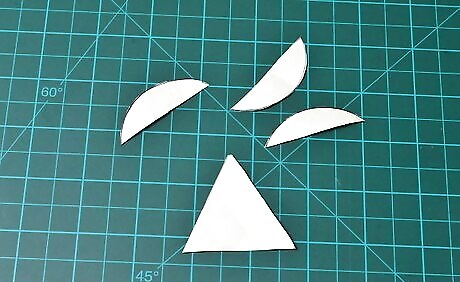
Make your triangle template. Take one circle, and fold it in half both ways to make an X. Fold three edges towards the middle, each one overlapping the previous one, to make a triangle. Unfold your triangle, and cut off the flaps. Discard the cut-off flaps, and save the triangle.
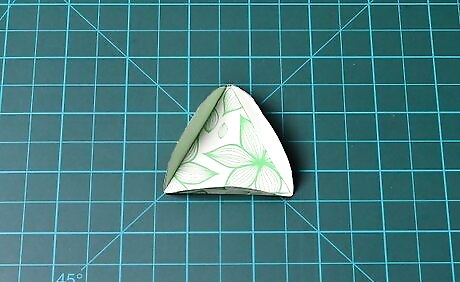
Fold the remaining circles around the triangle. Take your triangle, and set it down in the middle of your first circle, aligning the points with the edges. Fold the edges of the circle over the triangle, make a crease, then pull the triangle out. Do this for all 20 circles, and do not cut the flaps off. Once you have folded all 20 circles, you can discard the triangle.
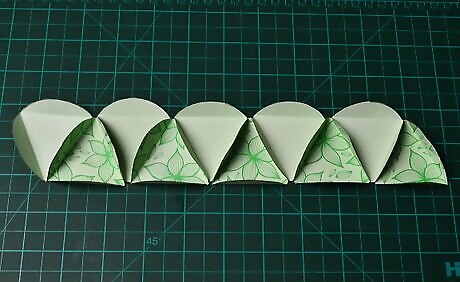
Take 10 pieces, and hot glue them together, alternating the direction in which they point. Take your first two pieces, and orient them so one is pointing up and the other is pointing down. Glue the flaps together. Glue the remaining 8 pieces in a similar manner to form a rope. If you don't have a hot glue gun, you can use regular glue instead, but you will need to use paper clips to hold the pieces together while they dry.
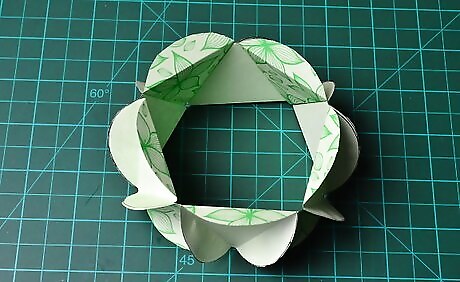
Glue the first and last pieces together of your rope to make a ring. Set the ring aside when you are done. This is the middle segment of your ornament.
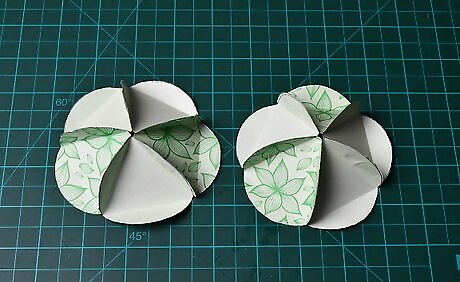
Glue 5 pieces together to make the top and bottom segments. Arrange 5 pieces together to form a circle; make sure that they are all pointing upwards. Glue the flaps together, then set the top segment aside. Repeat this step one more time to make the bottom segment.
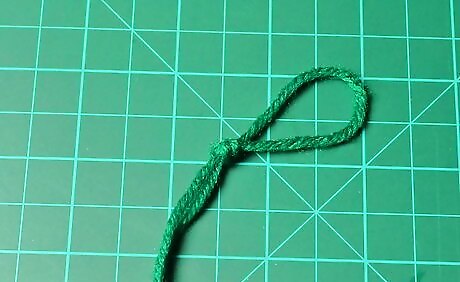
Cut a piece of ribbon, and tie the ends together to make a loop. Choose a ribbon that matches the colors of your ornament. Make sure that the loop is big enough to fit over a branch on your Christmas tree.
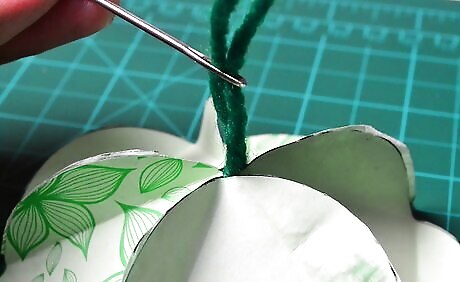
Thread the loop through the center of the top segment. Thread the loop onto a yarn needle, then push the needle up through the center of the top segment. Make sure that you are pushing the needle from the inside of the segment. Pull the yarn needle off the loop, and gently tug the loop until the knot is snug against the inside.
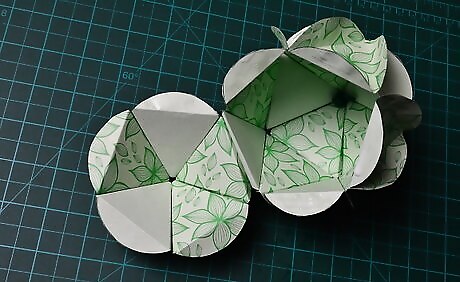
Glue the top and bottom segments to the middle segment to form a sphere. Make sure that you align the flaps. Once the glue dries, your ornament is complete!
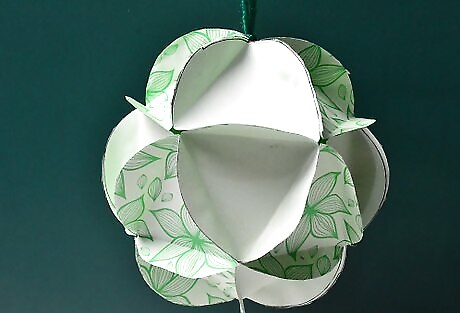
Finished.







Comments
0 comment