views
Using Water
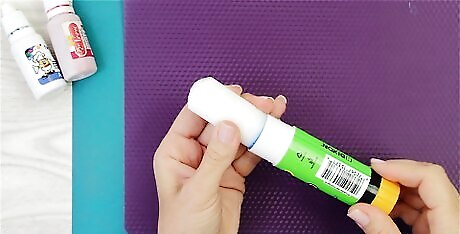
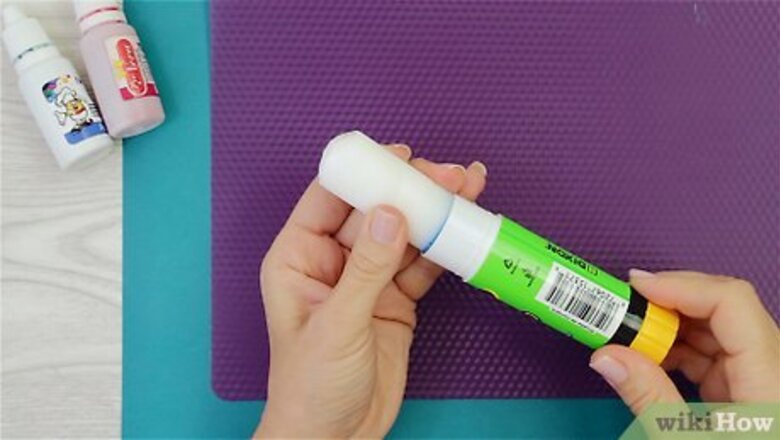
Cut up a glue stick and put it into a bowl. Unscrew a glue stick and pull it out of the tube. Slice the glue into small pieces, then toss them into a bowl. The size of the pieces does not matter; this is just to help the glue dissolve faster later on. You will be heating this bowl in the microwave, so make sure that it is microwave-safe.
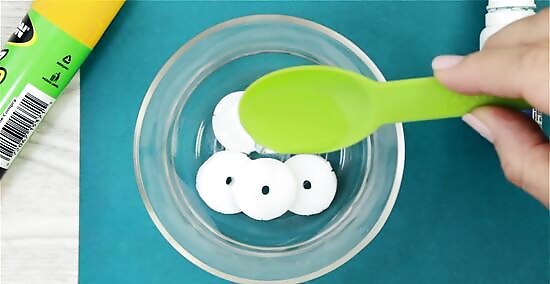
Cover the glue stick with a splash of water. The exact amount does not matter, since it’s mostly there to prevent the glue stick from drying out in the next step. Remember, you can always add more water later. Don’t worry about dissolving the glue in the water here.
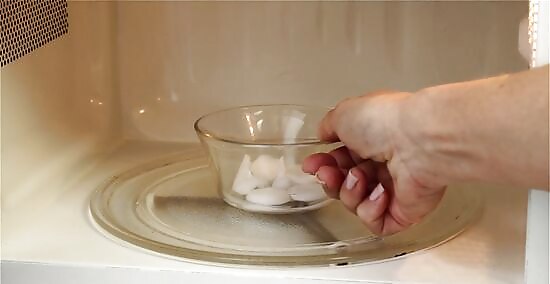
Microwave the glue for about 50 seconds. If you have a powerful microwave, reduce the time to about 35 seconds instead. You want to heat the glue long enough for it to dissolve. If the glue didn't completely dissolve, give it a stir first. Sometimes, this is all you need to help the glue finish melting. If that doesn't help the glue dissolve further, microwave it at 10 to 15-second intervals until it does. Be sure to stir after each interval!
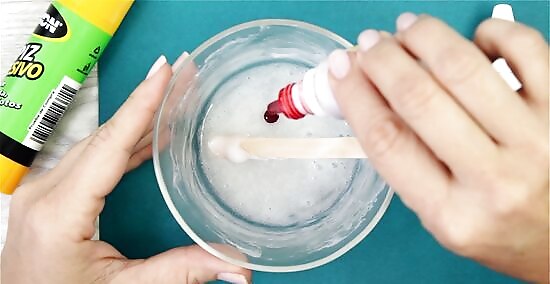
Add 1 to 3 drops of food coloring, then stir the mixture. Give the glue a brief stir first, so that the texture is consistent. Next, add in a few drops of food coloring, then stir the mixture again until the color and texture are even. The more food coloring you add, the darker the color will be. Start with 1 to 3 drops, then add more, if needed. If you want white-colored slime, skip the food coloring.
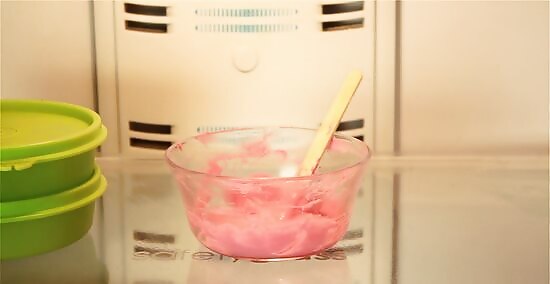
Freeze the slime for 10 to 15 minutes. This is where the magic happens! As you freeze the slime, it will turn from a liquid to a semi-solid. Simply put the bowl into the freezer, and set the timer for 10 to 15 minutes. If the bowl is made from glass, make sure that it is freezer-safe. Let the bowl cool down to room-temperature before you freeze it.
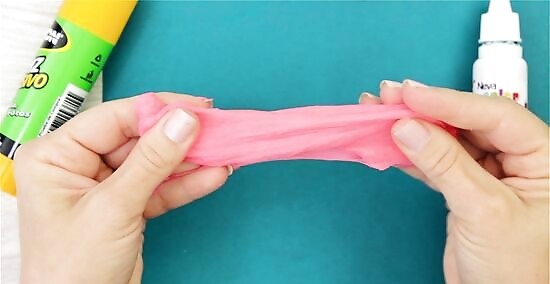
Knead the slime for 2 to 3 minutes. After you freeze the slime, it should already have a putty-like consistency. The more you knead it, however, the more firm it will become. Simply take it out of the bowl and squish it with your fingers for about 2 to 3 minutes. This slime will be the most gooey out of the other recipes here. It is oozy, and not very stretchy.
Using Liquid Laundry Detergent
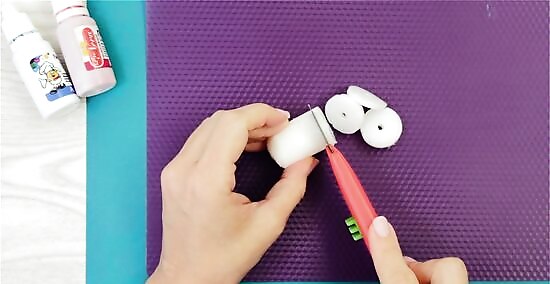
Chop up a glue stick and put it into a bowl. Upon up a glue stick, then pull it out of the tube. Slice the glue stick into smaller pieces, then toss them into a small bowl. Make sure that the bowl is microwave-safe. The size of the pieces does not matter. This is just to help the glue melt faster. You'll be heating this in the microwave, so make sure that the bowl isn't made from metal!
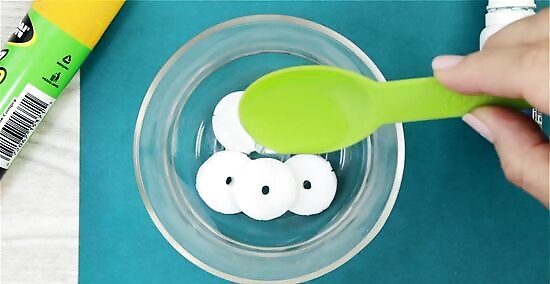
Pour enough water into the bowl to cover the glue stick pieces. The exact amount of water does not matter, but about 2 to 4 tablespoons (30 to 60 mL) should be plenty. The water is mostly there to prevent the glue from drying out when you heat it. Give the glue a brief stir to ensure that everything gets submerged.
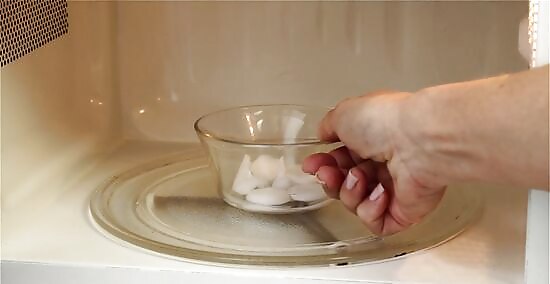
Heat the bowl in the microwave for about 35 seconds. This should be enough to melt the glue. If it isn’t, put the bowl back into the microwave, and heat it for another 15 to 20 seconds or so. You want the glue to dissolve into the water.
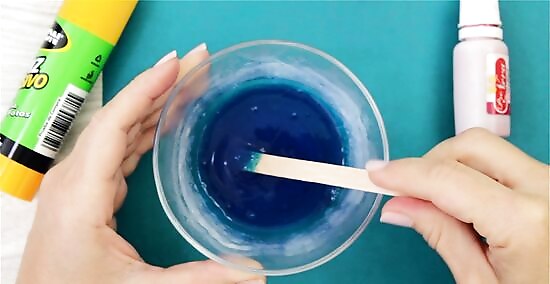
Stir in a few drops of food coloring, if desired. Keep in mind that the slime will also take on the color of the laundry detergent. For example, if you added yellow food coloring and plan to use blue laundry detergent, the resulting slime will be greenish! Start with 1 to 3 drops of food coloring. The more you add, the darker the color will be!
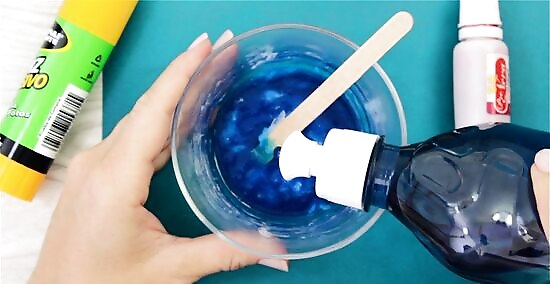
Add a splash of liquid laundry detergent. If you like the color of your slime, use clear laundry detergent. If you are feeling more adventurous, however, you can try a colored detergent instead. There is no precise measurement for this, but it would be best to start with just 1 tablespoon (15 mL). You can always add more later. Do not use powdered laundry detergent. It is not the same thing. You can try using liquid starch, but your slime may not have the same results.
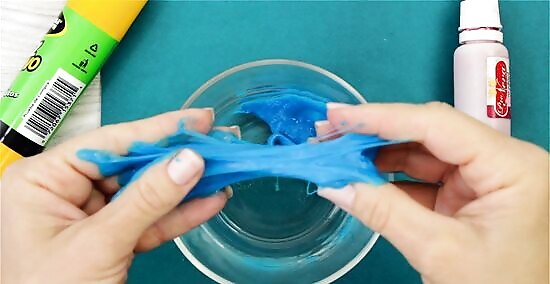
Stir the glue until it turns slimy, adding more detergent as needed. The longer you stir the solution, the more gooey it will become. You will probably end up stirring it for 1 to 2 minutes. If the slime is too runny, add a little bit more laundry detergent. Take it easy here, since a little bit goes a long way.
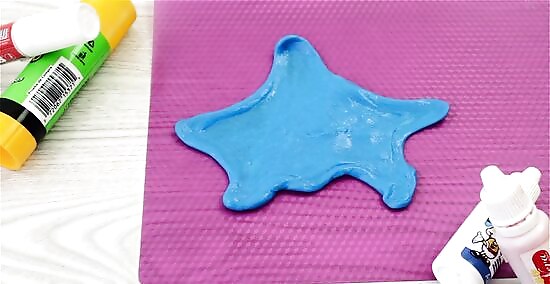
Knead the slime for about 2 to 3 minutes. Once the ingredients have come together and formed a slime, pull the putty from the bowl, and squish it between your fingers for a few minutes. This will help make the slime a little more firm. This slime will be a little more firm than the kind made from just water and glue sticks.
Using Contact Lens Solution
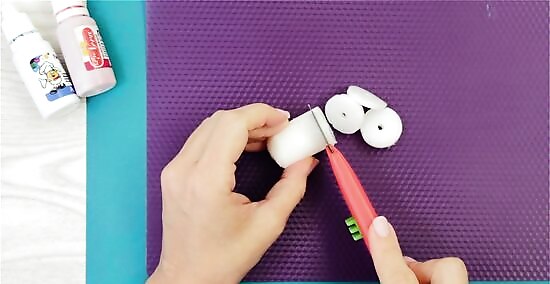
Cut up a glue stick and put it into a bowl. Open up a glue stick, and pull it out of the capsule. Chop it up into small pieces, then put the pieces into a bowl. The size of the pieces does not matter, but the smaller they are, the faster they will dissolve. You won’t be using the microwave in this recipe, so you can use any type of bowl you want.
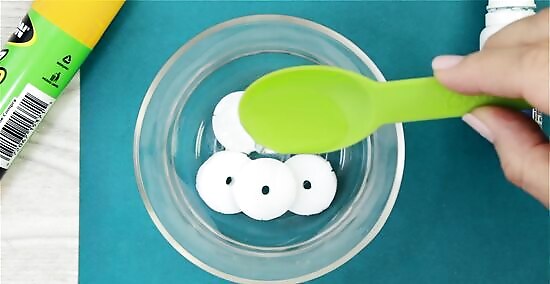
Stir in a splash of water. The exact amount of water does not really matter here—you need at least enough to cover the glue stick pieces with. About 2 to 4 tablespoons (30 to 60 mL) should be plenty, however. Give the mixture a quick stir so that everything is underwater.
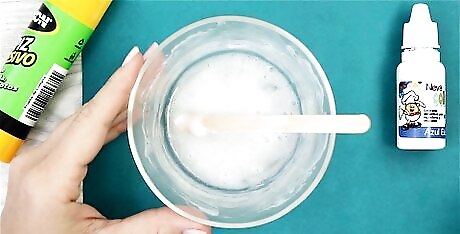
Wait 1 minute for the glue to dissolve, then stir it again. Depending on the size of the glue stick, it may take a little longer than 1 minute. You are simply looking for the glue to dissolve and turn milky. There may still be some oatmeal-sized chunks of glue, which is fine. You’ll knead these out later.
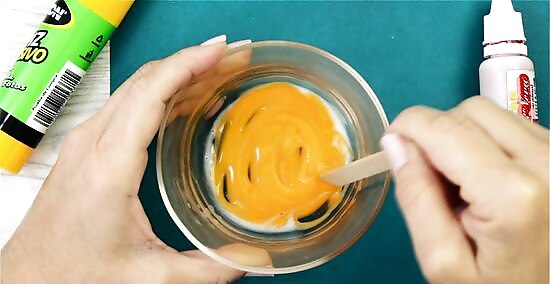
Stir in a few drops of food coloring until you get the shade you want. A little bit goes a long way, so start with 1 to 3 drops, then add more if you want a darker color. Be sure to stir the solution well so that the color is even.
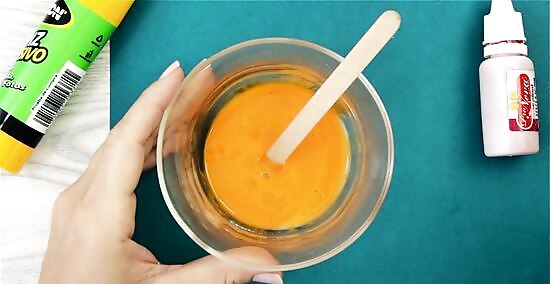
Add in a splash of contact lens solution. This is the magic ingredient that turns your glue into slime! A little bit goes a long way, so you only need 1 to 2 tablespoons (15 to 30 mL). Remember, you can always add more contact lens solution later. If you can’t find contact lens solution, try “saline solution” instead.
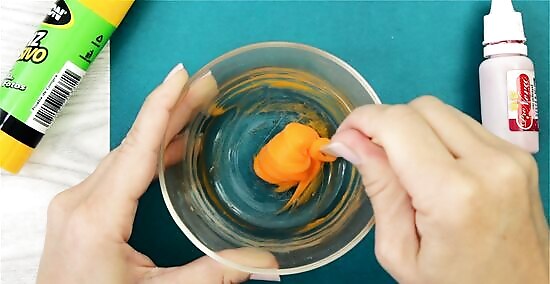
Stir the solution until it turns into slime. This is where the magic happens! At first, the mixture won’t look like much, but the longer you stir it, the more putty-like it will become. This can take a few minutes, however, so get stirring! Again, there may be a few chunks of glue left in the putty. Don’t worry; you’ll knead these out in the next step.
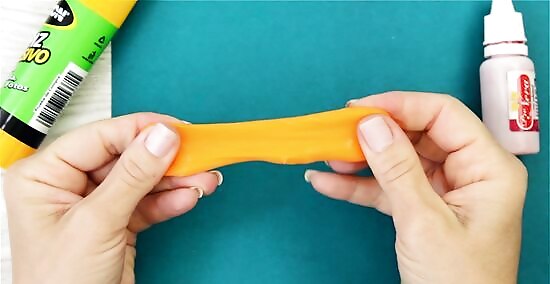
Knead the slime for a few minutes, focusing on the chunks. Depending on how many chunks there are, this can take anywhere from 2 to 3 minutes. The more you knead the slime, the more putty-like it will become. As you knead it, press those little chunks of glue between your fingers. You may not be able to get all of the chunks out; just try to squish them out as best as you can. When finished, this slime will be more like silly putty than traditional gak slime.






Comments
0 comment