views
X
Research source
It is extremely cold and is often used for cryogenic or flash freezing. Although liquid nitrogen is not commercially available, you can make a “poor man’s liquid nitrogen” out of regularly available items. It has similar quick-freezing properties, however, it is a bit slower and must be handled with proper safety. All health and safety precautions should be taken when working with anything as cold as dry ice and liquid nitrogen.
Making the Flash Freeze Liquid
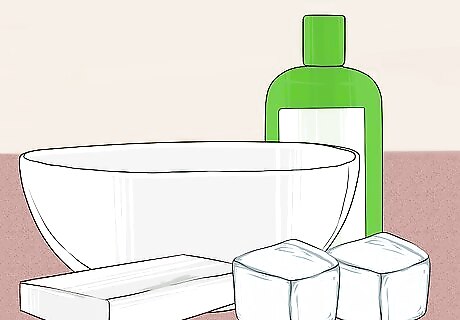
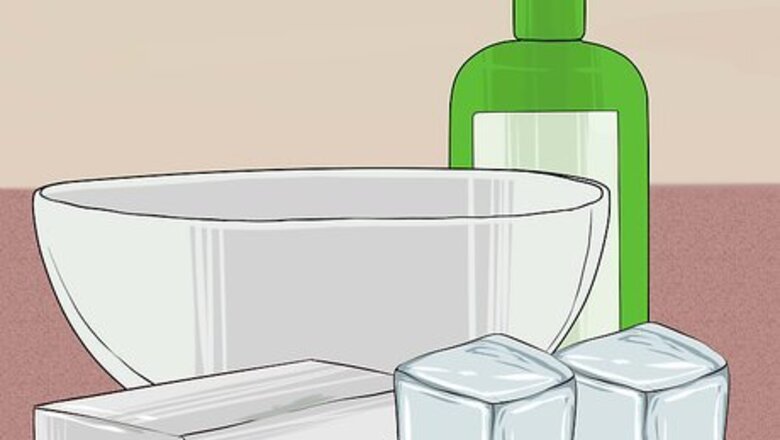
Gather your materials. This substitute is made by combining dry ice and ethanol. For our purposes we will use 99% isopropyl alcohol or rubbing alcohol. You will also need a plastic 2-liter bottle, a plastic 18oz bottle, dry ice, and scissors. Dry ice pellets are easier to use than a block of dry ice. Using isopropyl with an alcohol content of less than 99% will form a gel when in contact with the dry ice and won’t work properly for this experiment. If you don’t have plastic containers on hand, you can use Styrofoam. Avoid using glass materials as the supercool temperatures can cause the glass to break. Metal is also not recommended with the very cold temperatures.
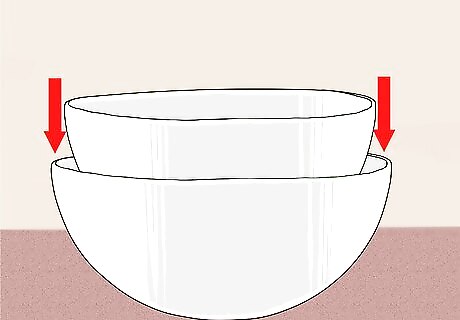
Nest the smaller bottle in the larger bottle to create your container. You are going to nest the smaller bottle inside the larger bottle to make an outer layer for the dry ice. You should have a smaller bottle that will act like a sieve with enough space around it to pack with dry ice and the larger bottle that will hold liquid with no leaks. Start by cutting the tops off of the two bottles. Carefully poke many small holes into the smaller bottle. Make holes large enough for the alcohol to freely flow out but small enough that dry ice pellets can’t get through. Place the smaller bottle inside the middle of the larger bottle.
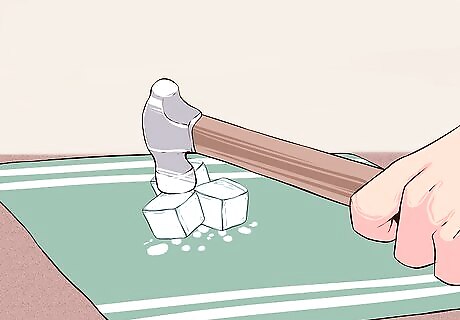
Crush your dry ice. You need to have pieces that are small enough to fit in the space between the large and small bottle. Crush enough pieces to fill the space. Dry ice is very cold and can burn you if handled for too long. Use an oven mitt or other protective glove to prevent injury. If you did not get the pellets, place your block on a wooden cutting board in your sink. Place both the board and the block of dry ice in a large bag to help contain flying fragments. Carefully cut small pieces off the block using a knife or a hammer.
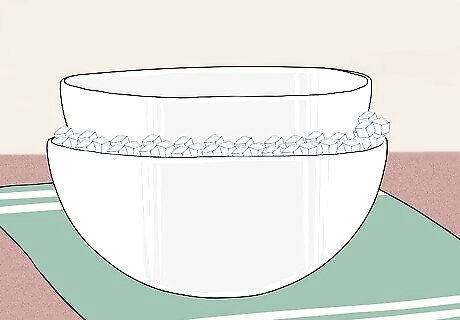
Fill the outer space with dry ice. Using the small pieces that chipped off the block or the dry ice pellets, fill the space between the bottles. Fill the space halfway to three-quarters of the way to the top. Don’t put dry ice in the small bottle, put it around it. Make sure the dry ice is below the top of the small bottle.
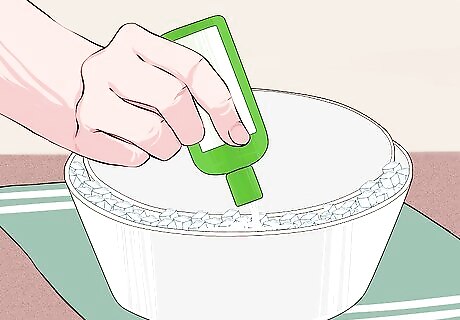
Pour rubbing alcohol on the dry ice. Slowly pour the alcohol around the outside of the smaller bottle onto the dry ice. The alcohol will start to boil so pour slowly and carefully to avoid splashes. Repeat until you have a sufficient amount of non-boiling liquid to use. The plastic bottle should be filled about 2/3 of the way up with liquid. The gas released during this process is carbon dioxide. Work in a well-ventilated area and avoid breathing the gas directly.
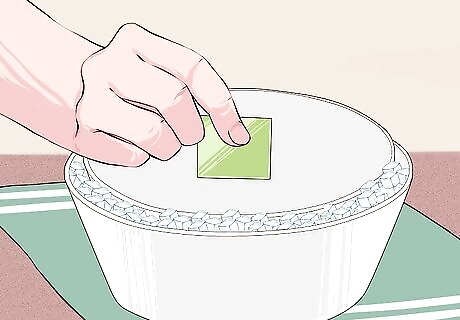
Dip your items into the flash freeze mixture. Submerge your item of choice for a few seconds. Although this solution doesn’t work as quickly as liquid nitrogen, it still only takes a few seconds to freeze the objects. Try freezing a variety of objects and see how their properties change with extreme cold. Unlike liquid nitrogen, which will bead and roll off of your skin, this solution will stick to your skin and cause severe burns. Wear insulated gloves and clothing that covers skin that could be exposed to the mixture.
Flash-Freezing Water
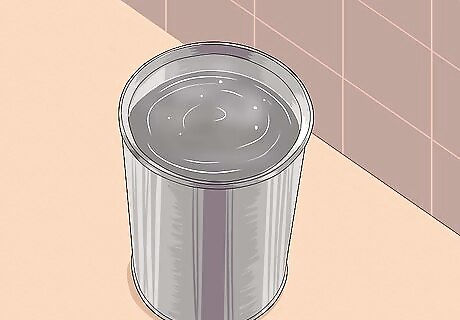
Fill a bottle with purified or distilled water. Although different than making a liquid nitrogen substitute, you can perform an experiment that allows you to flash freeze, also known as supercooling, water. Supercooling water can only be done with distilled water as tap water has impurities that will lead to premature freezing. As it freezes, water expands, so leave some space in the bottle when you fill it.
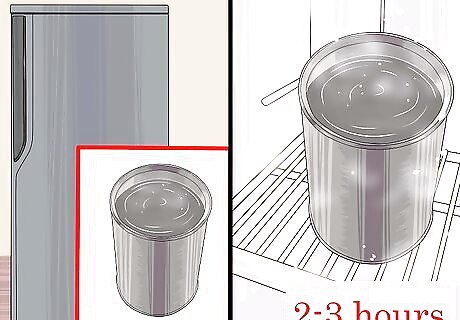
Chill the water undisturbed for 2-3 hrs in the freezer. Place the bottle in a spot that will not be knocked around at all during the cooling process. Cooling time will vary depending on the temperature of your freezer. An easy way to tell if your water is supercooled is to also place a bottle of tap water in the freezer. When the tap water is frozen, your bottle should be around freezing, but still liquid. After about 2 hrs, check the bottle of tap water every 15 minutes until it is frozen. Be careful not to touch the bottle of distilled water. If the distilled water is also frozen, you have left it in the freezer for too long. Let the water thaw and try again.
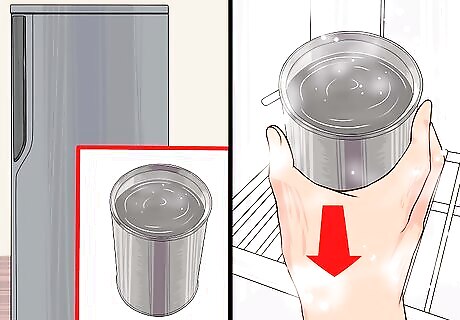
Remove the bottle of distilled water from the freezer. Gently remove the bottle from the freezer without jostling it too much. A quick, jerky, movement can cause a supercooled liquid to crystallize into ice.
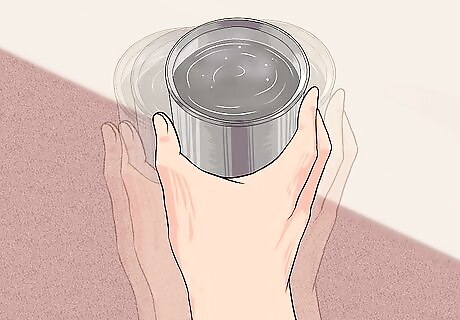
“Flash freeze” the water. Shaking the bottle will initiate the crystallization process and you can watch the water freeze before your eyes. This is also known as snap freezing as it happens quickly.
Staying Safe
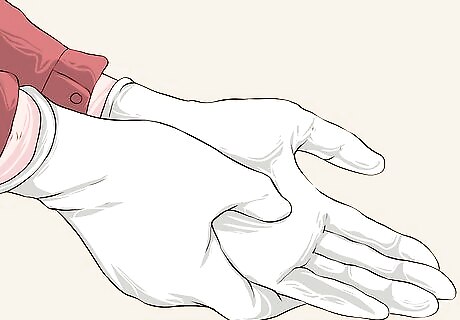
Use proper protective equipment. Dry ice is frozen carbon dioxide and is very cold. Always use insulated gloves when handling it directly. Wear goggles to protect your eyes from splashing.
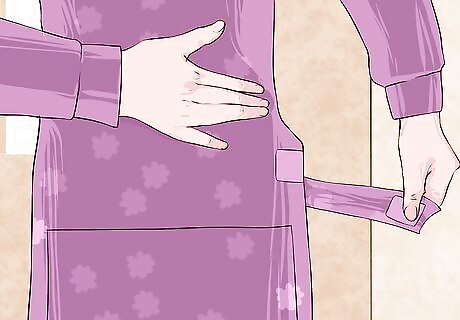
Handle the solution with caution. In small amounts, liquid nitrogen will boil off the skin and not cause immediate damage, however, prolonged contact will cause severe burns. This solution does not boil off and will cause severe burns with contact. Always wear protective clothing while handling the mixture. Make sure no skin is exposed while handling the solution.
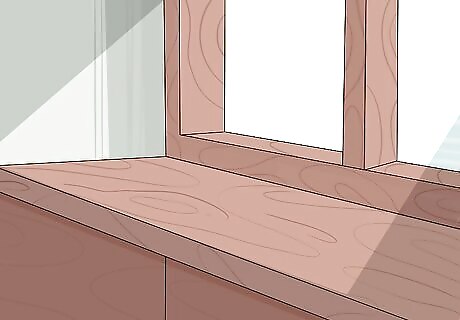
Work in a well-ventilated area. This solution produces clouds of carbon dioxide. Carbon dioxide exists normally in our atmosphere but can be harmful in high quantities. Keep your face away from the gas as it’s produced and work in a room with good ventilation. If you begin to feel light-headed, leave the room and step outside. Take some deep breaths. Let the gas in the room dissipate before you re-enter. Open windows to increase ventilation and/or turn on a fan.


Comments
0 comment