views
Creating Your Design
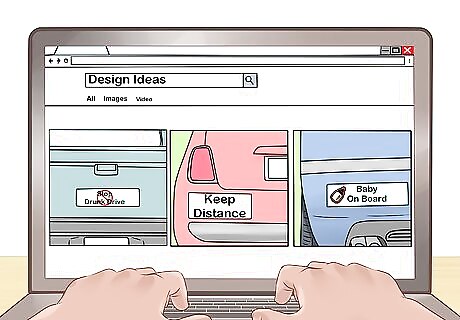
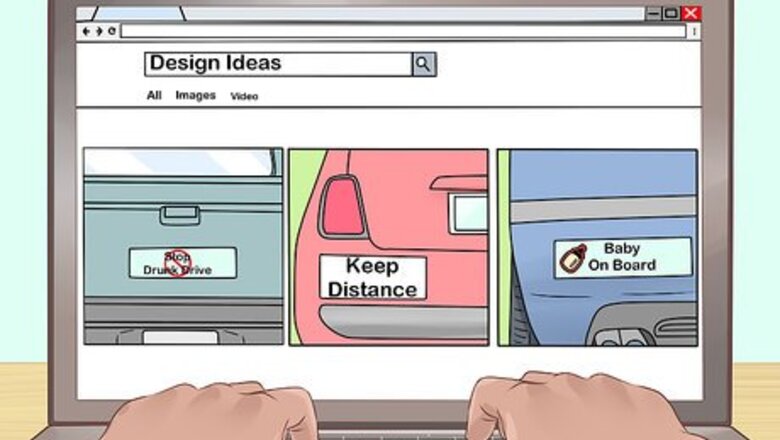
Get ideas for designs that would appeal to potential buyers. Research local businesses, organisations, and teams in your community. Talk to these groups about different ideas for logos or slogans that would look good on bumper stickers.
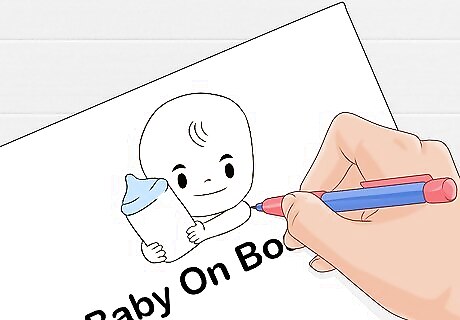
Draw your bumper sticker design on paper if it’s hand drawn artwork. Sketch your design onto white paper, making sure that it’s bold, clear, and exactly how you want the final product to look. Use a vivid, bright color scheme, and make sure that any lettering is clear. A few example designs include a company name and logo, a funny quote, or a picture that takes up most of the space with a few words. If you are using handwriting on your bumper sticker design, make sure that it's clear, large, and easy to read. Avoid cursive and fonts that you can't read clearly from being in the car behind the bumper.
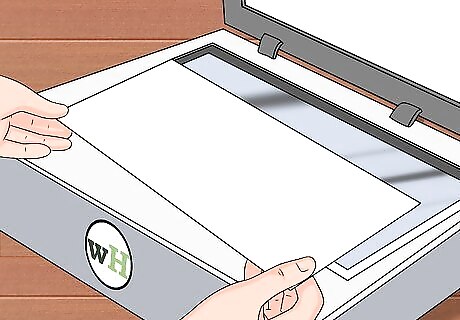
Scan your image to your computer. Use a scanner to send a copy of your hand drawn image to your computer. You will be able to make slight color and contrast adjustments once it has scanned to get it ready for printing. Many printers will have a built-in scanner, which will be useful to both scan your artwork and print your stickers.
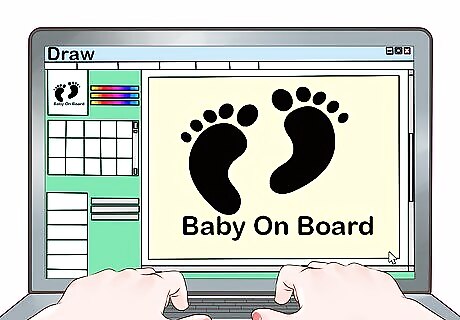
Use a computer if you don’t want to hand draw your image. There are many copyright-free and royalty-free images available online. You can pick from many different softwares to design your graphic, including templates in Microsoft Word, or the freely available Google Drawings. These types of software will let you manipulate the images you pick, add shapes and text, pick the colors you want and more. This is an ideal and user-friendly way to make a graphic for a bumper sticker. Many Adobe programs such as Photoshop or Illustrator also have great sticker templates available. You can also use a computer to adjust your own image or photograph that you have digitally scanned to your device.
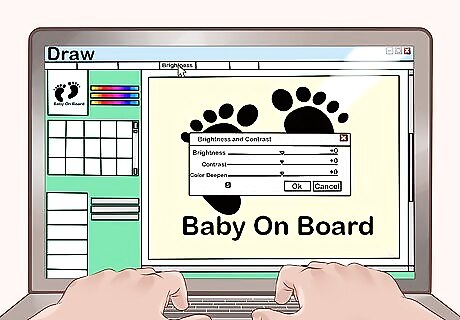
Make sure that your graphic has high contrast and bright colors. These attributes work best for bumper stickers, as they are the most easily read. Stay away from colors that blend in easily together. Brighter colors also tend to print better than lighter colors in lower-quality printers, which means that you will be more likely to get a good result. Try and break up large areas of solid color, as these are more difficult to get looking right when they are printed.
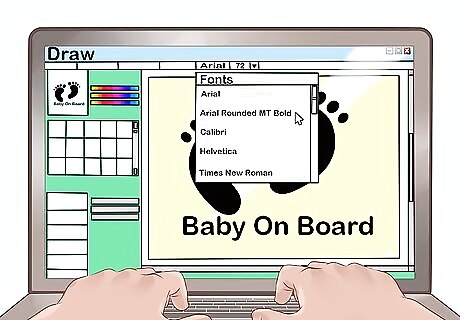
Pick an easy-to-read font and use a large text size. If your bumper sticker has words, you need to make sure that it can easily be read. Stick to clear fonts like Times New Roman, Helvetica, Arial, or Calibri. Use the largest text size that will fit on your bumper sticker. 48pt is a good size to start with.
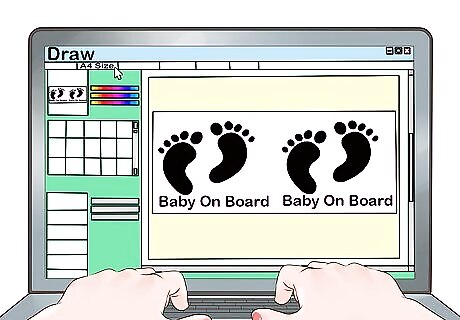
Duplicate the stickers across the page. You will need to decide what size your bumper stickers will be, and how many you can fit on one page. Try not to leave too much blank space between the stickers as this is just wasted space. The standard size for bumper stickers is 3 in (7.6 cm) wide and 11 in (27.9 cm) long. This means that you can fit 2 stickers per A4 page.
Printing the Stickers
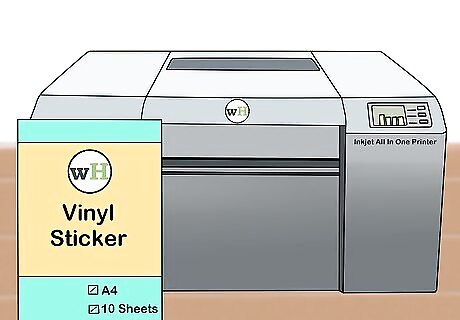
Purchase printable vinyl sticker paper that is compatible with your printer. Read the manufacturer's instructions to check whether the paper is designed for inkjet or laser printers. Inkjet sticker paper is only compatible with inkjet printers, while laser sticker paper only works with laser printers. You can buy printable vinyl sticker paper from craft stores or online. These different types of sticker paper aren’t interchangeable, as inkjet sticker paper will melt in a laser printer. If you use laser paper in an inkjet printer, the paper won't absorb the ink. Most printers today will be able to adequately print bumper stickers. If you are stuck trying to choose a printer, a 4-color inkjet printer with a print resolution of 1200 dpi will be more than sufficient.
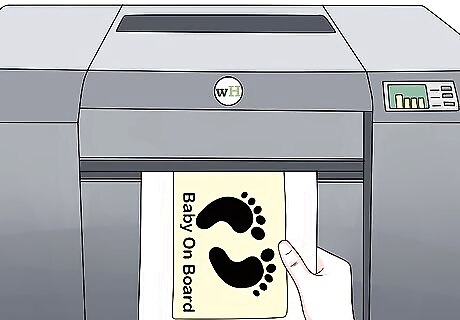
Run a test sheet on plain paper to check how your bumper stickers look. Print out your bumper stickers on a piece of plain printer paper first. Take a look at the color, size, and alignment to check if you are happy with the final result, or if it needs some adjusting. This saves you from wasting sticker paper, and from printing too many stickers before you realise that there might be something you want to change.
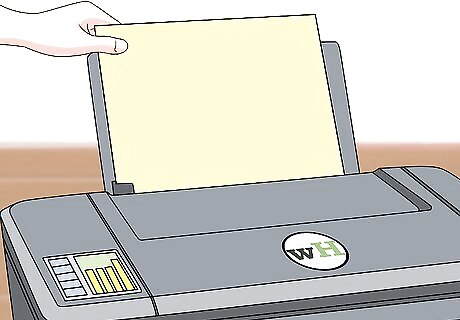
Load the sticker paper into the printer according to the instructions. Sticker paper needs to be loaded with the coated side facing the direction that the printer will print. For most inkjet printers, this is facedown if it is front loading, or faceup if it is top loading. The manufacturer's instructions that come with your sticker paper will give you a detailed guide about how to load the paper into your printer.
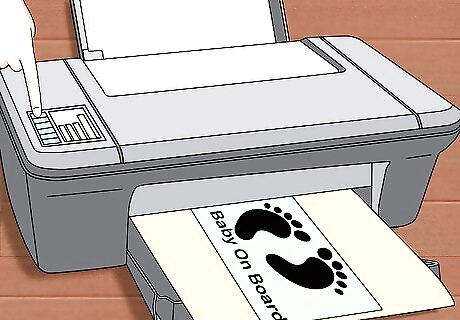
Print the bumper stickers onto the printable vinyl paper. Press the print button on your computer software to start printing out your bumper stickers. Start with only 1 sheet to see how your design turns out on the sticker paper. Make sure that the printer is on and is connected to your computer.
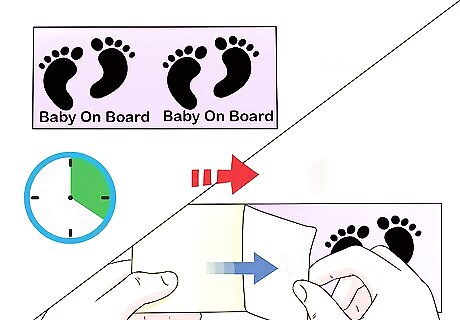
Let the stickers dry for 20 minutes before touching or peeling them. Leave the sheet resting faceup on a flat surface. This will let the ink dry. properly Touching the stickers before they have had time to dry could cause the ink to run or smudge.
Waterproofing and Trimming the Stickers
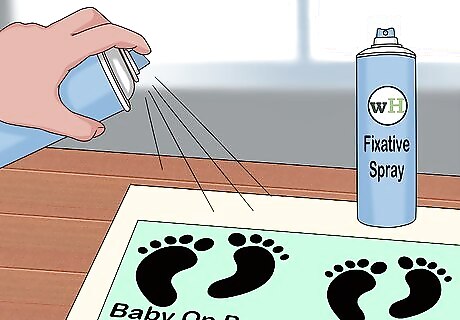
Use a fixatif spray to waterproof the stickers. Spray the stickers with a coating of fixatif spray in a well-ventilated area. Just a singular coat over the side with the images on is all that is necessary. You can buy fixatif spray from craft stores. Fixatif spray will help your bumper sticker to withstand the outdoor elements. It will protect the colors from fading in the sun, and stop the ink from washing away when the sticker gets wet.
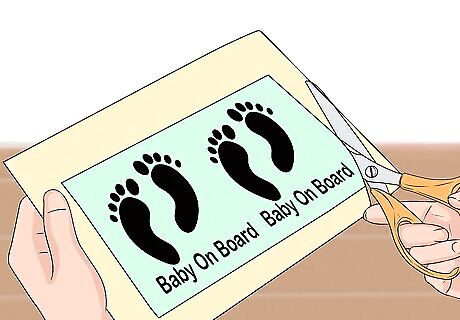
Trim the sheet carefully to form individual bumper stickers. You can use scissors, or a more specialist craft cutting tool such as a paper guillotine to carefully separate the bumper stickers. If you are wanting to cut more than one sheet at a time, a paper guillotine will be ideal. You don't need to leave too much room around the edge of your bumper stickers. A thin edge will do.
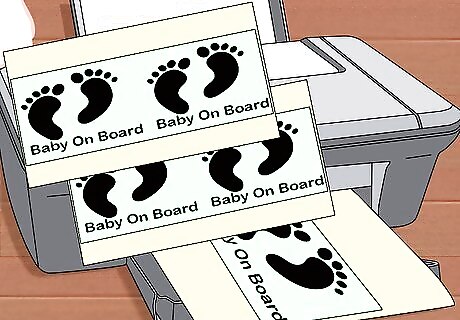
Print multiple copies of the bumper stickers when they are ready to sell. When you are happy with the graphic design, alignment, and printing result of the stickers, print out multiple copies. You can then sell the bumper stickers, and the process will get more efficient over time. If you are selling a generic bumper sticker design, print out around 10 copies of the bumper sticker to begin with.
Selling the Bumper Stickers
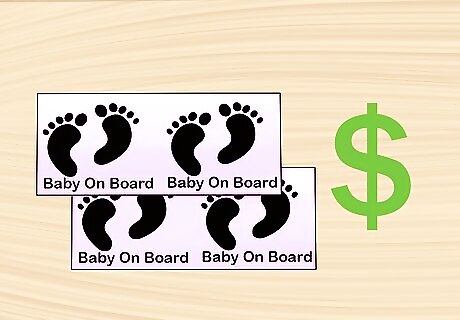
Set the right price for your bumper stickers. The right price for your bumper stickers will be a balance between affordability for the buyer, and making a profit on your time and materials. Sum all of your costs and then divide the total by the number of units you are producing. Add on a small percentage as profit. Check competing bumper sticker prices to assess the market, and price your stickers accordingly. The more stickers you are able to make and sell, the cheaper they will be to make as the overall costs will be reduced.
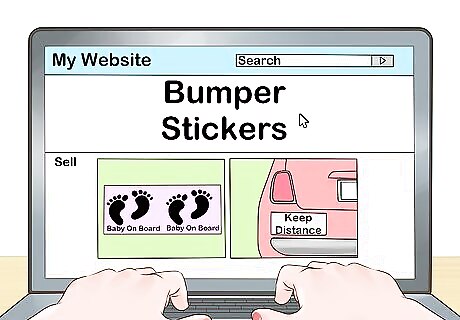
Choose the medium to sell your bumper stickers through. You could create your own website, or use a popular online selling platform. You can also sell your bumper stickers in the community through markets, or you can talk to local gift shops about selling your product.
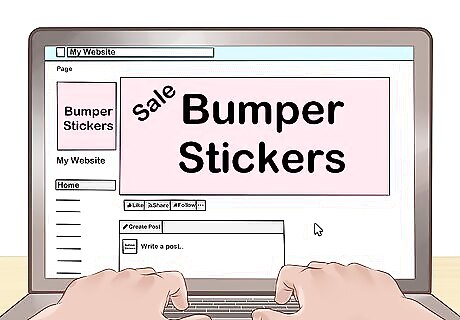
Advertise that your bumper stickers are for sale. You could create a website, a social media page, or put up signs in your community. Word of mouth is also a great advertising tool, so ask your buyers to spread the word. Approach local companies and sports teams in your neighbourhood, and ask if they would be interested in advertising through bumper stickers. It's a win-win situation for both parties.




Comments
0 comment