views
Making Crunchy Bubble Slime
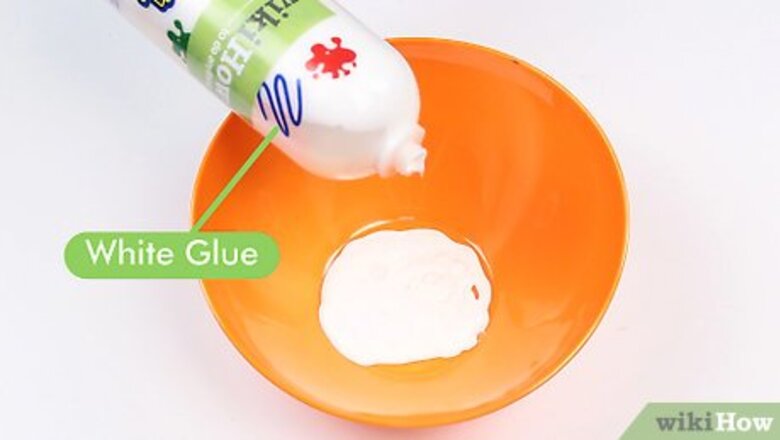
Pour 12 ounces (340 g) of white glue into a bowl. Make sure you’re using white liquid glue--it won’t work with gel glue, paste, or glue sticks! You can find white glue online or anywhere that sells school supplies. Most white glue containers are 6 ounces (170 g), so you can just pour out two bottles.
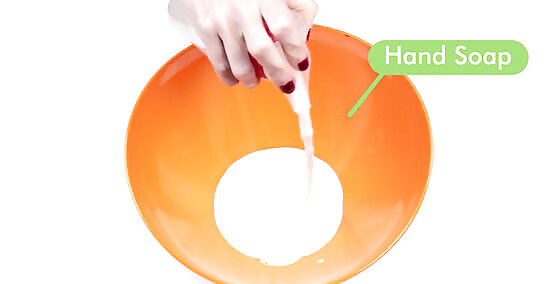
Cover the layer of glue with foaming hand soap. You can pump the soap directly from the container. Pump out enough to cover the entire layer of glue. The layer of foam should be about ⁄4 inch (19 mm) thick.
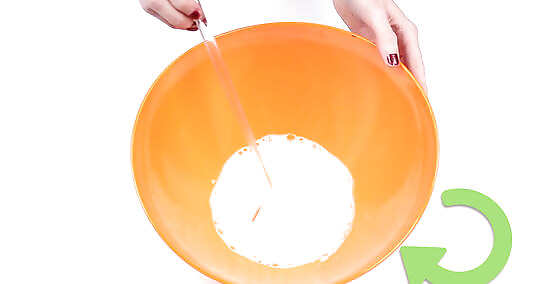
Stir the glue and hand soap together. Use a spoon or stick to stir the two layers together. You can use metal, wood, or plastic utensils to stir your slime, but metal may be more difficult to clean.
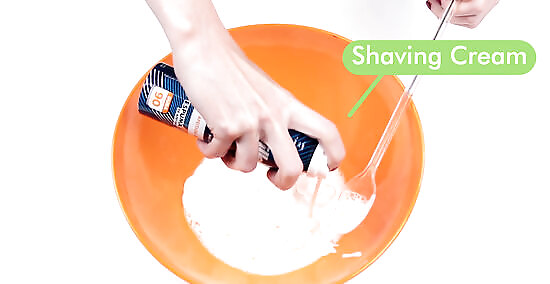
Add a layer of shaving cream to the top and stir it in. Squirt a layer of shaving cream about ⁄4 inch (19 mm) thick over the top of your mixture. The entire surface should be covered before you start stirring it in. Make sure you use shaving cream--shaving gel won’t work!
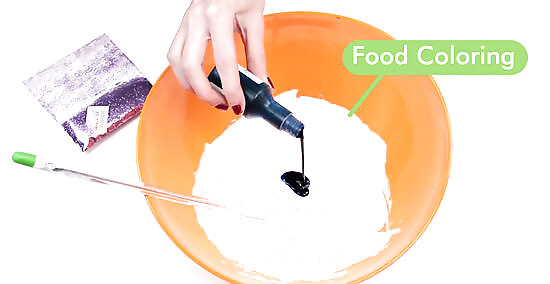
Mix in glitter, food coloring, and/or paint (optional). If you want your slime to be colorful or sparkly, add in a few drops of pigment and/or glitter now. Most kinds of paint will work, but be sure not to use oil-based paints--they’ll make your slime greasy.
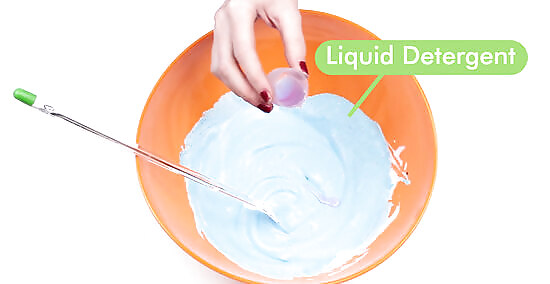
Add a few drops of liquid detergent to activate your slime. This is the ingredient that makes your slime slimy and holds it together in one piece. Add a few drops of liquid detergent and stir it in thoroughly. You can use any kind of liquid detergent, but if it’s scented, that’s what your slime will smell like! You can also use liquid starch instead of detergent.
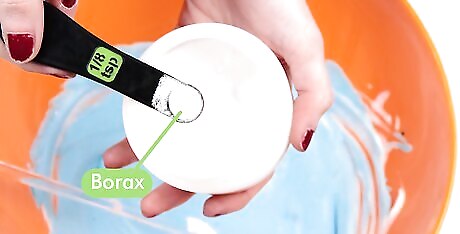
Use Borax to activate your slime instead (optional). Borax will also work as an activator. If you want to use borax, mix 1 teaspoon (4.9 ml) with ⁄2 cup (120 ml) water first before adding it. But be careful--borax can cause burns if activated with certain chemicals!
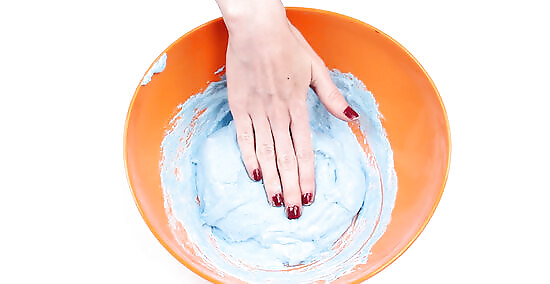
Touch your slime to test it for stickiness and shape. After you add the detergent, put your hands in your slime. It should stay in one piece when you pick it up, and you should be able to put it down without it sticking to you. If it is sticky or falls apart, add a few more drops of liquid detergent and test it again. Don’t add more than a few drops at a time. If you add too much, your slime will become hard and difficult to shape, and you’ll have to throw it away.
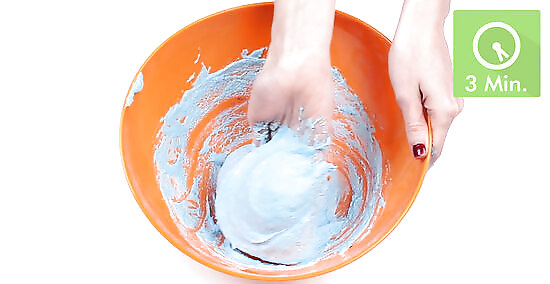
Knead and stretch your slime for at least 3 minutes. Spend a few minutes kneading and stretching your slime. This makes sure that the ingredients are evenly mixed and that the slime doesn’t stiffen before you store it.
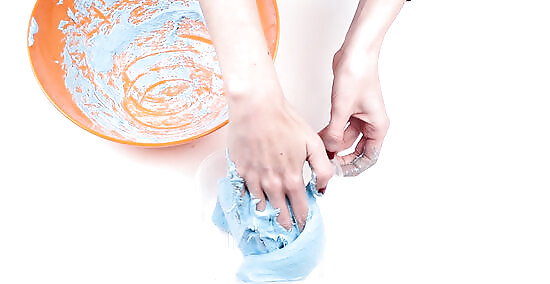
Press the slime into the bottom of a sealable plastic container. Pick a plastic container with a bottom about the size of your slime. Press your slime so that it rests firmly against the bottom of the container.
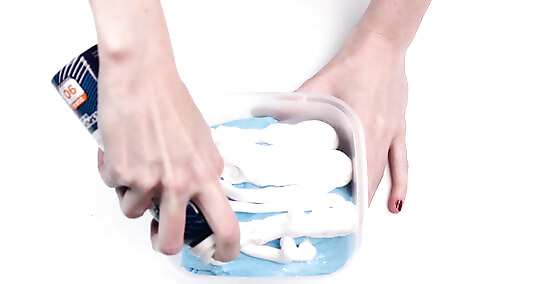
Knead a thin layer of shaving foam into the top (optional). Adding a ⁄4 inch (6.4 mm) layer of shaving cream to the top of your slime before you store it will help make the bubbles bigger and crunchier. Knead it in gently with your fingers. It's okay if you can't knead all of it in! This is an optional step, so don’t worry if you skip it.
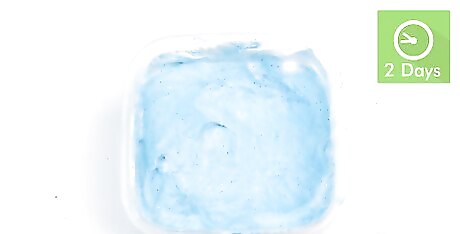
Let it sit for two days. Seal up your slime and let it sit for two days. This will give the crunchy bubbles time to develop. You can let it sit longer, but don’t wait more than a week or so.
Remove the slime and enjoy! After two days, take the slime out and have fun crunching the bubbles! You can roll it into a ball, stretch it out, or just enjoy squeezing and poking at the bubbles. It will last for up to three or four weeks.
Making Stretchy Bubble Slime
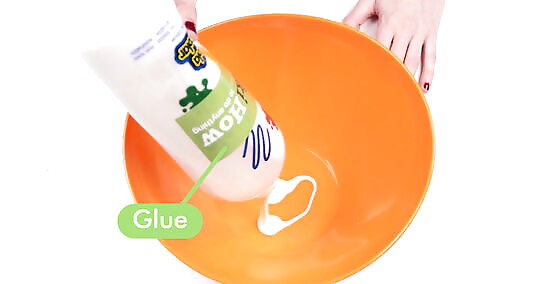
Add 6 ounces (170 g) of white glue to a bowl. 6 ounces (170 g) is a standard size school glue bottle, so one bottle will work for this. It’s okay if you can’t get every drop out!
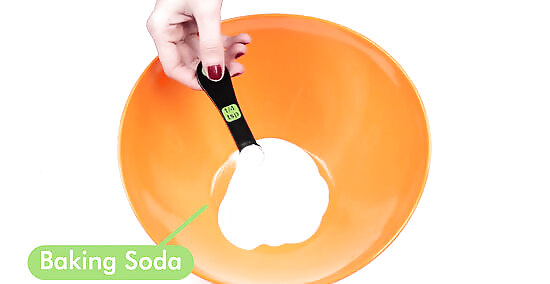
Sprinkle ⁄4 teaspoon (1.2 ml) of baking soda over the glue. Make sure the baking soda is sprinkled evenly over the entire surface. It’s okay if it’s not perfect, but you want to avoid dumping it all in one spot. That makes it much harder to evenly mix!
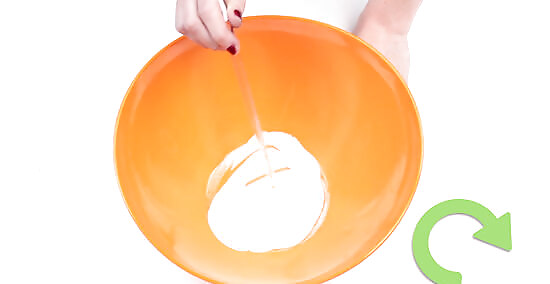
Stir the glue and baking soda together. Mix the baking soda and glue together with a spoon or a stick. A disposable stirrer might be a good idea--glue can be hard to remove from utensils!
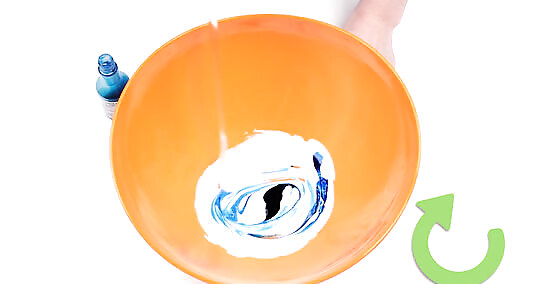
Mix in food coloring or glitter (optional). Add in any food coloring or glitter you want! Paint may not work as well for this kind of slime--the saline isn’t strong enough to break down acrylic compounds.
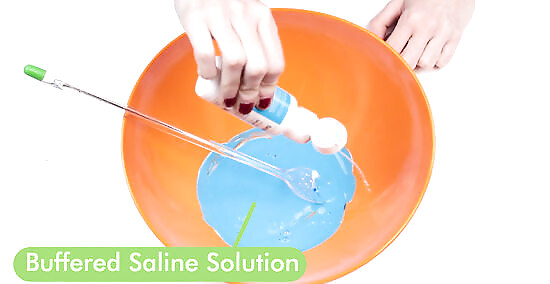
Add a few drops of buffered saline solution and mix. You can find buffered saline solution online or in the eye care section of your grocery store or pharmacy. Be sure the label says buffered saline solution--regular saline solution won’t work as well. Add a few drops to the mixture and stir it in.
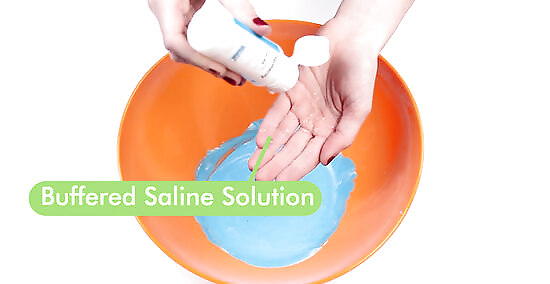
Coat your hands with buffered saline and knead the slime until it’s stretchy. Put a few drops of the saline into your hands and rub until your hands are covered. Then, knead the slime until it’s stretchy and no longer sticky. If it’s still sticky after a few minutes of kneading, add a few more drops of saline. Don’t add too much--it can break down the entire slime mixture!
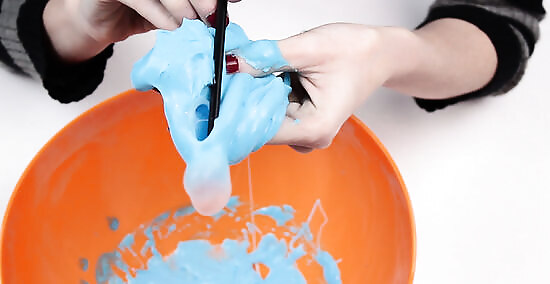
Use a straw to blow slime bubbles. Start playing with your slime! Stick a plastic straw into it to blow bubbles. You can use this slime mixture right away, but it will keep for a couple of weeks if it’s stored in a sealed container.







Comments
0 comment