


Recruit some friends. It is nigh to impossible to build a snow house by yourself -- even the Inuit help each other -- so find some friends to help you.
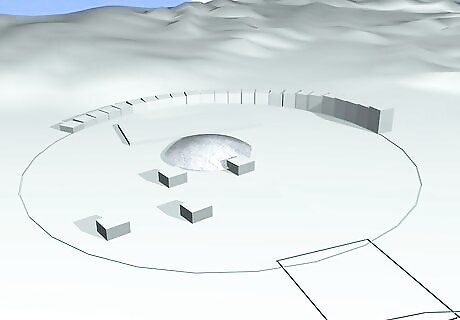
Develop the snow house floor plan. Inuit snow houses are dome-shaped or bee-hive shaped and have a circular base. As you become more skilled in creating floor plans, feel free to add more rooms and additional houses. Experimenting is part of the fun!
Clear out an area that will fit your floor plan. You will need to include the house, of course, but also working area around the house so that you can build and have free range of motion.
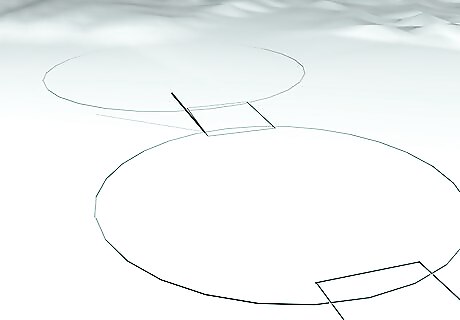
Draw you floor plan using a stick or dowel so that everyone understands where to place the snow bricks. Use measuring tape or a yardstick to get your dimensions to match your design.

Assign roles and begin building: Brick Maker(s) - This person (or group) will pack the snow into bricks to be laid. See more instructions below for how the bricks should be formed.Make an Eskimo Snow House Step 5Bullet1.jpg Outside Brick Layer(s) - This person (or group) takes the snow bricks and lays them according to plan. They will also smooth out the edges and shave the bricks to make them taper to form the dome.Make an Eskimo Snow House Step 5Bullet2.jpg Inside Brick Layer(s) - This person (or group) will assist in laying the bricks down and smoothing the edges inside the house. They should be responsible for ensuring the proper tapering to create the dome structure.Make an Eskimo Snow House Step 5Bullet3.jpg
Create bricks by hand or using a form. A form is the easiest method to ensure standard-sized bricks. You can make your own form by nailing together 4 planks of wood to make a rectangle brick. Pack the snow inside and tap out of the form for use. The bricks should gradually get less and less thick as you build upward. The base bricks should be the thickest as they are supporting the most weight.
Build in a circle, starting with the ground level first. Gradually taper the bricks as you build upward, careful not to taper too much (see Warnings below). Brick layers should smooth the edges using extra snow as "mortar" to fill in any gaps. Use a flat edge, like a trowel or plank of wood, to create smooth walls.
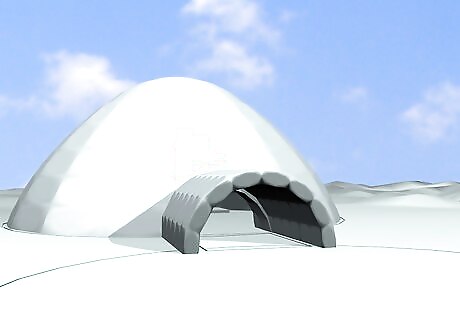
Close in the inside brick layers and cut through the walls to form openings, starting at the base and working upwards. Don't make too many openings as this will decrease the stability of the structure. Usually a door is all that is necessary.
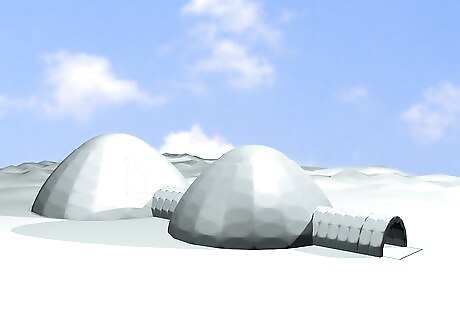
Add more rooms or houses as necessary using the same method. Experiment by placing additional rooms adjacent to the existing house by using the same snow walls (see image).


Comments
0 comment