
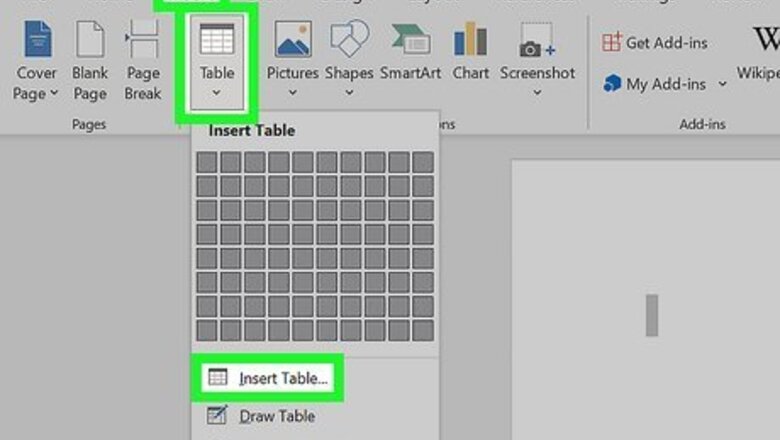
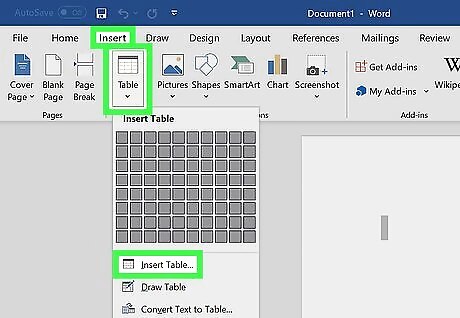
Go to 'Insert' in your Word document. Then, click on the button that says 'Table', then just go down to 'Insert Table'.
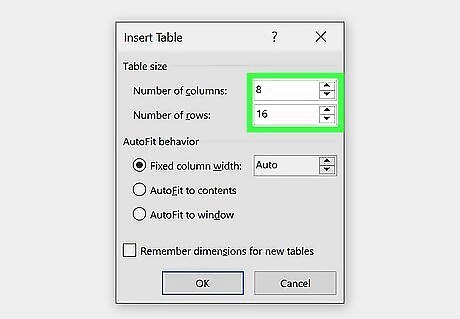
Look for a little box with a choice of columns and rows. Plan the table based on your hours; for example, for the columns, type in '8'. For the rows, type in '16'. Unless, of course, you wake up earlier than 8:00am or go to bed later than 9:00pm, in which case you should adjust the columns/rows to fit your daily hours.

Highlight the top row of the table. Then go 'Layout' and click ' Merge Cells'.
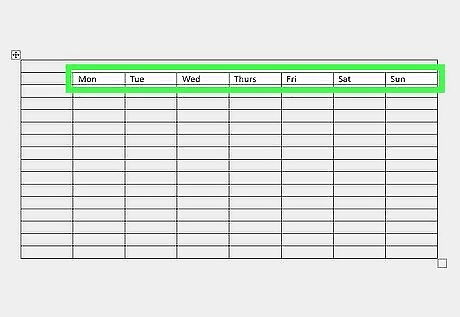
Go to the row underneath. Write the days of the week in each cell. You should leave the very first cell because you will be putting each hour of your day in that column.
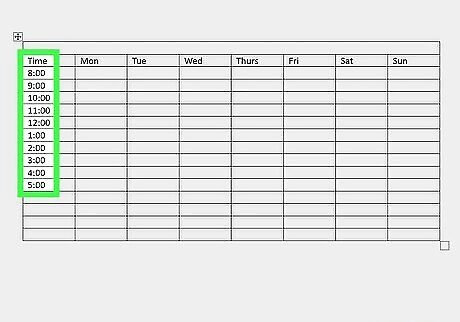
Move onto the first column. Begin to type in each hour of your day, still leaving the top cell blank. For example, if you wake at 8:00am, put in the first cell '8:00am'; then in the cell beneath that one, type '9:00am', and so on.

Move into the cell that says 'Monday, 8:00am', and begin to write out your daily schedule/routine. If, for example, you have a long class that lasts, let's say, two hours, starting at 10:00am and ending at 12:00pm, then you should highlight those cells and click 'Merge Cells' again. Then, click 'Text Direction' which will change the direction of the text. Then simply type in the event and... tada!
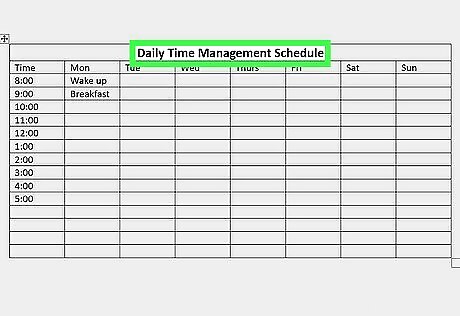
Don't forget your title. The most likely title would be 'Daily Time Management Schedule' but you can choose whatever title you want.


Comments
0 comment