
views
X
Research source
Planning a Tesla Coil

Consider the size, placement, and power requirements of the Tesla coil before you build it. You can build as large a Tesla coil as your budget allows; however, the lightning-bolt-like sparks Tesla coils generate heat and expand the air around them (in essence, creating thunder). Their electric fields can also play havoc with electronic devices, so you'll probably want to build and run your Tesla coil in an out-of-the-way place, such as a garage or other workshop. You will also want to consider whether it makes more sense to build a Tesla coil from a kit, or gather materials from scratch. Both have advantages and disadvantages in the areas of cost, building time, resources for help, and reliability. To figure how large a spark gap you can accommodate, or how much power you need to make it work, divide the length of the spark gap in inches by 1.7 and square it to determine the input power in watts. (Conversely, to find the spark gap length, multiply the square root of the power in watts by 1.7.) A Tesla coil that creates a spark gap of 60 inches (150 cm) (1.5 meters) would require 1,246 watts. (A Tesla coil using a 1-kilowatt power source would generate a spark gap of almost 54 inches, or 1.37 meters.)

Learn the terminology. Designing and building a Tesla coil requires understanding certain scientific terms and units of measure. You’ll need to understand their purpose and function to properly make a Tesla coil. Here are some of the terms you'll need to know: Capacitance is the ability to hold an electric charge or the amount of electric charge stored for a given voltage. (A device designed to hold an electric charge is called a capacitor.) The unit of measure for capacitance is the farad (abbreviated "F"). A farad is defined as 1 ampere-second (or coulomb) per volt. Commonly, capacitance is measured in smaller units, such as the microfarad (abbreviated "uF"), a millionth of a farad, or the picofarad (abbreviated pF and sometimes read as "puff"), a trillionth of a farad. Inductance, or self-inductance, is how much voltage an electric circuit carries per the amount of current in the circuit. (High-tension power lines, which carry a high voltage but a low current, have high inductance.) The unit of measure for inductance is the henry (abbreviated "H"). A henry is defined as 1 volt-second per ampere of current. Commonly, inductance is measured in smaller units, such as the millihenry (abbreviated "mH"), a thousandth of a henry, or the microhenry (abbreviated "uH"), a millionth of a henry. Resonant frequency, or resonance frequency, is the frequency at which the resistance to transfer of energy is at a minimum. (For a Tesla coil, this is optimum operating point for transferring electrical energy between the primary and secondary coils.) The unit of measure for the resonant frequency is the hertz (abbreviated "Hz"), defined as 1 cycle per second. More commonly, the resonant frequency is measured in kilohertz (abbreviated "kHz"), with a kilohertz being equal to 1000 hertz.
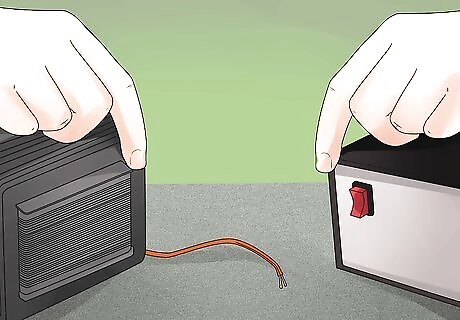
Gather the parts you'll need. You'll need a power supply transformer, a high-capacitance primary capacitor, a spark gap assembly, a low-inductance primary inductor coil, a high-inductance secondary inductor coil, a low-capacitance secondary capacitor and something to suppress, or choke, the high-frequency noise pulses created when the Tesla coil operates. For more information on the parts, see the next section, "Making a Tesla Coil." Your power source/transformer feeds power through the chokes to the primary, or tank circuit, which connects the primary capacitor, primary inductor coil and spark gap assembly. The primary inductor coil is placed adjacent to, but not wired to, the inductor coil of the secondary circuit, which is connected to the secondary capacitor. Once the secondary capacitor has built up sufficient electric charge, streamers of electricity (lightning bolts) discharge from it.
Making a Tesla Coil
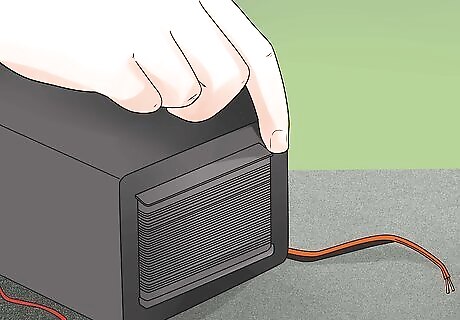
Choose your power supply transformer. Your power supply transformer determines how large you can make your Tesla coil. Most Tesla coils operate with a transformer that puts out a voltage between 5,000 to 15,000 volts at a current between 30 and 100 milliamperes. You can obtain a transformer from a college surplus store or from the Internet, or cannibalize the transformer from a neon sign.
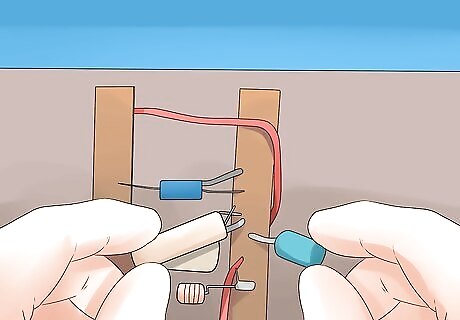
Make the primary capacitor. The best way to create this capacitor is to wire a number of small capacitors in series so that each capacitor handles an equal share of the total voltage of the primary circuit. (This requires that each individual capacitor have the same capacitance as the other capacitors in the series.) This kind of capacitor is called a multi-mini-capacitor or MMC. Small capacitors, and their associated bleed resistors, can be obtained from electronics supply stores, or you can scrounge for ceramic capacitors from old television sets. You can also make the capacitors out of sheets of polyethylene and aluminum foil. To maximize the power output, the primary capacitor should be able to reach its full capacitance each half-cycle of the frequency of the power being supplied to it. (For a 60 Hz power supply, this means 120 times each second.)
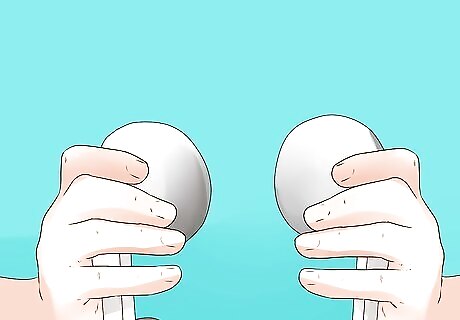
Design the spark gap assembly. If you're planning on a single spark gap, you'll need metal bolts at least a quarter-inch (6 millimeters) thick to serve as the spark gap to withstand the heat generated by the discharge of electricity between the sparks. You can also wire multiple spark gaps in series, use a rotary spark gap or blow compressed air between the sparks to moderate the temperature. (An old vacuum cleaner can be used to blow the air.)
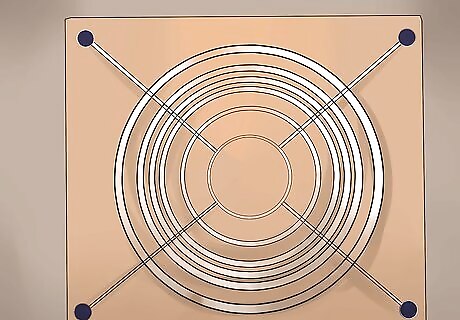
Build the primary inductor coil. The coil itself will be made of wire, but you'll need something to wrap the wire around in a spiral shape. The wire should be enameled copper wire, which you can obtain from an electrical supply store or by cannibalizing the outlet cord from a discarded appliance. The object you wrap the wire around can be either cylindrical, such as a cardboard or plastic tube, or conical, such as an old lampshade. The length of the cord determines the inductance of the primary coil. The primary coil should have a low inductance, so you'll use comparatively few turns in making it. You can use non-continuous sections of wire for the primary coil, so that you can hook sections together as necessary to adjust the inductance on the fly.
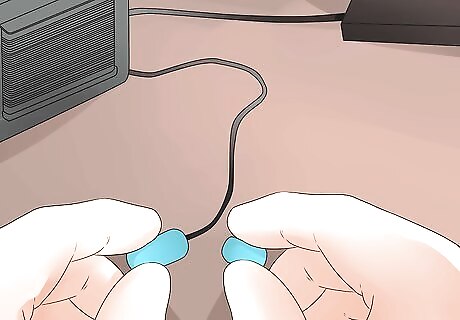
Connect the primary capacitor, spark gap assembly and primary inductor coil together. This completes the primary circuit.
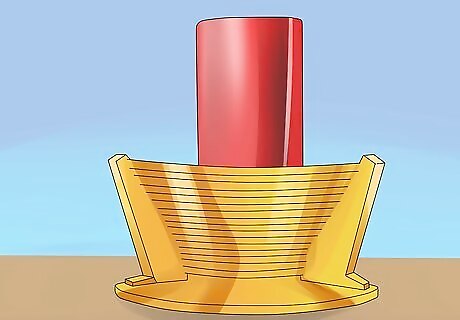
Build the secondary inductor coil. As with the primary coil, you're wrapping wire around a cylindrical shape. The secondary coil must have the same resonant frequency as the primary coil for the Tesla coil to operate efficiently. However, the secondary coil must be taller/longer than the primary coil because it has to have a larger inductance than the primary coil, and also to prevent any electrical discharge from the secondary circuit to strike and fry the primary circuit. If you lack the materials to make the secondary coil tall enough, you can compensate by building a strike rail (essentially a lightning rod) to protect the primary circuit, but this will mean that most of the Tesla coil's discharges will hit the strike rail and not dance in the air.
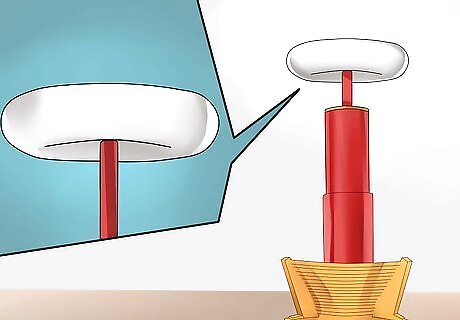
Make the secondary capacitor. The secondary capacitor, or discharge terminal, can be any round shape, with the 2 most popular being the torus (ring or donut shape) and the sphere.
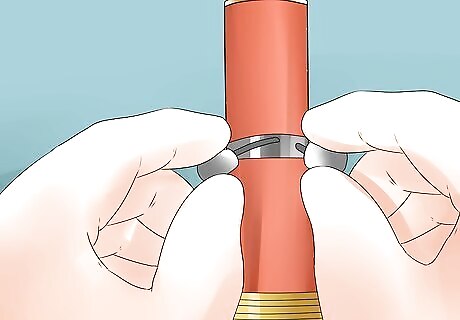
Attach the secondary capacitor to the secondary inductor coil. This completes the secondary circuit. Your secondary circuit should be grounded separately from the grounding for your household circuits supplying power to the transformer to prevent a stream of electric current from traveling from the Tesla coil to the ground for your household circuits and possibly frying anything plugged into those outlets. Driving a metal spike into the ground is a good way to do this.
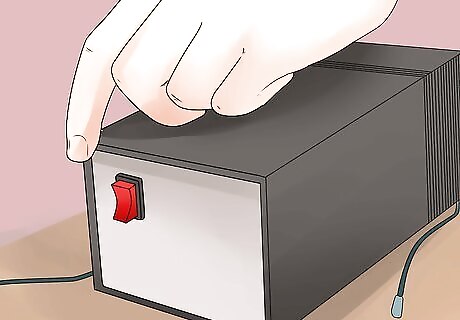
Build the pulse chokes. Chokes are simple, small inductors that keep the pulses created by the spark gap assembly from wrecking the power supply transformer. You can make one by winding thin copper wire around a narrow tube, such as a disposable ball point pen.
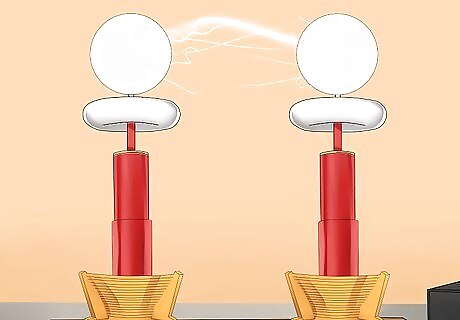
Assemble the components. Place the primary and secondary circuits next to each other, and connect the power supply transformer to the primary circuit through the chokes. Once you plug the transformer in, your Tesla coil is ready to run. If the primary coil is of sufficiently large diameter, the secondary coil can be set inside it.


Comments
0 comment