
Making the Frame
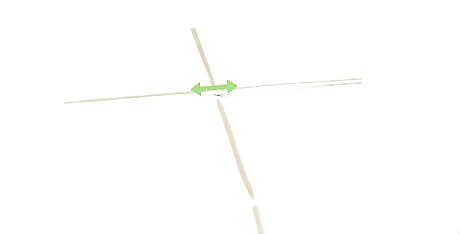
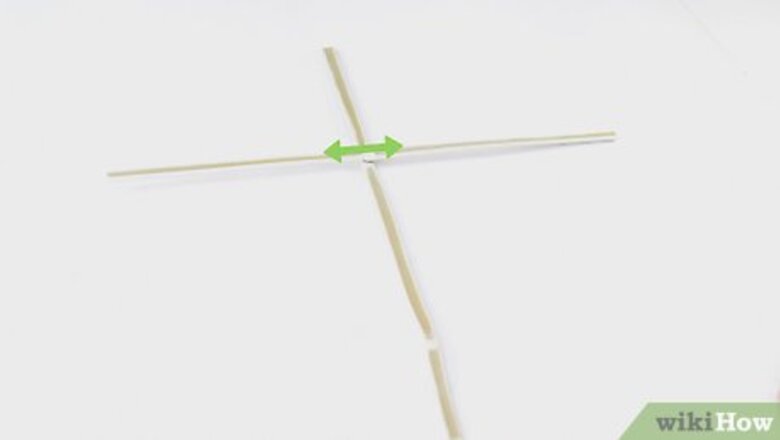
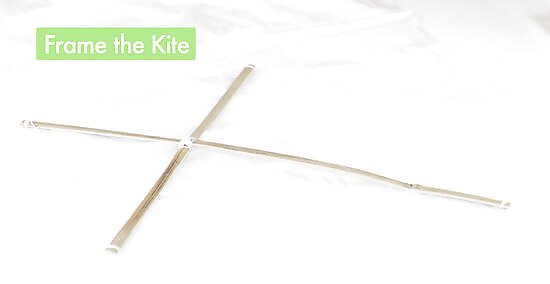
Make a lowercase T-shape with your sticks. Take the 20 in (51 cm) stick and put it across the 24 in (61 cm) stick so it looks like a lowercase T. These sticks will make up the frame for your kite. If you want to make a larger kite, use longer sticks. Just make sure the horizontal stick is at least 4 inches (10 cm) shorter than the vertical stick.
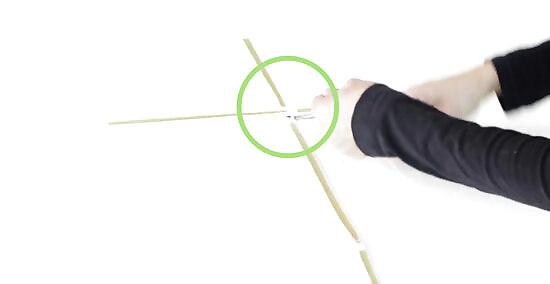
Attach the 2 sticks together with string and glue. Wrap twine around the 2 pieces in the middle 1-2 times. Then, tie the string or twine with a small knot and trim off the excess string with scissors. You can also put a dab of super glue between the 2 pieces and press them together at the joint so they are extra secure. Make sure the sticks form a right angle to each other when they’re attached. The horizontal stick should be positioned straight across the vertical stick.
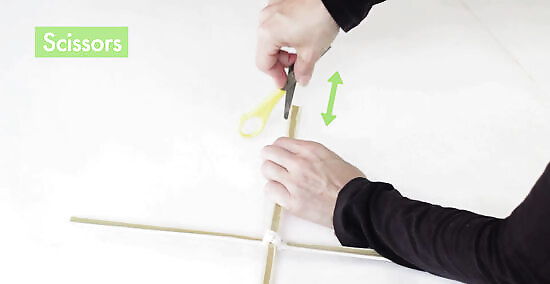
Make 1 to 2 in (2.5 to 5.1 cm) horizontal notches at the end of each stick. Use scissors to make 1 notch at the end of each stick. These notches should run horizontally, or across the width of the stick. Make them deep enough to fit the string you are going to use to attach the sail. If you’re using very thin sticks and string, you can poke holes into the ends of the sticks instead of making notches.
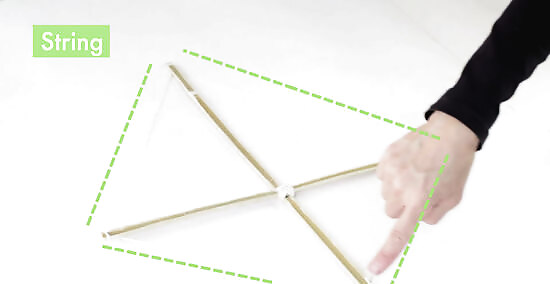
Stretch the string around the frame. Loop the string around the top notch on the frame, wrapping it once around the stick. Then, pull the string through the notch on the right end of the frame. Stretch the string to the notch at the bottom end of the frame and then through the left end of the frame. Finally, wrap the string 1-2 times around the top end of the frame. Remove any excess string with scissors. Double-check that the string is taut but not too tight to prevent the sticks from bending or warping. The string will help the frame retain its shape as your kite soars through the air.
Measuring and Cutting the Sail
Use a plastic bag, paper, or fabric that is 40 inches (100 cm) wide for the sail. You can get creative here. A large, white garbage bag is a great option, since it will be durable and easy to decorate. Or you can use strong white contact paper or newspaper. Fabric can also work for the sail in a pinch, though it should be thick and sturdy so the sail is strong.
Lay the frame on the sail. Spread the material you’re using for the sail flat on the ground. Then, place the frame in the center of the sail.
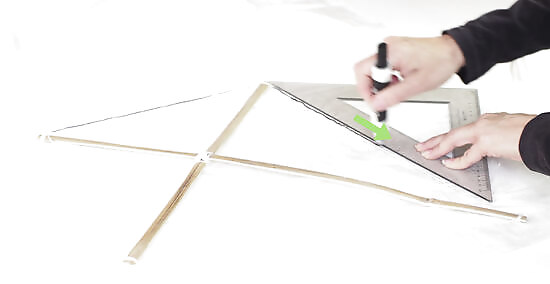
Outline the frame with a ruler. Place the ruler on the top of the frame and then down the end of the stick on the right side of the frame. Use a pen or pencil to draw a diagonal line from the top end to the end of the stick on the right, using the ruler as a guide. Do this again from the right end to the bottom end of the frame as well as from the bottom end to the left end. Finish by drawing a diagonal line from the left end up to the top end of the frame. When you’re finished, you should have a diamond shape on the sail, with the frame in the middle of the diamond.
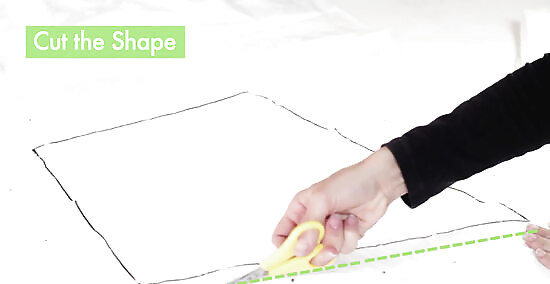
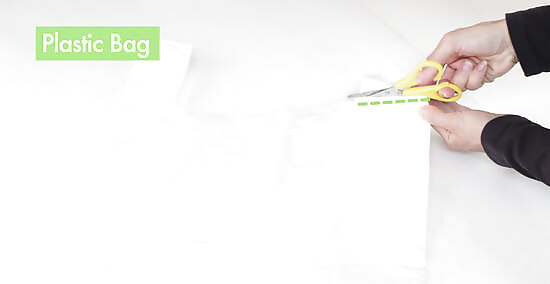
Cut the diamond 2 inches (5.1 cm) wider than the outline. Use scissors to cut out the diamond, leaving a bit of space around the outline so you can wrap the sail to the frame easily. You should now have a nice, clean diamond sail that can fit snugly over the frame.
Assembling the Kite
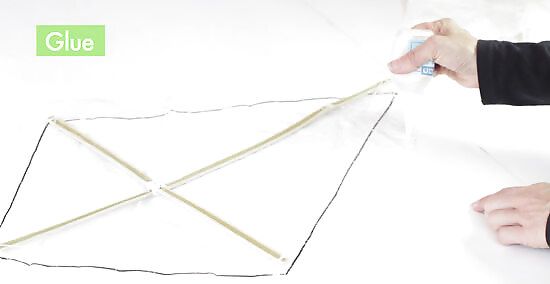
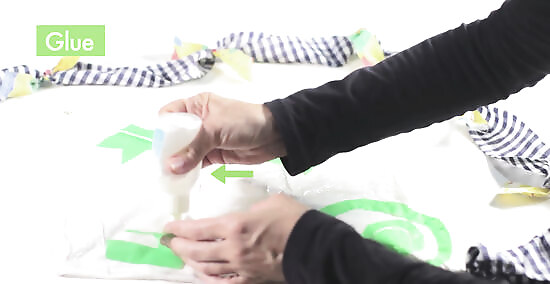
Fold the edge of the sail over the frame and glue and tape it down. Run a thin line of super glue on the frame and press the edge of the sail on the frame to keep it in place. You can also use masking tape or electrical tape to secure the sail to the frame, taping the edge onto the inside of the sail. Check that the sail sits tightly over the frame—you don’t want it to come loose in the air!

Attach the flying line. Use string that is at least 20 inches (51 cm) long for the flying line. Poke a small hole right above where the 2 sticks meet with scissors. The hole should be big enough to fit the flying line. Then, pull one end of the flying line through the hole and tie it tightly around the cross point. Let the flying line hang down freely while you finish the rest of the kite. You can then add string to the flying line to make it longer based on your arm length and height. Sometimes, adding more string to the flying line can also help the kite to fly straighter.
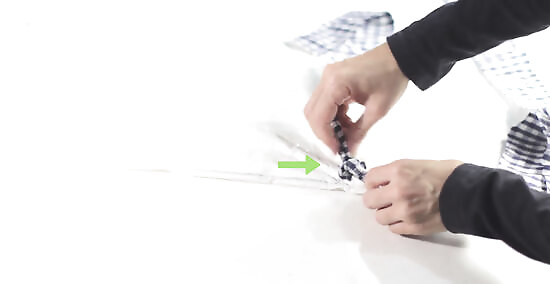
Make a kite tail with a 6 ft (1.8 m) long piece of thick string. Attach the tail to the bottom end of the frame, looping it over the frame several times and tying it tightly. Use thick string or a strip of cloth for the tail. Pick a string or cloth color that matches the color of your sail so your kite looks pretty in the air.
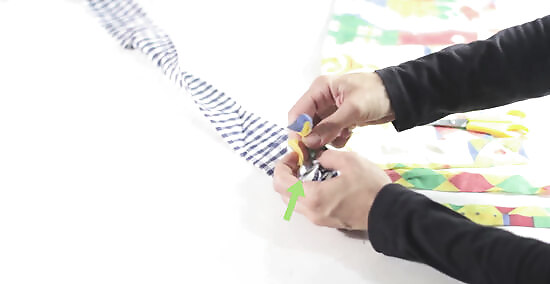
Attach pieces of cloth or ribbon to the tail at 1 foot (0.30 m) intervals. Use pieces that are 2 to 3 inches (5.1 to 7.6 cm) long. Tie them onto the tail with a small knot, allowing them to dangle down off the string. The cloth or ribbon pieces will help the tail stay balanced and ensure the kite flies straight.
Decorate the kite with markers or colored paper. This is the fun part! Get creative by writing inspirational words or phrases on your kite with markers. You can also color your kite with markers, creating a fun pattern like stripes or dots. Try gluing shapes made from colored paper, like swirls, triangles, or circles, onto the sail. You could write your name on the kite so you can see your name flying in the air.
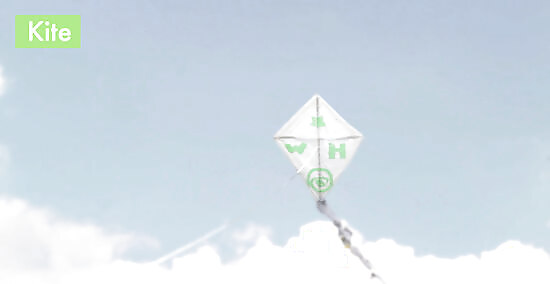
Try out the kite in a spot with no trees or power lines. Look for an area close to a body of water like a lake or the ocean, as it will have good winds for kite flying. Hold tight to the kite string and run in the direction of the wind. Then, release the kite as you are running, pushing it upward into the wind. Use the flying line to keep the kite in the air.


Comments
0 comment