views
Making a Simple Paper Cone
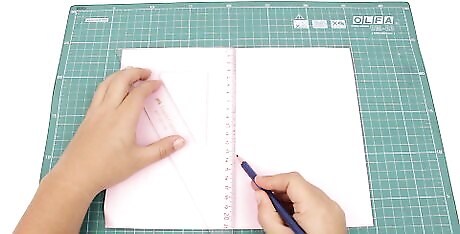
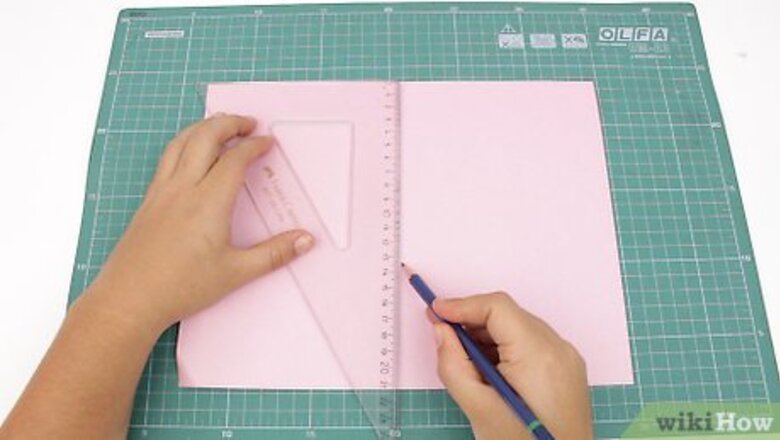
Decide on the height of the cone, then double the measurement. For example, if the cone is 12 inches (30 cm) tall, then the measurement will be 24 inches (61 cm).
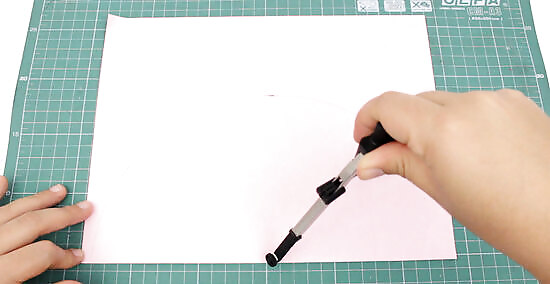
Draw a semicircle based on the doubled measurement. Use the doubled measurement for the length of the semicircle (or diameter of the half circle). For example, for a 12 in (30 cm) cone, make the length of the semicircle 24 inches (61 cm) for a cone height of 12 inches (30 cm). Draw the semicircle with a compass or a pencil attached to a piece of string. A plate or lid of the right size can also be used. Align the straight edge of the semicircle with the paper edge to reduce the amount of cutting or drawing. Paper, cardstock, felt, cardboard, foam, or even thin plastic sheeting can also be used.
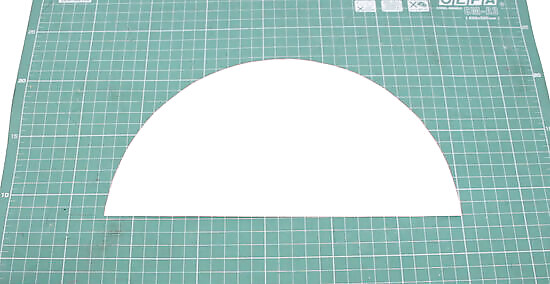
Cut out the semicircle with scissors. With the semicircle aligned on the straight edge of the paper, only the curved part needs to be cut. This will form the bottom edge of the cone, so make cuts as neat as possible. Hint: turn the material not the scissors when cutting. There is no need to add a seam allowance or tabs as the straight edges are overlapped to create the cone.
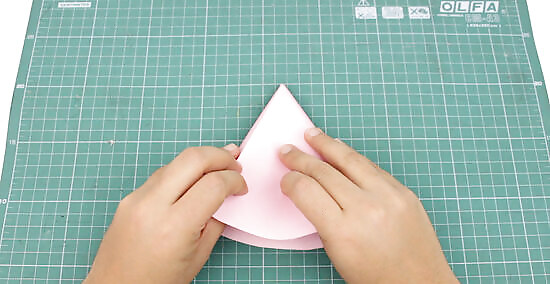
Overlap the straight edges to get the cone size wanted. Find the middle of the semicircle's straight edge. Take the straight edges on either side of that point and overlap them. Slide them past each other until it is the size you want. The greater the overlap, the narrower the cone will be. With less overlap, the cone will be wider.
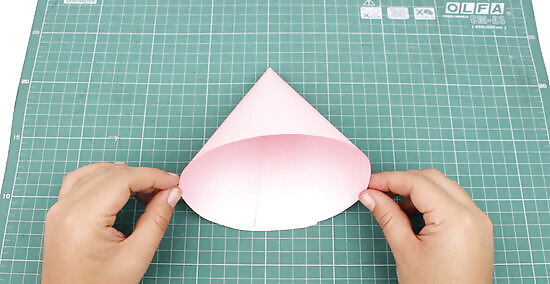
Secure the cone along the seam. Gluing the cone will give the nicest finish, or a piece of tape or staples can be used. If taping the cone, place the tape on the inside and outside of the cone to keep the flaps down. A glue stick will work for this, but liquid glue will hold better. Secure the seam temporarily with masking tape until the glue dries, then peel it off.
Making a Piping Cone
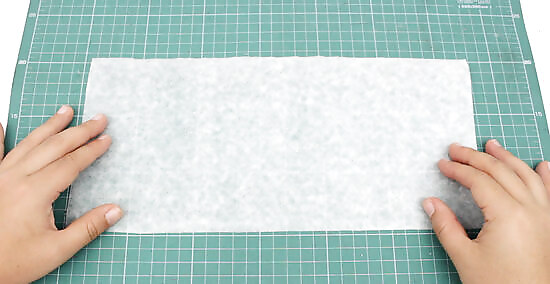
Cut parchment paper into a7 in × 15 in (18 cm × 38 cm) rectangle. This will make a standard sized piping cone for cake decorating. For a different sized piping cone make the length of the rectangle twice the height, plus 1 inch (2.5 cm). For example: 6 by 13 inches (15 cm × 33 cm). Instead of parchment paper, you can use wax paper. This method can be used to create craft cones out of printer paper or construction paper.
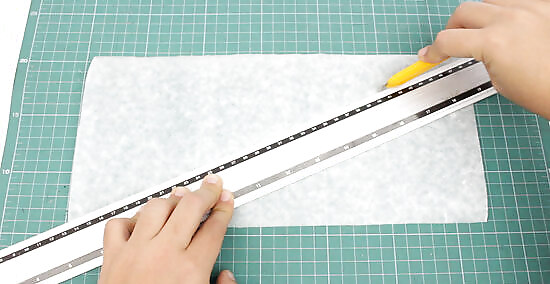
Cut the rectangle diagonally to create 2 triangles. Place a ruler so that it connects the top-right corner with the bottom-left corner. Cut along the edge of the ruler with a craft blade. Alternatively, draw a line with a pen using the ruler as a guide, then cut the line with scissors. Keep 1 of the triangles for the piping cone and set the other triangle aside for a different project.
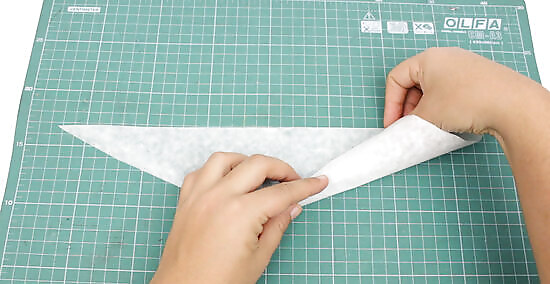
Curl the short edge towards the bottom edge. Think of this as rolling a piece of paper into a tube. The back of the paper will end up touching the front. The top of the cone is formed on the long edge of the triangle. When the short edge is closer to the bottom, the wider the cone will be. When the short edge is further from the bottom, the narrower the cone will be.
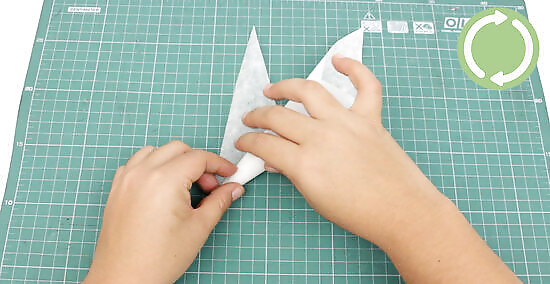
Continue to wrap the paper into a cone. As the paper is wrapped, adjust the angle so that the triangle tips point towards the wider (base) part of the cone. These tips will be tucked into the cone to hold it together. Adjust tip of the cone to be a point. For use as a piping cone, trim the tip off later.
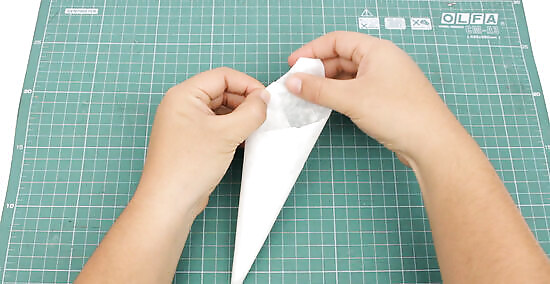
Fold the end of the paper into the cone. Once finished wrapping the cone, a corner of paper will stick out over the edge of the cone base. Fold this corner into the cone to hold everything together.
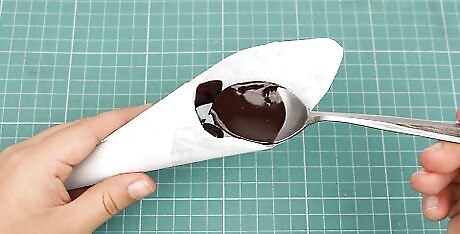
Fill the cone with icing or melted chocolate. Turn the cone upside down so that the pointy end is on the bottom. Fill the cone at the wider opening with melted chocolate or icing, leaving the last 1 to 1 ⁄2 inches (2.5 to 3.8 cm) unfilled. Skip this step if the cone is not used for piping.
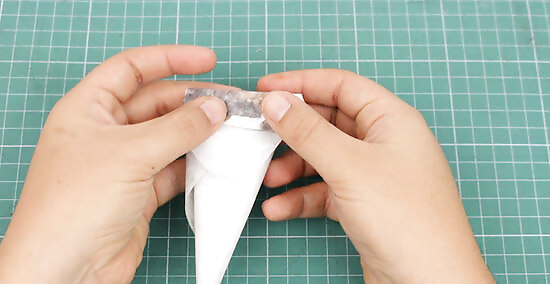
Fold the top of the cone down twice to seal it. If you are not using it as a piping cone, trim the base to make it straight instead. If you do this, the cone needs to be taped, glued, or stapled back together. A piping cone does not need to taped, glued, or stapled. Instead, fold the opening down a few times to the level of the filling to close off the cone. Test your piping cone. If the icing or chocolate does not come out of the tip, trim it with scissors.
Creating a Cone in a Specific Size
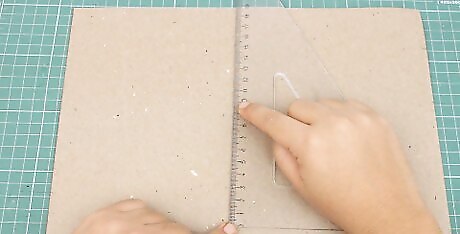
Decide how tall the cone will be. This determines the radius of the circle to be drawn. A circle's radius is the distance between the circle's center and outer edge. Put more simply: it is half the diameter. For example, for a 6 in (15 cm) tall cone, the circle's radius will be 6 inches (15 cm).
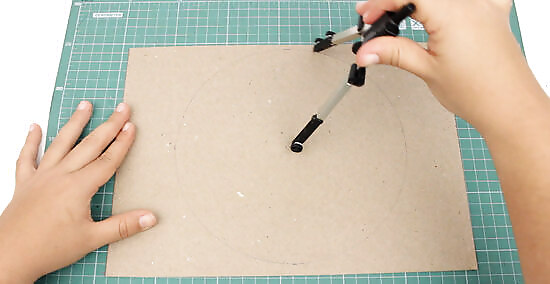
Draw a circle using the cone's height as the radius. The easiest method is with a compass. Alternatively, choose a plate, bowl, or lid with the right diameter, then trace around it with a pen or pencil. For example, for a 6 in (15 cm) tall cone, use a 12 in (30 cm) plate to draw it. The circle can be drawn on any stiff material, such as paper, cardstock, craft foam, felt, plastic sheeting, or thin metal sheeting.
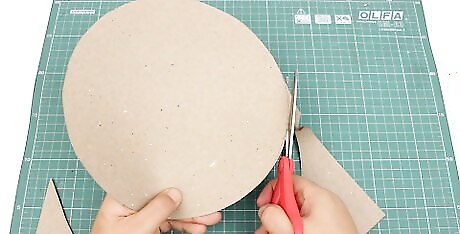
Cut the circle out. The tool to cut the circle out will depend on the material used. Scissors will work for most materials; with metal sheeting, use metal snips. Be careful when cutting metal; it will be sharp.
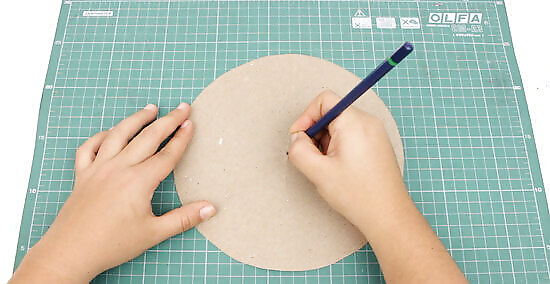
Mark the middle of the circle. Fold the circle in half horizontally and pinch the middle to crease it. Unfold the circle, then refold it vertically and pinch the center again. Open the circle and mark the crease in the middle with a pen or pencil. If the material does not hold creases well, draw an X at the middle of the circle, then make a small mark in the middle of that X.
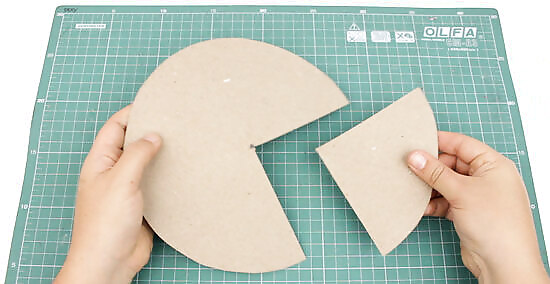
Cut a wedge out of the circle, stopping at the mark. This is like cutting a slice of cake or pie. The bigger the wedge, the narrower the cone will be. For most cones, about a quarter of the circle will be enough; overlapping the edges will get the exact size you want. If you have a mathematical mind, determine the circumference of the cone's base. This is the remaining circumference of the circle after the wedge is cut out. If using the cone's circumference for reference, add about ⁄2 to 1 inch (1.3 to 2.5 cm) to the total measurement for an overlap that can be glued.
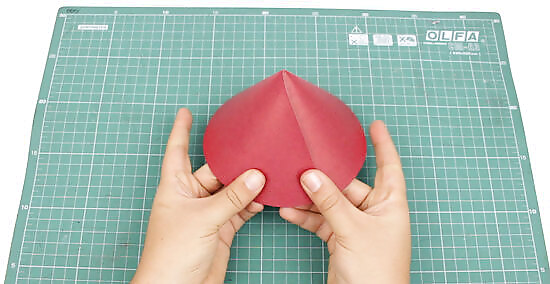
Overlap the straight edges for the size you want. Take the 2 straight edges created by the wedge cutout. Bring them together until they touch. Next, overlap them until the cone reaches the desired width. The greater the overlap, the narrower the cone will be, and vice versa. Make sure any pen or pencil marks made are on the inside of the cone.
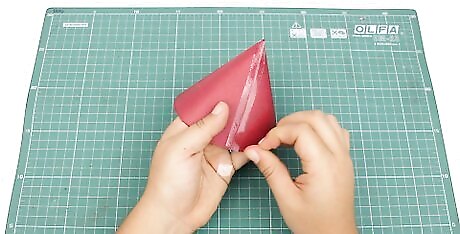
Tape or glue the edges down. For something quick and simple, tear off a strip of tape, and place it over the seam created by the overlapping edges. For a nicer finish, lift the top edge, coat the underside with glue, then press it back down again. Either a glue stick or liquid glue will work; tape the cone as it dries, then remove the tape. If making a felt, foam, plastic, or metal cone, use hot glue instead. Fabric glue may work for foam cones as well. If you know how to weld, weld a metal cone shut instead.
Sewing a Fabric Cone
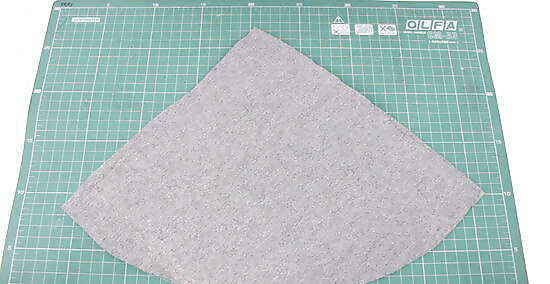
Cut two 1/3 circle shapes out of cotton fabric. A 1/3 circle is between a 1/4 circle and a 1/2 (semicircle). The length of the straight edge will be the height of the cone. One of the pieces will form the lining while the other will be the outer fabric. The fabrics can be matched, or they can be coordinated. For example, use a patterned cotton for 1 piece, and solid-colored cotton for the other. For a narrower cone, cut two 1/4 circle shapes instead. If you plan on laundering the cone, wash, dry, and iron the fabric first.
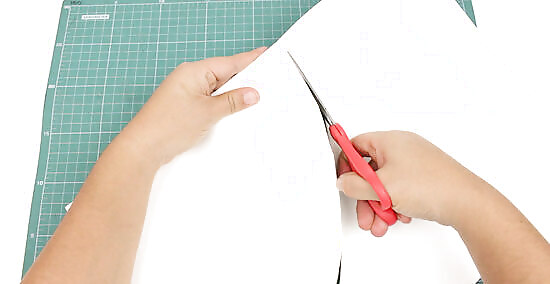
Cut a piece of foam stabilizer that matches the fabric shapes. Use 1 of the 1/3 fabric circles to trace and cut a 1/3 circle from foam stabilizer. Only 1 piece of foam stabilizer is needed. To help reduce bulk, cut it ⁄2 inch (1.3 cm) smaller than the fabric shapes. Foam stabilizer looks like craft felt, except that it is stiffer. It can be labeled as "fusible foam.” If you can not find foam stabilizer, cut 2 pieces of fusible interfacing instead.
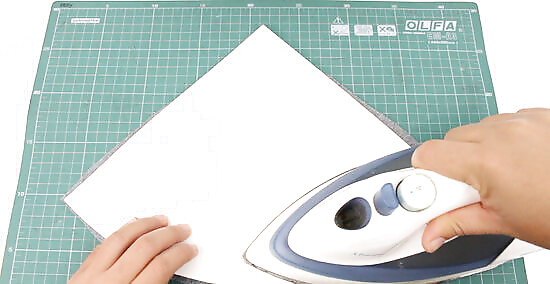
Iron the foam stabilizer to the wrong side of the outer fabric. If you did not buy the iron-on foam stabilizer, secure it with a fabric spray adhesive instead. Make it as centered as possible. If using fusible interfacing, iron each piece to the back (wrong side) of each 1/3 circle instead. Both fusible foam and fusible interfacing have a rough side and a smooth side. The rough side is the side is the glue that goes against the fabric. Read the instructions that came with the foam or interfacing. Each brand will have slightly different requirements.
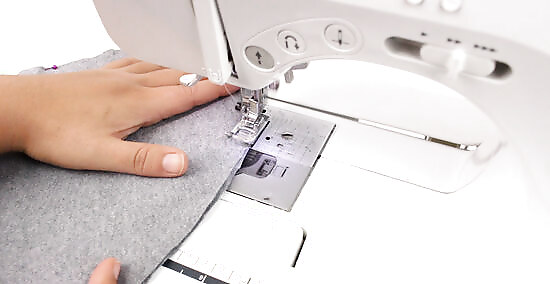
Sew the curved edge with the right sides facing in. Place the fabric pieces together so that the right sides are facing in and the wrong (interfaced sides) are facing out. Sew along the curved edge using a straight stitch and a ⁄4 in (0.64 cm) seam allowance. Be careful not to sew across the stabilizer or interfacing. If you do, carefully trim or tear away the excess sticking outside the stitching. Use pins to hold the fabric in place for sewing, but be sure to take them out as you sew.
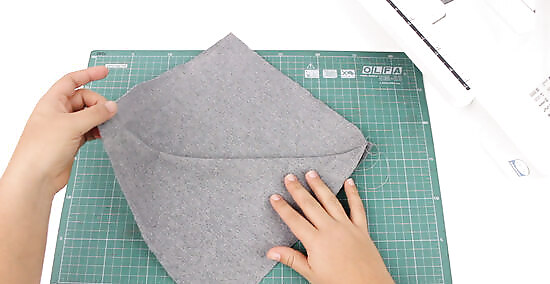
Separate the lining and outer pieces, then fold in half lengthwise. Separate the cone pieces first so that you see a diamond-like shape. Next, fold the diamond-like shape in half lengthwise. Make sure that the wrong (interfacing) side is facing out, and pin together along the straight edge. Do not crease or iron the fabric. The straight edges need to be aligned.
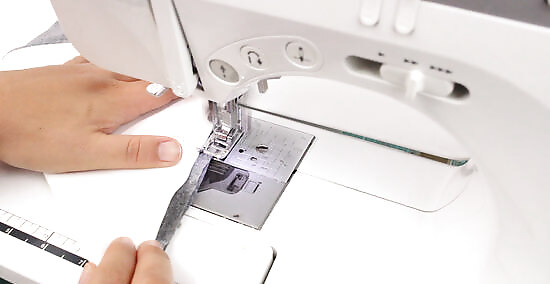
Sew the straight edge on the outer piece, starting at the center seam. Do not sew the lining yet. Find the center seam on the folded shape first, right between the outer and lining fabrics. Place it under the foot of the sewing machine, then sew towards the point of the shape using a straight stitch and a ⁄4 in (0.64 cm) seam allowance. Backstitch at the start and end of sewing. This is simply where you reverse the sewing machine for a few stitches. Starting the sewing at the center seam will ensure that everything is aligned.
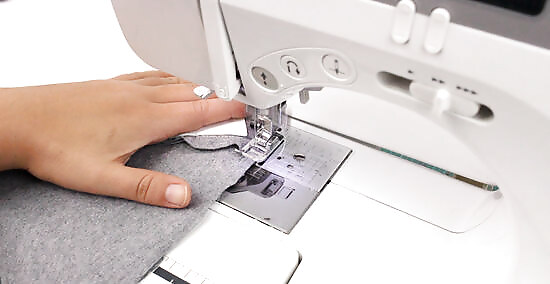
Sew the straight edge on the lining, leaving a gap for turning. Find the seam between the lining and outer fabrics. Place it under the sewing machine's foot, and sew along the lining's straight edge. Use a straight stitch and a ⁄4 in (0.64 cm) seam allowance. Half-way along the edge, leave a 4 to 5 in (10 to 13 cm) gap for turning. Backstitch on either side of the gap so that the seam does not split when the fabric is turned right-side-out. If the cone is 6 inches (15 cm) or smaller, make the gap 2 to 3 inches (5.1 to 7.6 cm) instead.
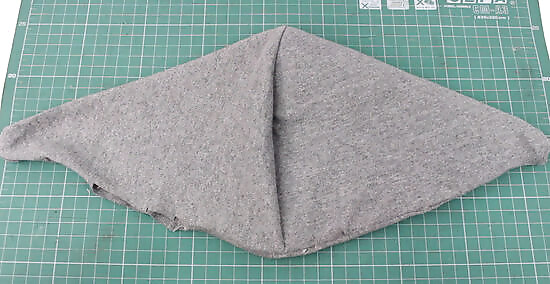
Turn the fabric right-side-out through the gap. Place fingers into the gap and pinch the outer fabric (not the lining). Pull the fabric through the gap. Gently pull on the fabric until you have a double-ended cone shape. Don't worry about making the points perfect just yet.
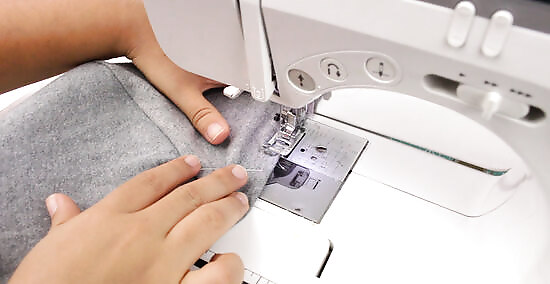
Sew the gap shut. Do this on a sewing machine using a straight stitch with a ⁄8 in (0.32 cm) or smaller seam allowance and a matching thread color. Alternatively, sew it by hand using a ladder stitch. Make sure the raw edges of the hem are folded into the gap first. You want the seam to look as straight and neat as possible. If sewing the gap shut on the sewing machine, start at the seam where the outer fabric is, and finish sewing at the bottom point of the lining.
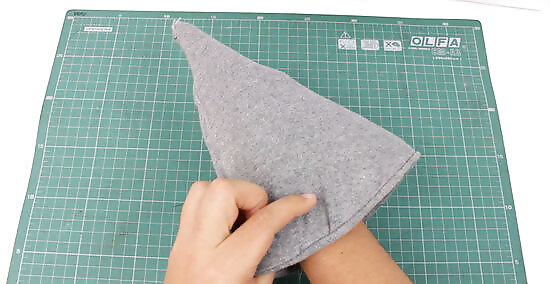
Tuck the lining into the cone. Take the lining side of the double-cone, and tuck it into the outer-fabric side of the cone. Use a blunt, pointed tool, like a knitting needle or chopstick to help push the cone into shape.
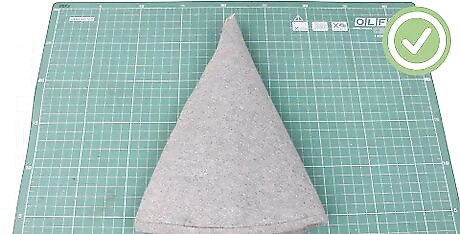
Iron the hem for a nicer finish. This is not necessary, but it will add a nice touch. Do not press the cone flat while doing this. Set the cone down on its side, then tuck the iron into the cone. Press the fabric with the iron for a few seconds, then rotate the cone and press again. Keep rotating and pressing the cone until the entire hem is ironed.





Comments
0 comment