views
Germinating Kumquat Seeds
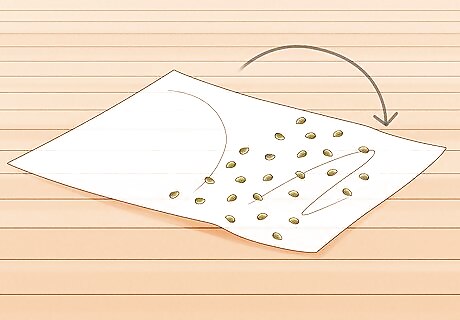
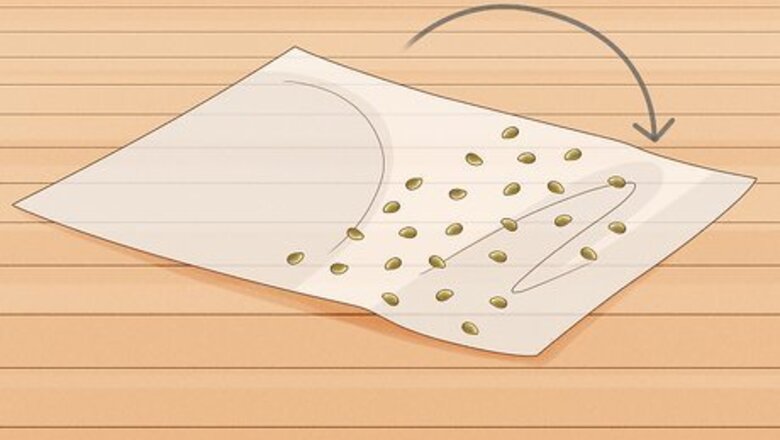
Wrap kumquat seeds in a damp paper towel in early spring. Soak the paper towel in tap water and wring it out. Spread the seeds across one half of the paper towel so they aren’t touching and so they are evenly spaced from one another. Fold the paper towel so the seeds are covered. The more seeds you place in the bag, the more chances you’ll have of successfully growing a mature tree. Kumquat seeds can be taken from any ripe fruit. Do not dry the kumquat seeds since they will not grow as well as fresh seeds.

Place the paper towel with the seeds in a resealable sandwich bag. Keep the seeds wrapped inside the towel. Squeeze all of the air out of the bag before you seal it because air left in the bag will make the paper towel and the seeds dry out and they will be less likely to germinate. Label the bag with the date you put the seeds inside. If you’re germinating more types of seeds, write down what type of seed is in the bag.
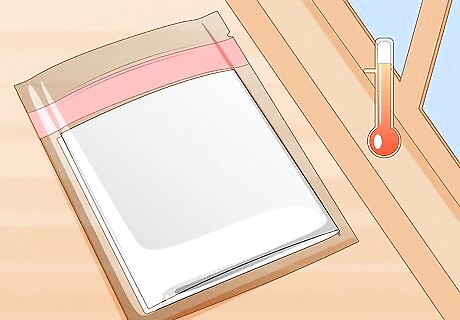
Keep the bag in a warm area for 1 week. Place the bag on a windowsill, a seedling mat, or above a heater to keep it warm. The seeds do not need direct sunlight right now, but they do need warmth and humidity. If some of the seeds do not germinate, leave them in the bag for 1 additional week. IF they still have not germinated after the second week, throw them away.
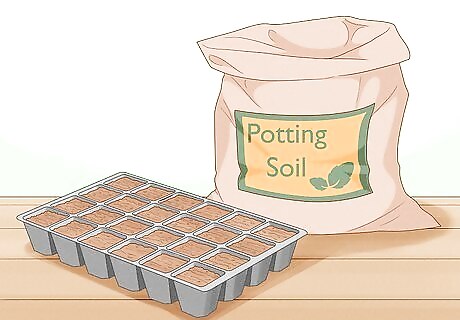
Fill cell pots to the top with a potting mix of soil, organic matter, and sand. Kumquats need well-draining soil, so create an even mix of sand, potting soil, and compost in each cell pot. Prepare enough pots for the number of seeds that you’ve placed in the bag. Add an equal part of perlite to your mix to make your soil drain even better. Special premade potting mixes are sold for citrus trees and are usually available at your local garden store. If you purchase the premade potting mix, you do not need to mix other components into it.
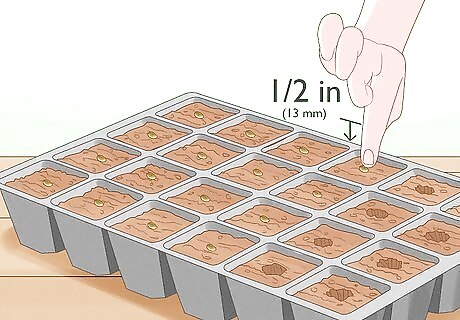
Bury 1 seed in each cell ⁄2 in (13 mm) below the surface of the potting mix. Poke a hole into the middle of each pot with the tip of your finger or the end of a pencil. Place the germinated seed so the root is facing down and cover it with the potting mix. Press lightly so the soil is in contact with the seed. If a seedling has started to grow and there are leaves, try to keep them above the top of the soil so they can receive sunlight.
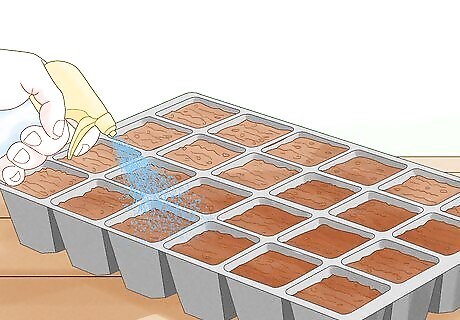
Water the soil so it’s wet to the touch. Use a watering can to gently pour the water onto the soil so you don’t wash the soil off the seed. The soil should be damp to the touch, but there shouldn’t be any standing water on the top of the pot. Stick your finger into the mix down to the first knuckle to feel if it’s damp. Use a spray bottle on newly planted seeds to water them lightly.
Taking Cuttings from an Existing Tree
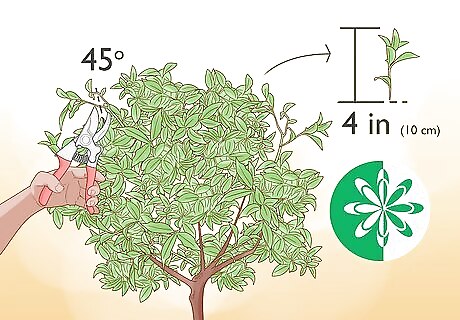
Cut a 4 in (10 cm) branch from a tree with at least 3 nodes in the spring. Use a sharp and clean gardening knife or a saw to remove a branch from a kumquat tree. Make your cut at a 45-degree angle to prevent the tree from getting any diseases. Ensure your cutting has 3 nodes, the knobby areas on the stem where the leaves grow. Take multiple cuttings to ensure that one of them will take root and grow into a tree. Disinfect your cutting tools with rubbing alcohol or diluted bleach before and after making the cut.
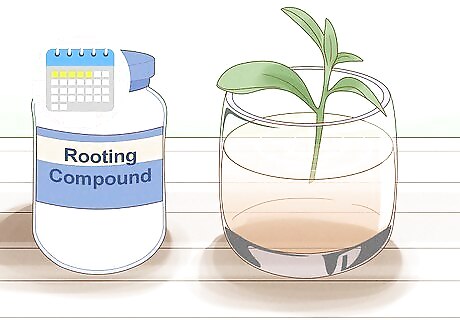
Soak the cut end of the branch in a rooting hormone for up to 5 days. Place the end of the cutting into the rooting hormone mixed with water. Follow the instructions on the packaging to make the correct hormone solution. Let the cutting absorb the hormone from the solution. Rooting hormones can be purchased as a liquid or powder at gardening stores or online. Dilute your rooting hormone following the instructions on the package carefully. Too much of the hormone could kill the plant. You can also dip the end of the cutting into a powder rooting hormone and place it directly in the soil.
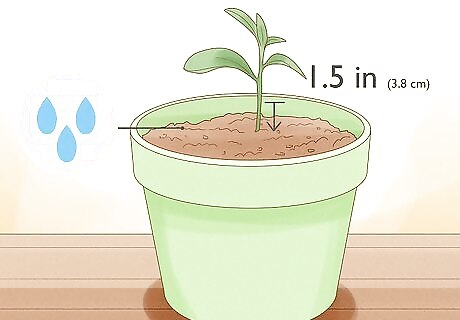
Stick the branch 1.5 in (3.8 cm) deep into a medium pot with damp soil. Make a small hole in a potting medium or equal parts soil, sand, and compost with your finger or the end of a pencil. Place the cutting in the hole you’ve made and firm up the soil so it can stand on its own. Make sure the soil is damp to the touch, but not completely wet. Don’t let the soil dry out completely. It will take several weeks for the roots to establish before you move the plant outdoors or into direct sunlight.
Caring for a Kumquat Tree
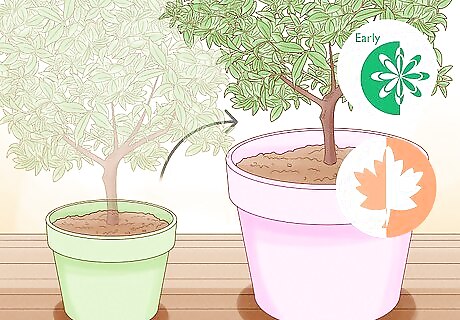
Transplant trees in early spring or fall. The warm months of summer are peak growing seasons for kumquat trees, so wait until the cooler months if you need to move your tree. Prepare soil in a larger pot or in the ground and carefully remove the kumquat tree from its old container. Replant the tree so the top of the root ball is even with the soil. Kumquat trees can easily be pruned and cut back to stay in the same container each year. Don’t move a mature tree since this could cause stress to the plant.
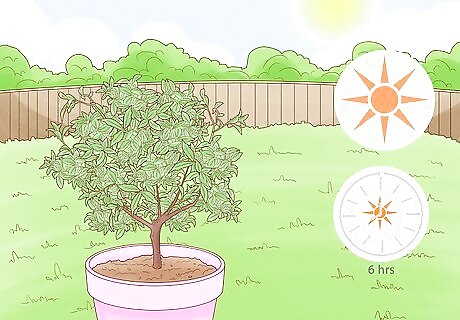
Keep your kumquat in 6 hours of sunlight outside in the summer. Kumquats need full sun in order to grow. If you live in a climate that’s warm year-round, keep your kumquat trees outdoors as often as you can so they can have unfiltered sunlight. If you live in a colder climate, keep your tree outdoors during the summer and inside when there’s a risk of frost.
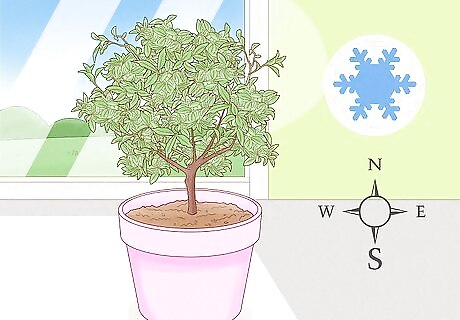
Move your kumquat inside to a south-facing window in the winter. Kumquats can survive temperatures as low as 30 °F (−1 °C), but they should be brought inside if you want to make sure they survive. Keep them near a window so they can still receive sunlight throughout the day. Use a fluorescent grow light if you don’t get 6 hours of sunlight inside your house.
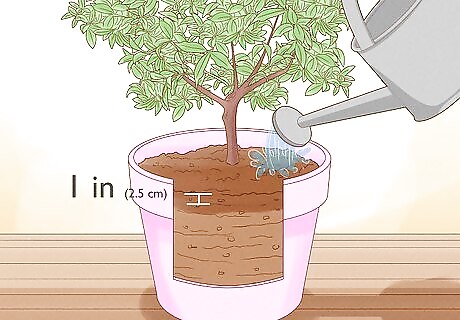
Water the potting mix so the soil is damp 1 in (2.5 cm) deep. Stick your finger into the soil down to the first knuckle. If it feels dry to the touch, you need to water your kumquat tree. Use a watering can to gently saturate the soil. Keep a saucer underneath your pot so water can drain out and evaporate. This adds humidity and will help your kumquats grow more.
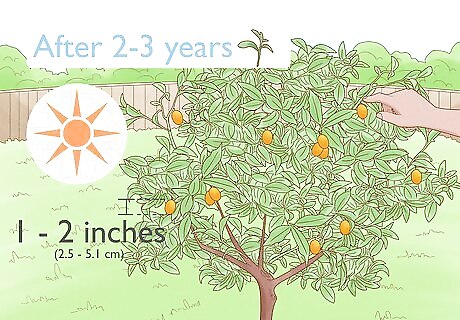
Harvest the fruits when they are bright orange in the summer. The fruits will start green but will turn bright orange once they are ripe. Kumquats are ready to be picked when they are 1 to 2 inches (2.5 to 5.1 cm) long. Pull the kumquats carefully from their stem to remove them from your tree. Your fruits should start developing after 2 to 4 years after taking a cutting, but it could take up to 10 years if you’ve grown the kumquats from seeds. Unlike other citrus fruits, you can eat the skin of a kumquat. It has a spicy-sweet flavor.
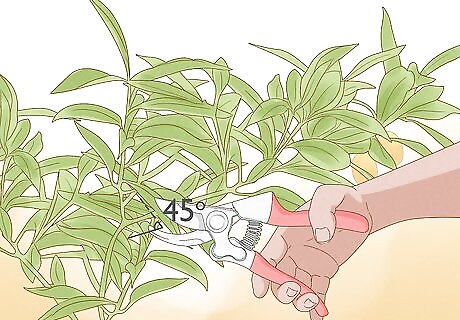
Prune the growing stems after you harvest the fruit. Use a pair of hand shears to cut back stems to their origin on the branch. If there are any crowded branches, remove them as well. Keep your cuts at a 45-degree angle to prevent fungal infection or diseases. Disinfect your tools before and after you prune your tree with rubbing alcohol or diluted bleach. Step back from the tree occasionally to see how it is shaped overall while you’re pruning. Don’t remove more than one-third of the canopy during a pruning session.
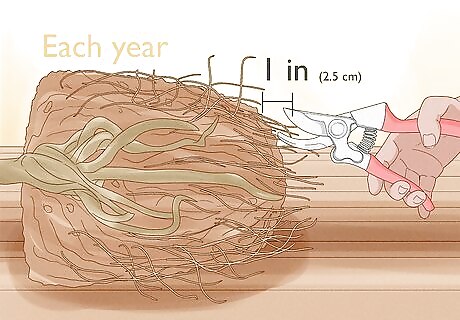
Cut back the roots by 1 in (2.5 cm) each year. Carefully remove the tree from its pot and break apart the soil. Use a gardening knife to slice away 1 inch (2.5 cm) off the roots so they do not outgrow their pots and can get nutrients from fresh soil. Cutting back roots every year helps prevent roots from wrapping around one another in the pot and lets water flow through the soil. Replace the soil or add more compost to enhance the nutrient content.
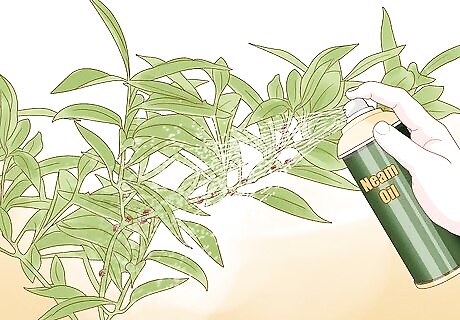
Use neem oil to prevent spider mites and other pests. Mix the neem oil with water according to the instructions on the packaging. Stir your solution together so it is thoroughly mixed. Use a spray bottle to apply the neem oil to the leaves of your plant. Spray once at the start of the growing season and check for pests every 2 weeks after. If there is an infestation, spray the plant again. Spray both sides of the leaves to get complete coverage.


Comments
0 comment