views
- Use a cleaver to split the bones into sections that are about 2–3 inches (5.1–7.6 cm) long to make them easier to grind.
- Feed the bones into an electric or manual meat grinder and catch the powder in a bowl. Or, blend the bones in a blender with a splash of water for consistency.
- Store the ground bones in the refrigerator for up to 5 days before use and dispose of the powder if it becomes discolored or the odor changes.
Picking a Grinder
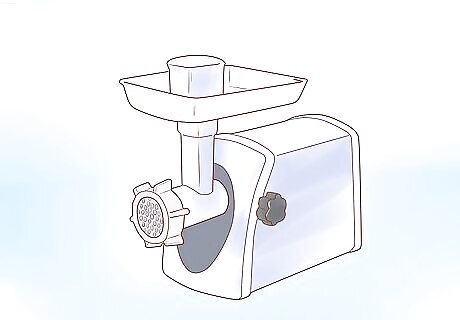
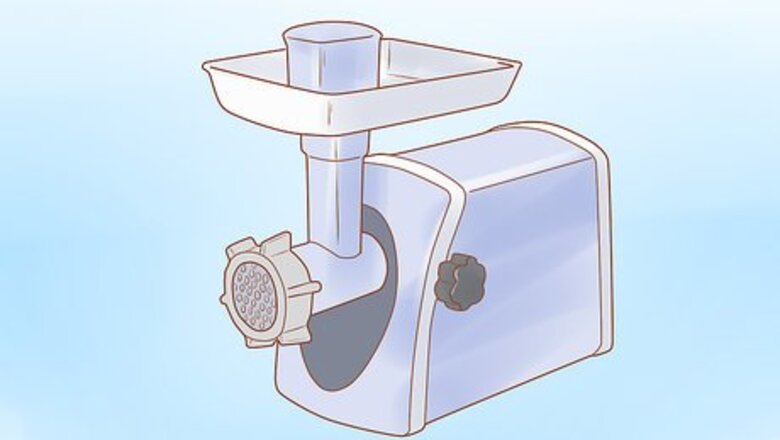
Choose a durable electric meat grinder for frequent bone grinding. A good electric grinder will last you a long time. They range from affordable lower-end models to expensive heavyweights capable of chewing through large batches of bones every week. When selecting a grinder, read the packaging to make sure the manufacturer approved it for bone grinding or else you will end up with dull or broken blades. If you’re making pet food, a smaller electric grinder is fine for general usage and will last about 2 years. If you’ve got a family of large dogs to feed, consider getting a heavy duty model. Electric grinders are often available online and at kitchen supply stores. Before settling on an expensive grinder, read reviews from other customers. Research how well the grinder handles bones and how long it will last.
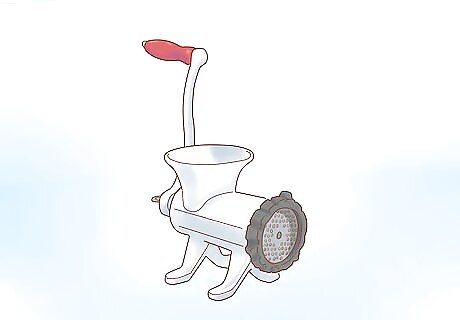
Select a manual meat grinder for an inexpensive way to grind bones. Manual grinders are sometimes available on reseller websites and secondhand stores. Many of them are as effective as lower-end electric grinders. They require you to turn a handle to grind the bones yourself, so they are not as easy to use, but they are a good way to try grinding without committing to an expensive purchase. Get a grinder that is easy to take apart. That way, it’s easier to wash and will last a lot longer.
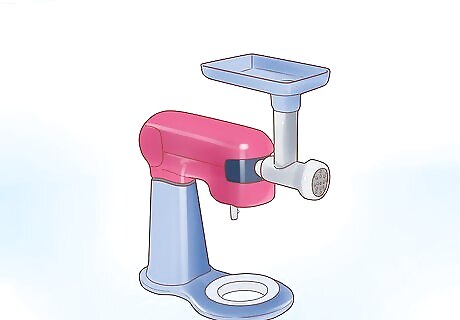
Use a stand mixer with a grinder attachment for versatility. If you have a quality stand mixer, you may not need to add another bulky tool to your kitchen. The grinder attachment plugs into the front end of a mixer and operates the same way as a regular meat grinder. Stand mixers generally have strong motors that are effective at pushing bones through the grinder attachment. Grinder attachments come in plastic and metal varieties. Metal attachments are usually more durable and better for bones. Grinder attachments get pretty pricey, sometimes costing as much as a low-end meat grinder.
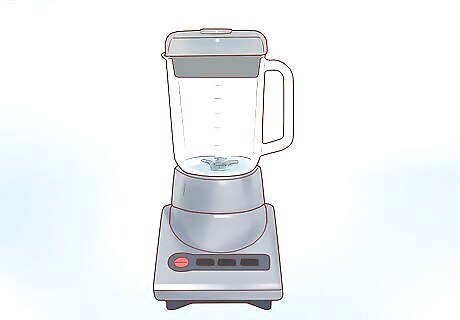
Grind bones in a blender or food processor if you don’t have a grinder. Most kitchens have these tools and they are much easier to find at retail locations than grinders. They’re versatile like a stand mixer. The difference is that some blenders and processors aren’t as powerful and their blades will dull over time, which can be a problem if you need them for other purposes. When using a blender or processor, watch the bones carefully. Make sure you grind them down to dust. Sharp bone fragments are dangerous when eaten. Consider picking up a spare blender from a thrift store to reduce the wear and tear on your regular kitchen blender.
Creating Bone Meal

Select soft, uncooked bones that are easy to break down. If you are preparing a meal for a pet, think of what they would normally eat in the wild. Poultry wing tips, rib cages, necks, and backs are all good choices for grinding. Bones from other small animals like fish, rabbits, and rodents also work. Choose bones that are no longer or thicker than your thumb to ensure they break down appropriately. Cooked bones will splinter, so they are dangerous for pets to consume. They also have less nutrients than raw bones. Avoid using bones from larger animals such as cows, pigs, and even lambs. Unless you have the kind of industrial grinder butchers use, these bones will be too hard to grind.
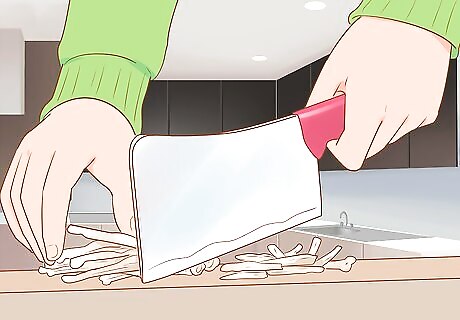
Divide the bones up into smaller sections to feed into the grinder. Get your sharpest, strongest knife, such as a meat cleaver or a chef’s knife. If you have a strong pair of kitchen scissors, they will also work. Separate the bones as needed so they fit in your grinder. For instance, take the wings off a whole chicken by cutting through the joints where they attach to the rest of the bird. Leaving the meat on smaller cuts of chicken is fine. For instance, most grinders will handle whole wings, which is great for making pet food. If you only want the bones, pull the meat off of them first. If you plan on mixing vegetables with meat and bones, chop them up into smaller chunks that will also fit in the grinder.
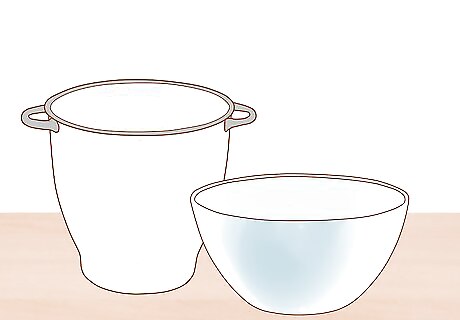
Set out a bowl if it is needed to catch the ground bones. Set the grinder on a stable surface like a countertop. Make sure you have enough room to position a bowl underneath the end of the grinder. Use a clean mixing bowl or even a plastic bin to catch large batches of bones. You will need a bowl if you plan on grinding the bones with a meat grinder or stand mixer, but not with a blender or food processor. Some grinders are prone to leaking moisture. To prevent a mess, set the grinder on some paper towels or a vinyl tablecloth.
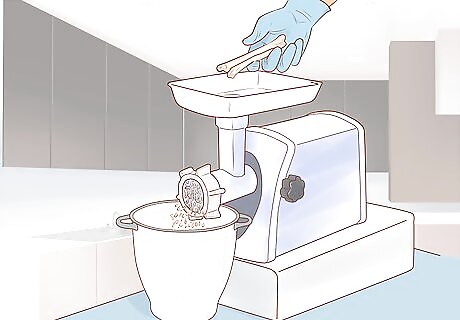
Feed the bones 1 at a time into a grinder or mixer attachment. Turn on the grinder or stand mixer, then drop the first bone into the open end on top of it. Push the bone down until it’s all the way into the grinder, keeping your hands clear of the blades. Wait for the bone to go all the way through and out the other end before putting the next bone in. Feeding bones too quickly will cause the grinder to clog or break. Always wait for the last bone to pass through before adding another one.
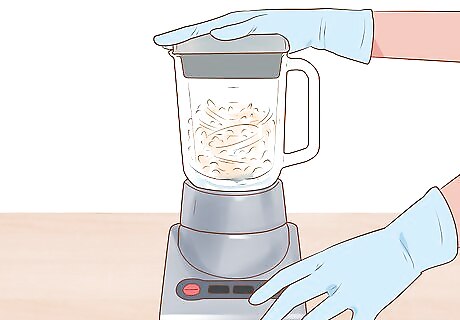
Grind multiple bones together if you’re using a blender or processor. Add as many bones as you need or can fit. Also, pour in a cup of water to ensure everything grinds up to the proper consistency. Then, push the bones down until you’re able to fit the top securely on the appliance. If you’re making pet food, you do not need to take all of the meat off the bones before grinding them, but make sure everything blends together into a liquid consistency.
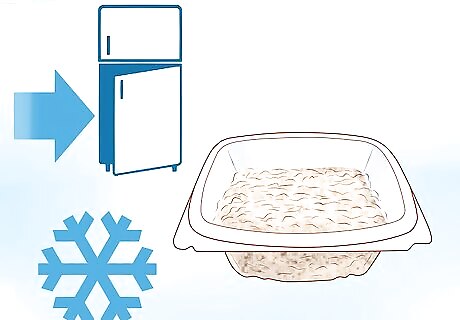
Store ground bones in the refrigerator for up to 5 days. Keep the ground bones in a sealed container to prevent them from spoiling. Bones have blood and marrow in them, so they will begin to smell rancid after a while. Throw the powder away when it’s consistency, texture, or odor changes. Freeze the ground bones in freezer-safe containers for long-term storage. They last indefinitely in the freezer but lose quality after 6 to 12 months. If you ground meat or vegetables with the bones, store the mixture in the refrigerator the same way. Make sure it’s still fresh before you feed it to your pet.
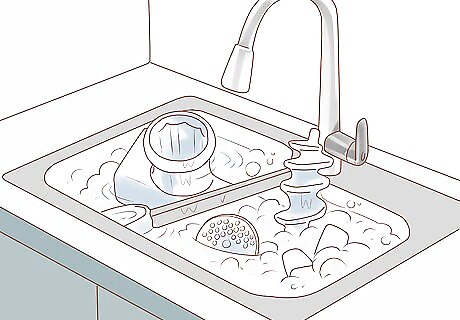
Take the meat grinder apart to wash it with soap and hot water. Unplug the machine first if it uses electricity. Then, twist the plates off of the grinder’s openings by turning them counterclockwise. Pull the feed tube and hopper out of the top part of the grinder. Clear the entire machine of all debris, then dry it off before storing it. Before you take the grinder apart, try feeding bread through it. Bread absorbs oil and moisture in the machine. It also pushes out any ground-up fragments stuck inside.


Comments
0 comment