
X
Research source
Getting Rid of the Mites On Your Hamster
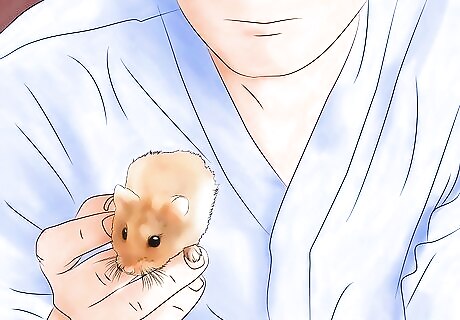
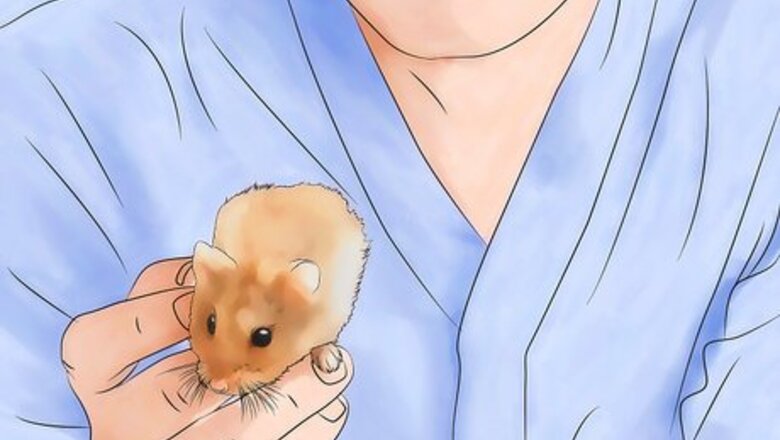
Have a vet diagnose a mite infestation as soon as possible. Hamsters often have a few mites hitching a ride, and they can easily be eliminated if they become an issue. However, stress, malnutrition, or advanced age may lead to a weakened immune system and less resistance to mites. If you’re hamster starts scratching heavily or has visible patches of irritation, balding or redness, take them to the vet and ask them to examine your hamster for mites. Recognize the possible signs of a mite infestations – especially irritated patches of skin – and get them to the vet quickly. Another sign to watch for is your hamster rubbing itself against the sides of its cage.

Follow your vet’s recommendation regarding treatment. Depending on the type of mites involved, your vet may recommend a selenium sulfide shampoo or other topical treatment to kill the mites. With other types of mites, your vet may prescribe a medication such as ivermectin. Follow your vet’s directions about any specific treatment regimen. The only way you or your vet can be certain about a particular mite infestation is by taking a small scraping of your hamster’s skin and examining it under a microscope.
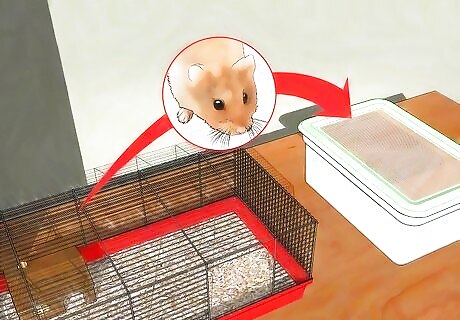
Keep any hamsters undergoing treatment in a temporary cage. More specifically, do not return your hamsters to their cage before cleaning the cage first. The cage may still contain mites and mite eggs that will quickly infect your hamster again. Further, if you have other hamsters, consider ensuring that they are not infested by taking them to the vet as well. If you do not have one, get a ball in which your hamster can roll about while you’re cleaning its cage, etc.
Cleaning Your Hamster Cage
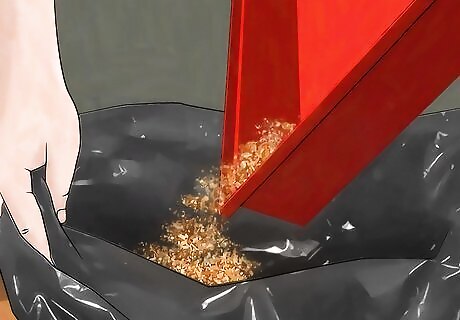
Remove all of the used bedding and throw it away. The most likely culprit of uncleanliness in your hamster’s cage – and the location where more mites are likely living – is the old bedding. When setting out to clean the cage, your first step should be removing all of the bedding and disposing of it in an outdoor trash receptacle.
Clean literally everything that will go back into the cage. Take everything out of the cage and take it all apart. Remove the lid, any feeding dishes or water bottles, and all toys, tubes, ladders, or other furnishings. Anything plastic or metal should be washed with antibacterial soap and warm water, and then thoroughly rinsed and allowed to fully dry. Opt for an unscented antibacterial soap, as aromas are likely to persist and bother your hamster. Wash any food or water equipment in the same way. Be sure to rinse food and water equipment an extra time; you do not want soap residue getting into anything your hamster will consume.
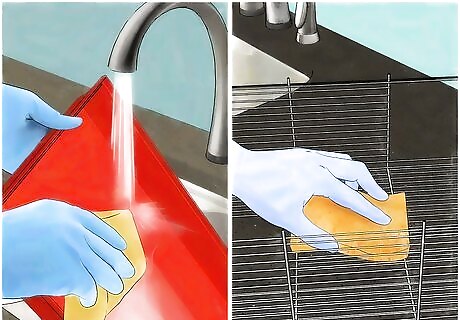
Clean all the surfaces inside the cage with antibacterial soap. Be diligent in cleaning every single spot in the cage. For instance, your hamster likely urinates and defecates in a particular location. Pay extra attention when cleaning this area. Wash everything with antibacterial soap and warm water, then rinse it and allow it to fully dry. Ensure the cage does not still smell of soap, and rinse it again if necessary.
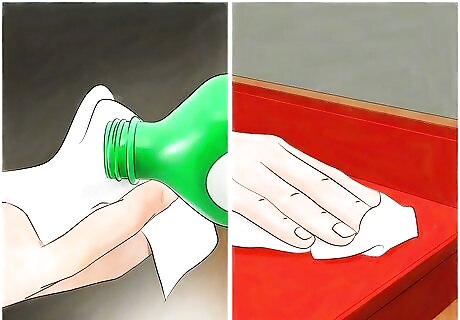
Disinfect the cage with isopropyl alcohol rubbing alcohol. Following a mite infestation, you’ll need a second cleaning to disinfect all of the surfaces of your hamster’s dwelling. Rub rubbing alcohol on any surface of the cage or plastic or metal climbing structures, and dry the surfaces with a clean paper towel. Take care to avoid applying rubbing alcohol to any food or water equipment.

Replace food, water, and any worn toys. You should replace anything you were unable to clean. Wooden toys in particular should be replaced frequently. Further, make sure a water bottle is not leaking after it is re-installed. Finally, make sure all the fastening components of the cage and any structures are also secure.

Clean the hamster’s cage once a week. Mites can be prevented from returning by maintaining a clean living environment for your hamster that will prevent your hamster from becoming stressed. Relatedly, be sure you are providing ample high quality food for your hamster, as proper nutrition also decreases the likelihood of a mite infestation. For more specific information regarding your hamster's dietary needs, see the wikiHow article on how to feed hamsters.
Re-Bedding Your Hamster’s Cage Properly
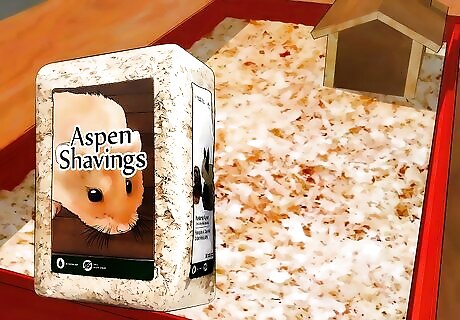
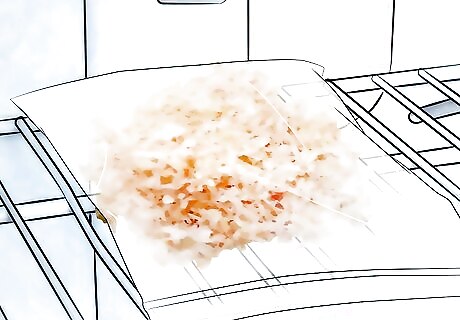
Refill your hamster’s habitat with Aspen shavings. Aspen shavings make one of the safest and most natural forms of bedding. They also make for the best form of bedding following a mite infestation. Make sure you acquire Aspen shavings from a pet supplies store or website, as it will have been specifically treated keep mites away. Unfortunately, Aspen shavings do have one drawback: they are not quite as absorbent as some other manufactured options. Your hamster’s cage may develop an unpleasant aroma more quickly with Aspen shaving bedding than with another option – however, this may be a good things, if it prompts you to clean the habitat more often.
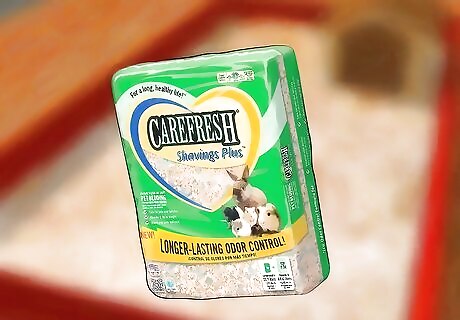
Consider other types of bedding. Your choice of bedding should account for several factors. Namely, choose a bedding that does not pose a risk to your hamster’s health or safety. There are several other good options that satisfy these criteria. In particular, consider: Carefresh Ultra or Carefresh Colors. Carefresh hamster bedding is soft, safe, and free of scented chemicals. It is made from cellulose fiber, which helps it absorb a considerable amount of moisture – a vital feature for hamster bedding. While most colored bedding is not recommended, Carefresh Colors uses a safe dye that will not harm your hamster. Kaytee Clean & Cozy (unscented). This is a plant-based paper bedding that excels in absorption and odor control. Avoid the scented options; some hamsters can suffer from breathing complications when exposed to scented bedding.

Use shredded paper temporarily. If you have ordered bedding and are waiting for it to arrive, or want to temporarily house one of your hamsters away from the others, you may use finely shredded paper as bedding. Make sure the paper is both non-toxic and free of any inks. Accordingly, do not use newspaper. Do not attempt to use paper as a continual source of bedding, as it will do an extremely poor job with absorption and aroma control.
Freeze new bedding before refilling the habitat. Whatever you use, you should take one final measure to ensure it is entirely free of mites or any other critters that may harm your hamster. To do so, place the bedding you’ll use in a new Ziploc bag and place it in the freezer for at least 48 hours. Allow the bedding to return to room temperature without the application of artificial heat. Simply leave it on the counter in the bag. Add it to your hamster’s habitat once it has returned to room temp.
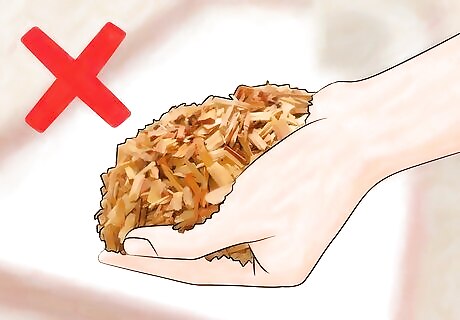
Avoid certain types of widely-available hamster bedding. Believe it or not, there are several types of hamster bedding that are commonly sold, but that may actually harm your hamster. In particular, avoid pine and cedar shavings, and these may splinter into sharp, potentially injurious pieces. Further, these materials may give off toxic fumes when exposed to your hamster’s urine. Finally, avoid “fluffy bedding”, which is made from artificial fibers that your hamster may not be able to safely digest, as well as cat litter, which is also dangerous for hamsters to eat.


Comments
0 comment