views
Fixing a Misplaced Fill Tube
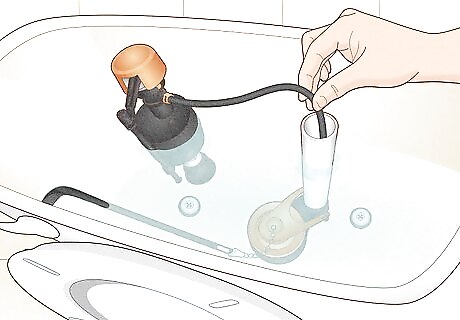
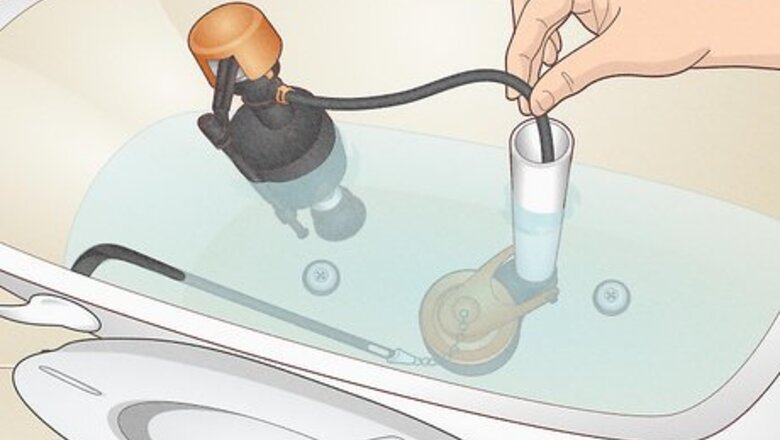
Inspect the position of the fill tube in the overflow tube. Lift the lid off the toilet tank and look inside. You’ll see a large, white tube: this is the overflow tube. Positioned directly over this should be a smaller, hose-like tube: the fill tube. The fill tube should not be inserted into the overflow tube. If the fill tube is inside of the overflow tube, it will siphon water back out of the overflow tube and out of the tank. This form of back-siphoning is a common cause of ghost flushing.
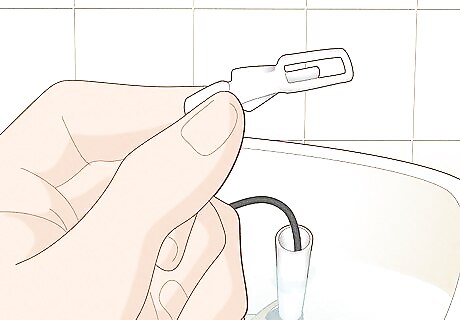
Purchase a fastening clip. A fastening clip is a small metal clip which will prevent the fill tube from siphoning water back out of the overflow tube. Fastening clips are about 2 inches (5.1 cm) long and have a small clasp on one end. Fastening clips should be available in the plumbing section of any hardware store. Ask sales staff for help if you can’t find fastening clips on your own.
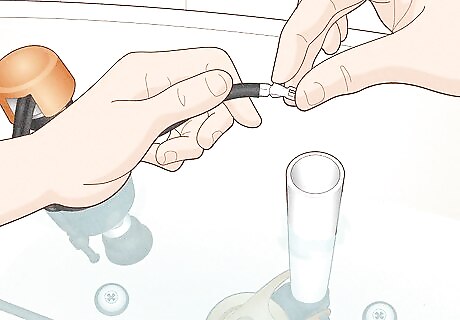
Install the fastening clip on the fill tube. One end of the fastening clip will be hollow and round. Firmly grasp the end of the fill tube, and push this end of the clip inside of the fill tube. The fastening clip fits into the fill tube by friction, so push firmly when installing the clip.
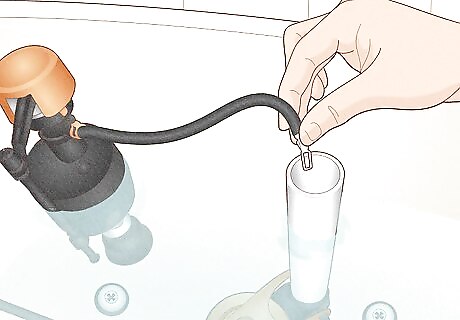
Hook the fastening clip onto the overflow tube. The clip end of the fastening clip should hook directly onto the upper lip of the overflow tube. This will keep the fill tube a good distance above the overflow tube, and keep it from siphoning water back out of the tank. Flush the toilet to make sure that it operates correctly. Listen as the tank refills to make sure you don’t hear any ghost flushing. Unless you have a faulty flapper, the problem should be fixed.
Replacing the Flapper
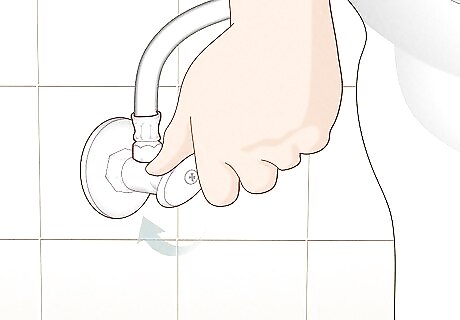
Turn off the water supply to the toilet. The water valve that controls the flow of water to the toilet tank will be located on the wall behind the toilet. To turn the water off, turn the knob clockwise until you feel resistance.
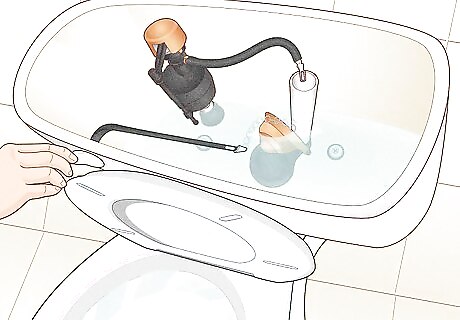
Flush the toilet. The flapper valve is located at the bottom of the toilet tank (the square water reservoir at the back of the toilet). So that you’re not up to your elbows in water, flush the toilet; this will drain the toilet tank. If the bottom of the toilet tank doesn’t drain completely, you may need to sop up remaining water with a couple of rags or old hand towels.
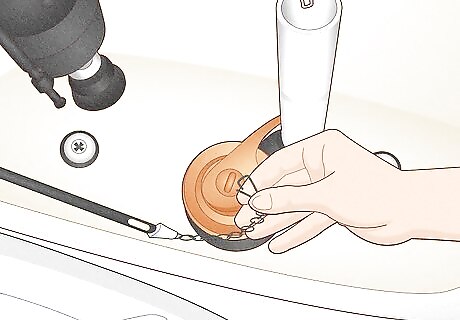
Unhook the chain from the top of the flapper. The top of the rubber flapper is connected to the toilet handle by a thin piece of chain. Use your fingers to unhook the chain. The inner parts of the toilet tank will all be wet, of course. Don’t be squeamish though: this water is as clean as the water from your faucet.
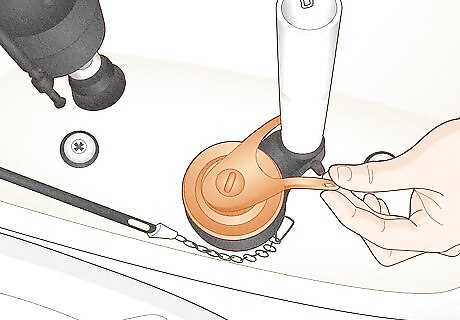
Unhook the 2 arms of the flapper. The flapper is held in place by two thin rubber arms (or “ears”). Each arm is held in place by a pressure-fit around small nubs extending from the overflow tube. Pull the flapper arms off of the plastic nubs and lift the flapper out of the toilet tank. If you look at the underside of your worn-out flapper, you’ll see mineral buildup or small cracks and breaks in the rubber. These cause or contribute to the ghost flushing.
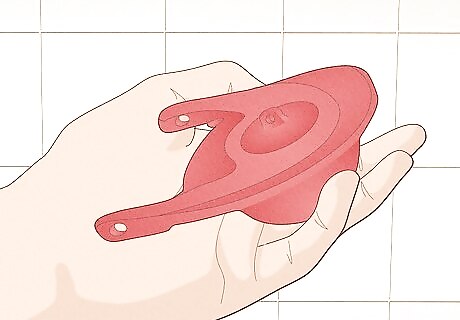
Purchase the correct replacement toilet flapper. Not all toilet flappers are the same size and shape, so you’ll need to buy a replacement that matches your current toilet flapper as closely as possible. If you know your toilet model, the sales staff at a hardware store can help you find the correct flapper. Or, take the old flapper with you to the hardware store, and buy an identical replacement. Most toilet flappers are 2 inches (5.1 cm) or 3 inches (7.6 cm) in diameter. The replacement toilet flapper can be purchased at any local hardware store for about $5. Toilet flappers can also be bought at any large home-supply store and possibly at a large supermarket.
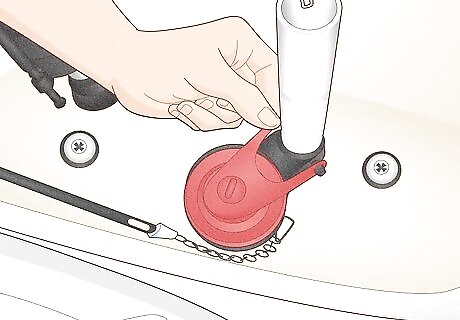
Install the new flapper. Push the rubber arms of the new flapper back onto the plastic nubs on either side of the overflow tube. Once it’s in place, hook the chain onto the top of the flapper.
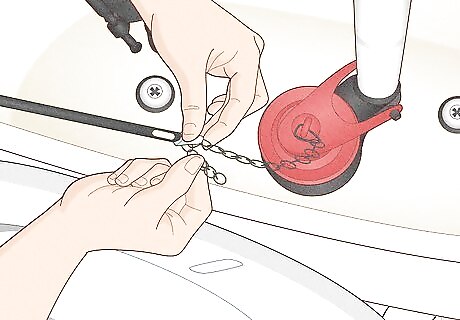
Adjust the placement of the chain on the trip lever as needed. If the chain is too long or short for the new flapper to work effectively, you can alter the chain’s position on the trip lever. This will lengthen or shorten the distance from the head of the chain to the point where it connects to the flapper. The trip lever is the long metal bar which connects to the toilet’s flush handle. Its opposite end—inside the toilet tank—will have a number of small holes in it for the top of the chain to hook into. If the current chain position makes the chain too short, the flapper will not seal shut firmly and the toilet will leak constantly. If the current chain position makes the chain too long, the chain may get caught up under the flapper when it tries to seal. This will also result in the toilet tank constantly losing and re-filling water.
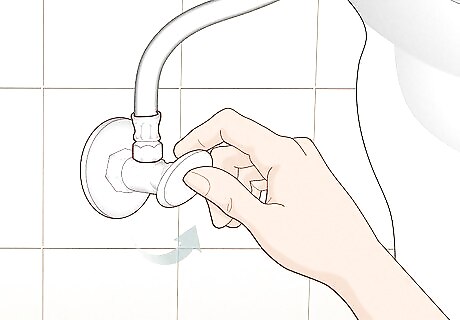
Turn the water back on. Turn the water valve counterclockwise to restore the flow of water once you’ve replaced the flapper. At this point, your ghost-flushing problem should be fixed. If your toilet is leaking water onto the floor, or continues to ghost flush after you’ve replaced the flapper, you may need to call a professional plumber to fix the problem.


Comments
0 comment