views
X
Research source
But if you do use aloe vera, buying all that ointment adds up, and the aloe itself could either be diluted or have additional additives that might make it inappropriate for your needs. However, you can save money and be sure of the concentration of the aloe you have by first harvesting and then cutting open the aloe vera leaves.
Harvesting Aloe Vera Leaves
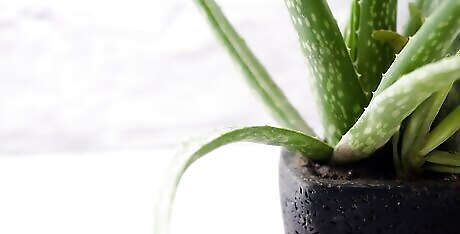
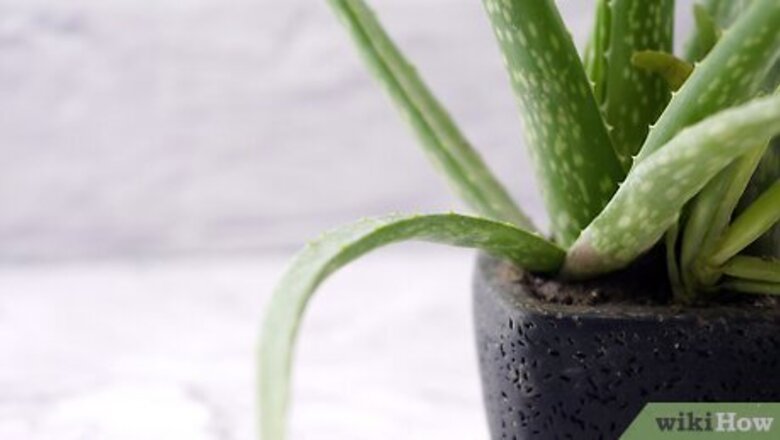
Assess your aloe vera plant. Before you start to harvest any aloe vera gel, you'll want to be sure you're working with a mature plant. A mature and healthy aloe plant is recognizable by its large, green leaves: they should be about 8 inches (20 cm) long. Aloe grows from the center outward, making the outermost leaves the oldest, largest, and richest of the leaves to use.
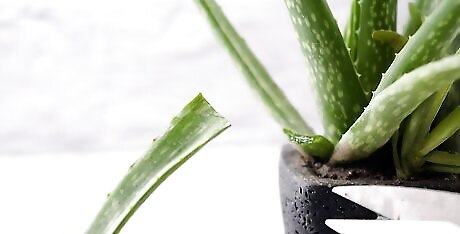
Cut off some aloe vera leaves. Depending on how much aloe vera you need, you will probably not need or want to use an entire aloe vera plant for this. Cut off one of the outermost leaves of an aloe vera plant using a sharp knife at the base of the plant. The leaves do not grow back, but by only cutting a portion of the plant, you will leave the whole of it to continue to grow and produce more aloe vera for you in the future. Be sure that your knife is sharp to cause minimal damage to the plant.
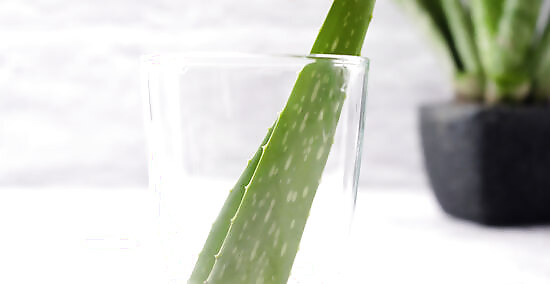
Clean off the cut aloe vera. Once you have cut the leaf, a yellow substance will begin to ooze from the cut. In order to keep the plant from making a mess, you'll want to point the leaf vertically, cut end down, into a bowl to allow the substance to continue coming out. Use a pitcher of water and your fingers to clean the leaf from top to bottom, directing the water into the bowl as well. The yellow ooze produced in this step is a sap called aloe latex. It is not the aloe vera gel, which will be clear and thick in appearance, and you do not want it to contaminate your gel because it has laxative properties that may mess up your digestive track.
Cutting Open the Aloe Vera Leaves
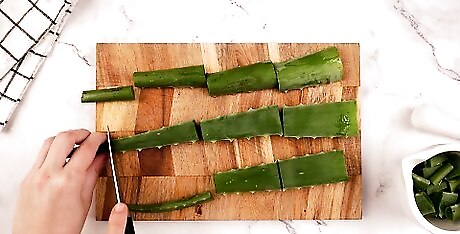
Cut off the top third of the leaves. Because of the thinness of the top, pointed part of the aloe vera leaf, you will waste more time trying to get gel from this portion than is cost effective. Instead, cut this portion off and discard it. You will need to repeat the previous rinsing step for the top portion as it now will also produce yellow ooze. Depending on the size of your aloe vera leaves, you might find it easier to extract the gel by cutting the thick portion of the leaf into additional pieces, either along the leaves' length, width, or both ways.
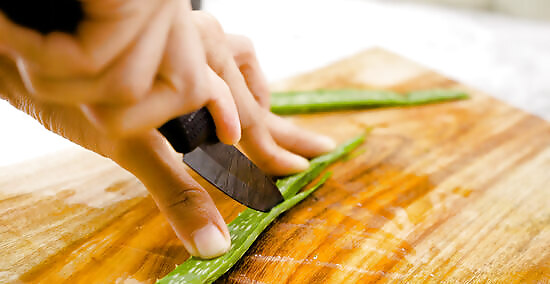
Remove the spines. Before you can get at the gel core of the leaf, you'll need to remove the hard, spine edges on either side of each leaf. Carefully cut them away, remembering to move the knife away from yourself and your hands so as to avoid potentially cutting yourself in the process. Be sure that the aloe vera leaves are also dry before you begin this portion of the cutting as a slippery leaf could lead to potential accidents. Make your cut as close to the spines as possible so that you don't lose a lot of gel in the process.
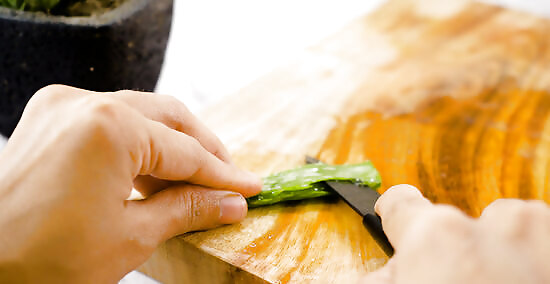
Remove the top and bottom layers. With your leaf laying flat on a cutting board, carefully slice away the skin of the aloe vera leaf. This will be the thin, outer green layer you see. Run your knife between it and the thick, clear gel at the center, and repeat this process for the remaining top layer by flipping it to the bottom. If you would prefer not to use a knife for this step due to the potential for cutting yourself, you can choose to use a fruit peeler instead.
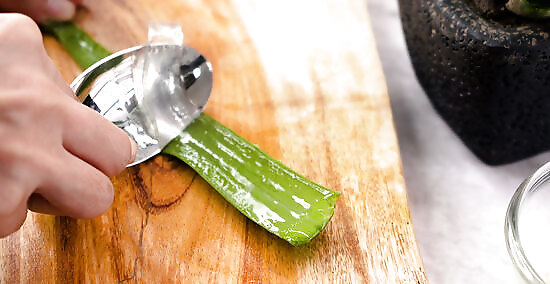
Remove and store the gel. At this point, you should have slabs of clear aloe vera gel. If you see any bits of leaf left on them, trim them off, and feel free to cube the gel for easier storage by cutting them with your knife. Be sure to rinse the aloe vera gel itself 2-3 times when you're finished to be sure that it's free of any aloe latex residue. Use a spoon to scrape up any excess gel left over along the skin. Store all of the gel extract you get in a new glass or bowl separate from the water you used to wash the leaves with.


Comments
0 comment