views
Encrypting
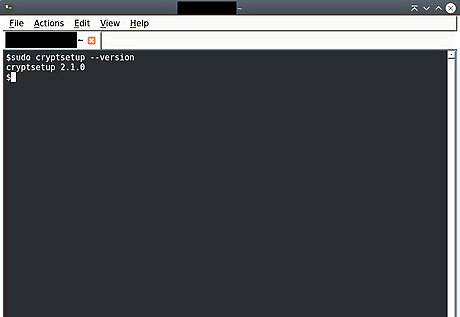
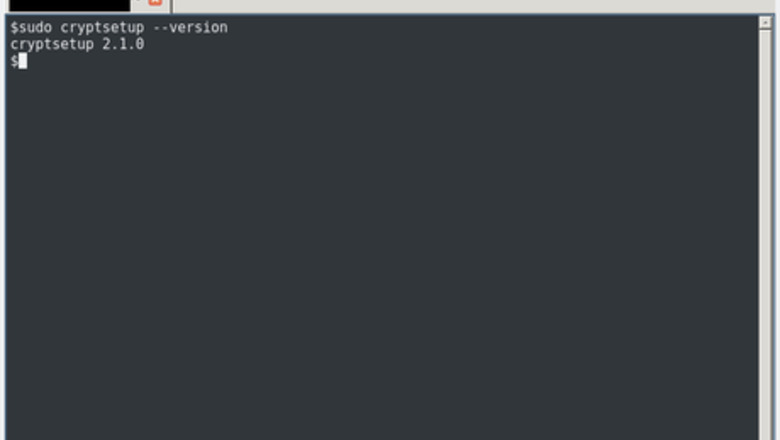
Check whether cryptsetup is present: Type sudo cryptsetup --version into the terminal. If, instead of printing a version number, that results in "command not found", you need to install cryptsetup. Note that you need to use sudo. Attempting to run cryptsetup without sudo will result in "command not found" even if the program is installed.
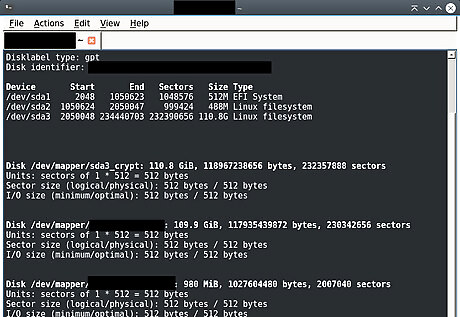
Check which devices are connected: sudo fdisk -l.
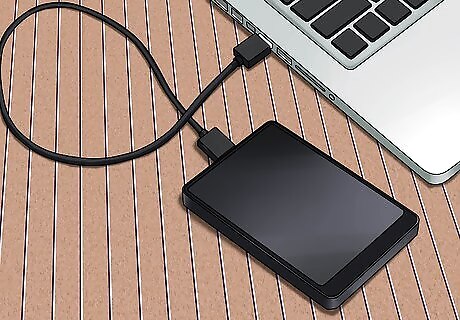
Connect the external hard drive.
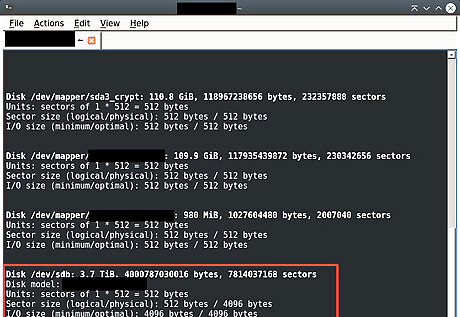
Check which devices are connected again. Run sudo fdisk -l again and look for a part that is different. That is the hard drive you connected. Remember its device name (e.g. /dev/sdb). In this article, it will be referred to as /dev/sdX; make sure to replace it with the actual path in all instances.
Back up any data that you want to keep. The next steps will erase all the data from the hard drive.
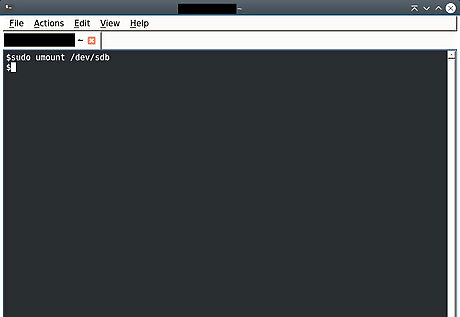
Unmount the external hard drive. Do not disconnect it — only unmount it. You can do so through your file manager, or with: sudo umount /dev/sdX
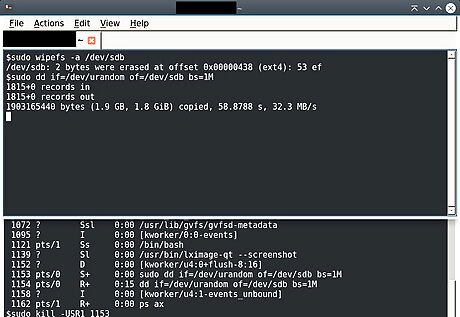
Wipe all file systems and data from the hard drive. While this is not required for setting up the encryption, it is recommended. To quickly wipe only the file system headers, use: sudo wipefs -a /dev/sdX To overwrite all the data on the hard drive, use: sudo dd if=/dev/urandom of=/dev/sdX bs=1M. You will not see a progress bar or any other output, but if your external hard drive has a lamp that blinks when the drive is written to, it should start blinking. If the external hard drive is big, expect that you will need to wait a long time. While it depends on the device and the hard drive, a possible speed is 30 MB per second, taking about 2½ hours for 256 GB. If you want to see the progress, find out the process ID of the dd, then open another terminal and use sudo kill -USR1 pid (pid being your process ID). This will not terminate the process (as kill without the -USR1 parameter would do), but just tells it to print how many bytes it has copied. Using sudo dd if=/dev/zero of=/dev/sdX bs=1M to overwrite with zeroes instead may be faster, but is somewhat less secure than overwriting with random data.
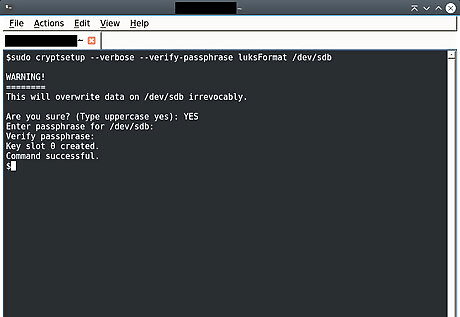
Run cryptsetup: sudo cryptsetup --verbose --verify-passphrase luksFormat /dev/sdX cryptsetup will warn you that data will be overwritten irrevocably. Type YES to confirm that you want to do this and continue. You will be prompted to choose a passphrase. After you chose one, it will take some time to set up the encryption. cryptsetup should finish with "Command successful." If cryptsetup warns you about existing partitions (with a message of the form WARNING: Device /dev/sdX already contains ...... partition signature), you haven't properly erased the existing file systems. You should refer to the step about wiping file systems and data, but it is also possible to ignore the warning and continue.
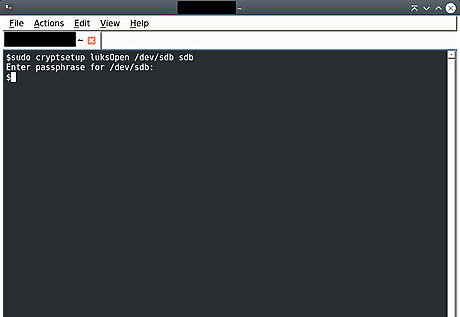
Open the encrypted partition: sudo cryptsetup luksOpen /dev/sdX sdX (replace both sdX with the encrypted partition you just set up.) You will be prompted for a passphrase. Enter the passphrase that you chose in the previous step.
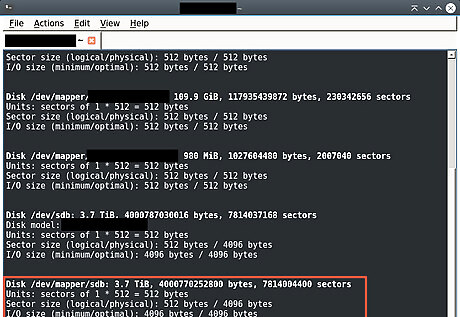
Check where the encrypted partition has been mapped to. It is usually /dev/mapper/sdX, but you should double-check using sudo fdisk -l.
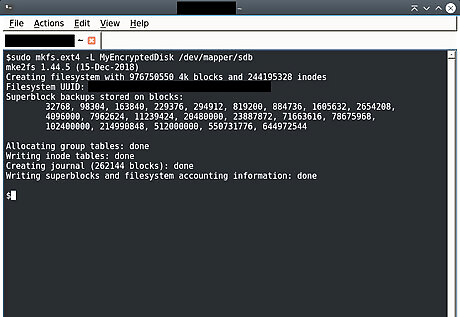
Create a new filesystem on the encrypted partition. Setting up the encryption has wiped any that previously existed. Use the command: sudo mkfs.ext4 /dev/mapper/sdX It is important that you specify /dev/mapper/sdX. If you specify /dev/sdX instead, you will format the disk as an unencrypted EXT4 partition. You can give your filesystem a label with the -L option, for example: sudo mkfs.ext4 -L MyEncryptedDisk /dev/mapper/sdX
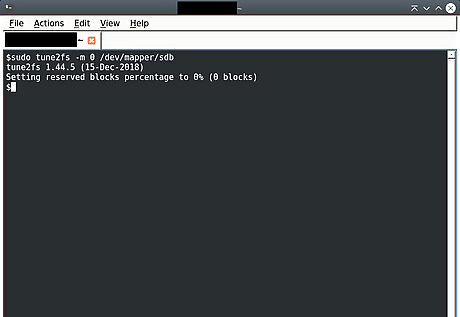
Remove the reserved space. By default, some space has been reserved, but if you don't intend to run a system from the hard drive, you can remove it to have slightly more space on the hard drive. Use the command: sudo tune2fs -m 0 /dev/mapper/sdX
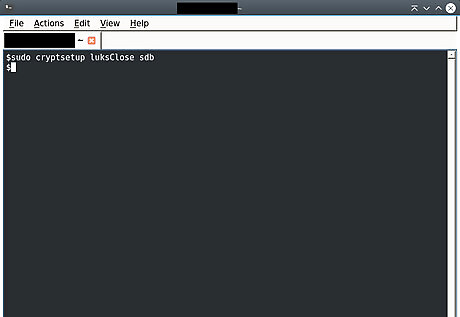
Close the encrypted device: sudo cryptsetup luksClose sdX You can safely disconnect the external hard drive now. For instructions on opening it again and using it, refer to the "Opening an Encrypted External Hard Drive" method.
Connecting and Opening
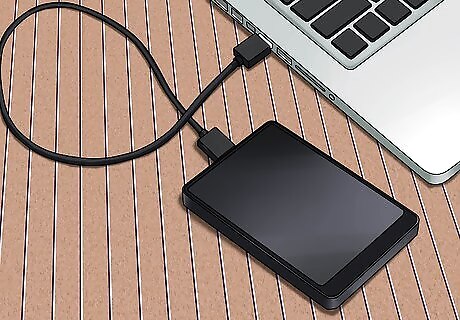
Connect the external hard drive.
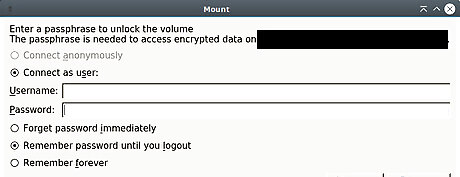
Wait and see whether a prompt opens. Some systems will automatically ask for the passphrase, and if you enter it correctly, mount the device.
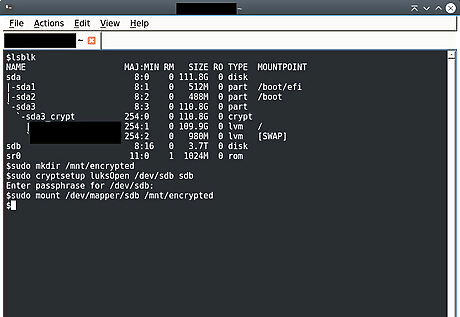
Mount the drive manually if the prompt doesn't open. Find the device name: lsblk If this is the first time you are mounting it, create a directory to mount it in, for example: sudo mkdir /mnt/encrypted. Otherwise, use the directory you previously created. Open the encrypted partition: sudo cryptsetup luksOpen /dev/sdX sdX Mount the encrypted partition: sudo mount /dev/mapper/sdX /mnt/encrypted
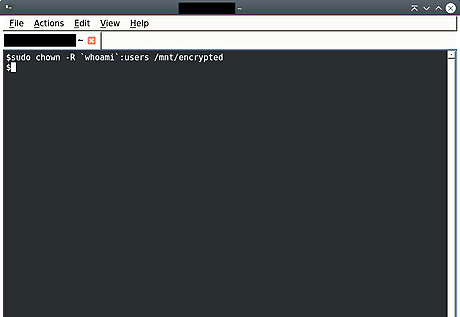
Adjust the permissions if this is the first time you're mounting the drive. When you mount the drive for the first time, writing to the drive requires sudo. To change that, transfer ownership of the folder to the current user: sudo chown -R `whoami`:users /mnt/encrypted If your hard drive was mounted automatically, you can find out where it was mounted using lsblk. Often, it is at a path similar to: /media/your_username/drive_label
Use the hard drive. You may now use your encrypted hard drive like you would any other hard drive, reading files from it and transferring files onto it.
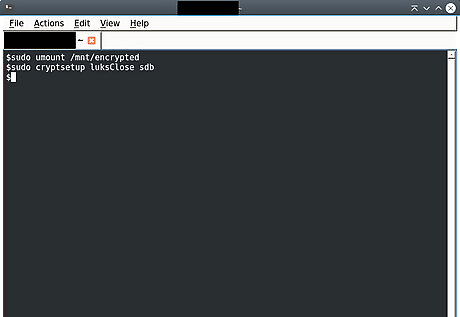
Unmount the encrypted hard drive. This is necessary so that you may safely disconnect it. You can do so through a file manager, or over the terminal: Unmount the encrypted partition: sudo umount /mnt/encrypted Close the encrypted partition: sudo cryptsetup luksClose sdX If that gives the error message "Device sdX is not active.", the encrypted partition had been opened under a different name (that can happen, for example, if you entered the passphrase in the prompt instead of mounting manually). You can find it with the lsblk command. Look for an entry of type crypt.




Comments
0 comment