views
Starting with the Head
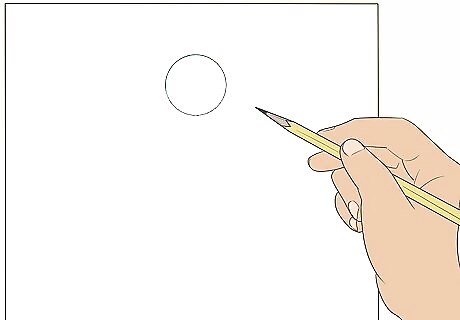
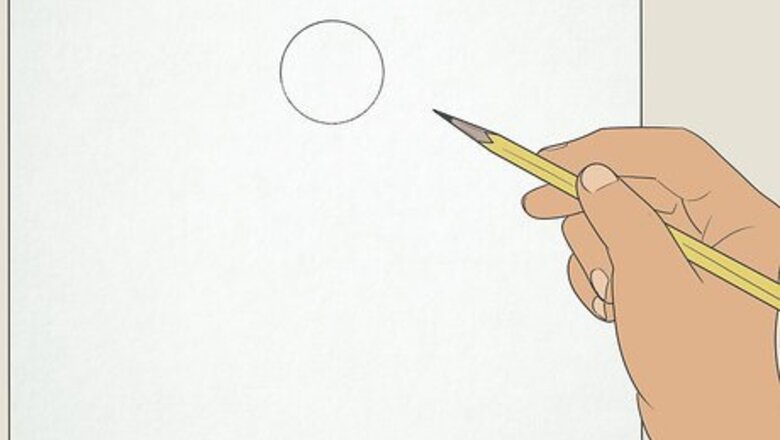
Sketch a circle near the top of your paper to make the head. Lightly press your pencil on the paper so you can go back later and adjust the shape of the head. For now, the circle will be a basic guide so you can get the proportions of the female on paper.Tip: If you have trouble drawing a circle, use a compass or trace a small round object.
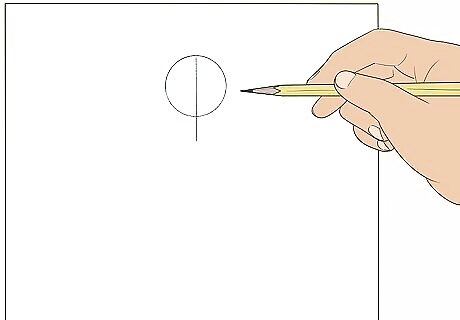
Draw a vertical line that extends down through the center of the head. Lay a ruler in the middle of the circle and lightly draw a straight line through the head. Keep drawing the line until it's about as long as you think the drawing will be. You can further extend this line or erase the end of it once you add the horizontal guidelines.
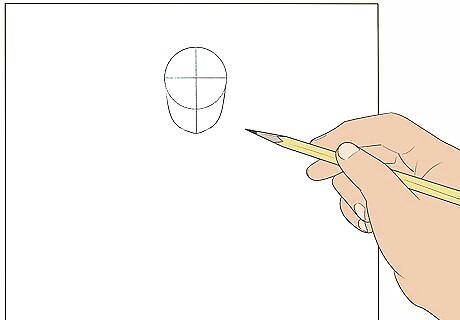
Draw a horizontal line through the head circle and make the jaw shape pointed. Sketch a straight line through the middle of the circle so you'll know where to place facial features. Then, make a small point below the circle on the vertical line. Draw a line from the sides of the circle down to this point to create a curved chin. Make the distance between the bottom circle and the chin about 1/3 to 1/4 of the length of the circle.
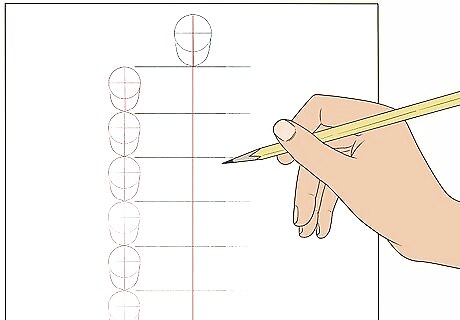
Make 7 horizontal lines below the head with 1 head-length between each. To make a basic grid for your female body proportions, turn your ruler so it's perpendicular to the vertical line you drew. Place it at the chin and lightly draw a straight line. Measure the distance from the top of the head to the chin. Then, leave this much space below the chin and draw another horizontal line. Do this until you have 7 horizontal lines.
Sketching the Body Outline
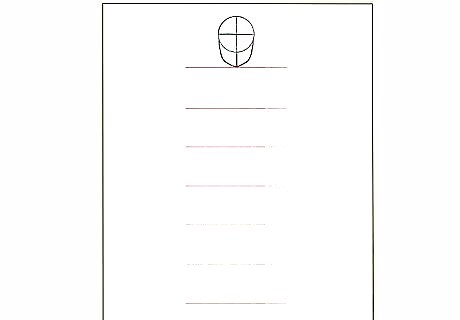
Add a horizontal line halfway below the bottom line to mark the feet. Since female body figures are about 7 1/2 heads high, make another horizontal line a 1/2 head distance below the lowest line on your paper. This line indicates where the female's feet are. Now you can go back and mark where key parts of the body fall in relation to one another. For example, you'll make a waistline, hipline, and line for the knees.
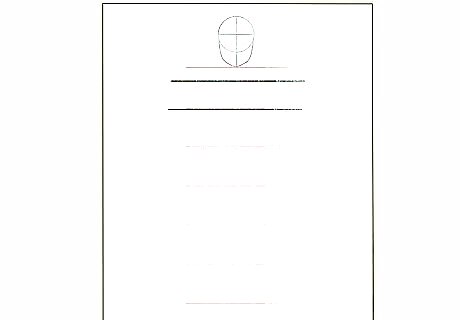
Draw 2 horizontal lines just below the chin to mark the shoulders and the chest. The line for the shoulders should be about 1/3 of a head below the chin, and the chest line will be where the second original gridline you drew was. Draw this line in darker to show where the midpoint of the breasts are on the chest. It might help to label each of the lines you're drawing for reference. For example, write "shoulder line."
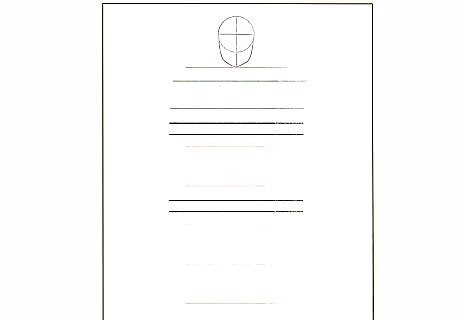
Sketch 2 horizontal lines between the second and fourth gridlines for the shoulders and hips. Slide the ruler halfway between the second and third guidelines from the top. Draw a horizontal line to show the waistline. Then, move the ruler down so it's halfway between the third and fourth guidelines from the top. Sketch a horizontal line to show where the hips go.Did You Know? The widest point of a female's body is the pelvis, unlike a male's widest point, which is the shoulders. A woman also has a narrower rib cage.
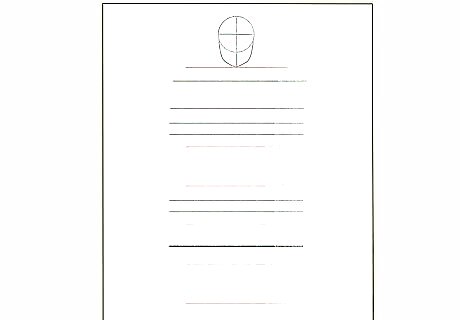
Make a horizontal line between the fifth and sixth guidelines to mark the knees. Place the ruler between the fifth and sixth guidelines from the top and draw a horizontal line. This is where you'll eventually draw the knees. If you'd like to label the very bottom line, you could mark "feet" on the line that's halfway below the seventh guideline from the top.
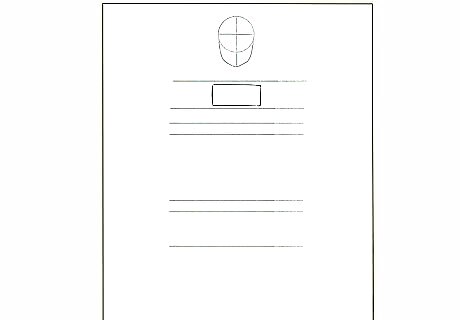
Draw a horizontal rectangle just below the first gridline to make the chest. Sketch the top line of the rectangle so it's 1/4 of a head below the first guideline. Make another horizontal line over the second horizontal guideline for the bottom of the rectangle. Then, draw a line that curves away from the body and up to the end of the top rectangle line. Repeat this on the other end of the rectangle. Draw your rectangle so it extends 1/2 of a head's width at both ends.
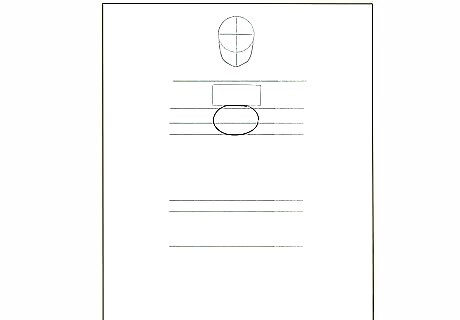
Make a horizontal oval between the second and fourth gridlines for the bottom of the torso. Sketch the oval halfway below the second guideline and halfway below the third guideline. You can make the oval extend as far as you like near the ends, depending on how wide you want the female's hips to be.Tip: For narrow hips, draw the shape more like a circle than an oval so the ends don't extend out very far.
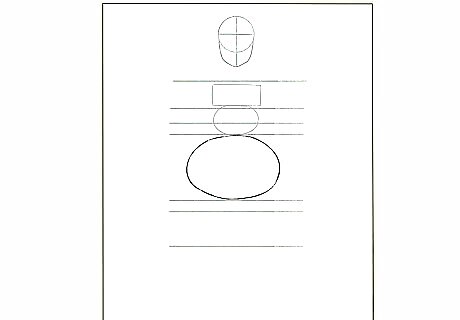
Sketch another horizontal oval between the rectangle and bottom oval. Lightly make a smaller oval in between the chest and lower torso shapes. Draw the oval so the center touches the chest line and the top of the lower oval. The top of the lower oval is the waistline.
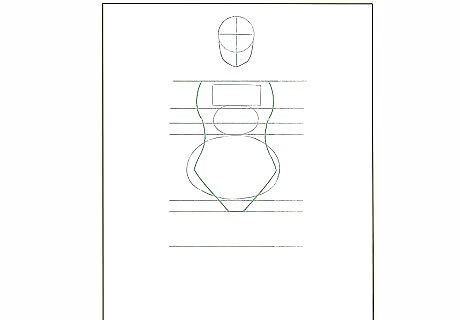
Draw a curved line to connect the outside of the shapes and make a basic torso. Press firmly near the end of the shoulder line and sketch down along the chest's curve towards the waist. Keep drawing the line to connect with the edge of the bottom torso rectangle and repeat this for the opposite side of the body. Then, go back to the shoulder line and draw a small line that curves up to meet the head. Remember to draw the opposite line for the neck as well.
Adding Limbs and Final Touches
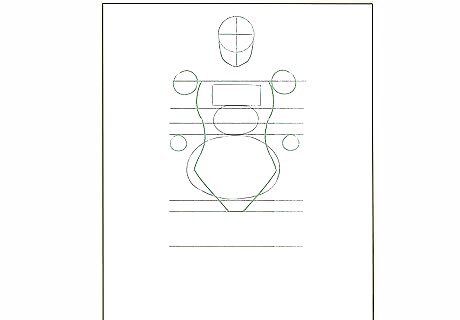
Make a small circle at both ends of the shoulder and on the hip line to make elbows. Draw a faint circle at each top corner of the chest shape. Make them extend from the shape so the line of the rectangle passes through the circle. Then, draw a faint circle on each side of the body so they're level with the waistline. Make these circles about 1/2 the size of the shoulder circles.Tip: Drawing circles for the shoulders and elbows will help you create a bulging shape for the joints.
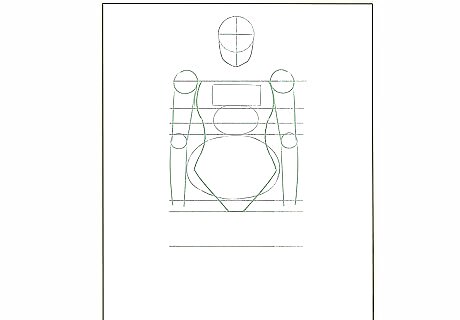
Sketch the outline of the shoulders down to the hands. Press firmly to draw a rounded curve from the top of the shoulder circle and make it go down to the side of the elbow circle. Continue drawing the line so it bulges slightly for the forearm muscles before sketching the hand. Draw the hand so it's halfway below the fourth guideline from the top. You can draw a detailed hand with fingers or simply make the outline of a fist. Remember to repeat this on the opposite side of the female's body.
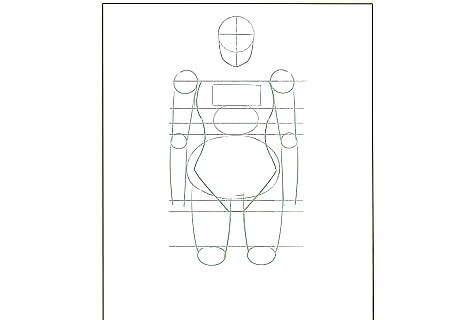
Make 2 circles on the knee line and sketch a curved line to make each upper leg. Sketch a circle for each knee halfway below the fifth guideline from the top. Make the circles the same size as the elbow circles. Then, draw a smooth line that connects from the bottom of the torso to the side of the circle. Keep curving your line back up to make the inner thigh and stop drawing the line just above the fourth guideline. Repeat this for the other side so the stopping points form the crotch just above the fourth guideline.
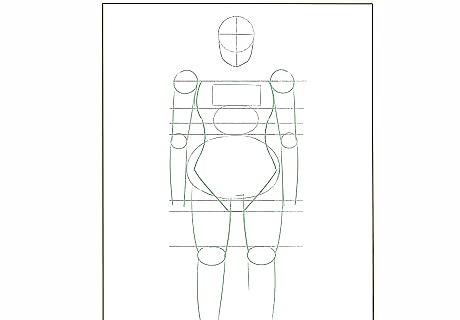
Draw the lower legs from the middle of the fifth guideline down to the feet. Sketch from the knee down towards the ankles. Make the outer line of the lower leg curve away from the body before you make it taper down near the seventh guideline from the top. Then, draw a rounded triangle that extends halfway below that guideline to make space for the foot. Leave the feet as rounded basic shapes if you plan on drawing shoes or sandals over them. If not, sketch individual toes to include more detail.
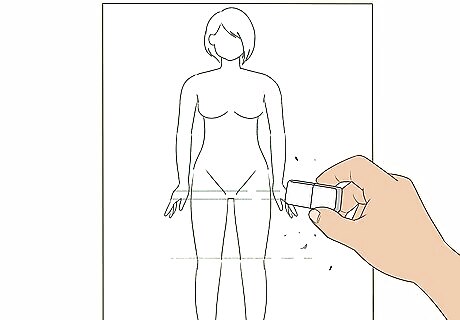
Erase guidelines before adding details to the figure. Use a small eraser to carefully remove the horizontal and vertical guidelines you drew. Erase any lines from drawing the joints or torso shapes before you sketch clothing or features on your female figure. Use the eraser on the end of a mechanical pencil if you want the most control when erasing in small spaces.







Comments
0 comment