views
Making Your Cuts
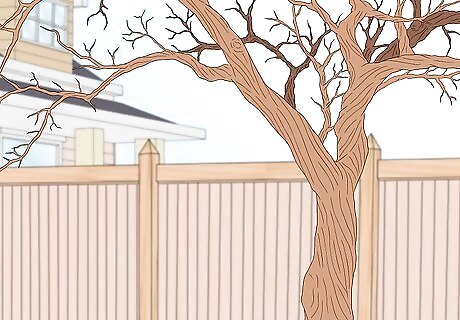
Wait until your tree is dormant in the winter to make your cuts. Pruning your tree when it's dormant gives it time to heal before threatening pests arrive. If you have particularly cold winters, wait until the coldest part of winter is over before you prune your tree. Pruning in the winter will also help your tree grow more during the spring. Avoid pruning your tree during the growing season or you could stunt its growth.
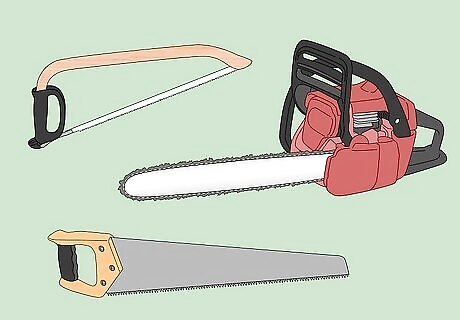
Use a chainsaw, bow saw, or hand saw to make your cuts. A chainsaw will take out much of the work of chopping your tree, and is the easiest and quickest method to chop down a limb. You will have more control over your cuts using a hand or bow saw, though they will take a bit more muscle and time to cut through a thick limb. If you use a hand or bow saw, you will move the saw back and forth quickly to make clean, straight cuts. Make an initial mark on the tree limb, then go back and saw it off. If using a chainsaw, handle the machine with care and read all safety warnings on your machine before you use it. Also, make sure you wear protective eyewear and gloves.
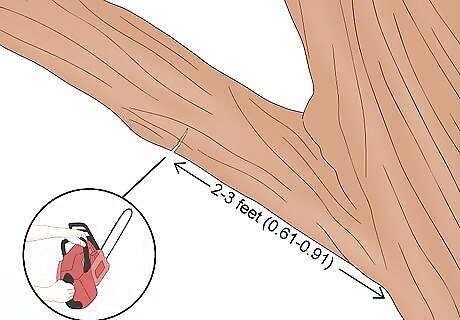
Make a small notch in the tree limb 2–3 feet (0.61–0.91 m) from the trunk. You only need to insert your saw about 1/4 of the way through the tree. This cut helps keep the bark from splitting. This is known as your “notch cut.”
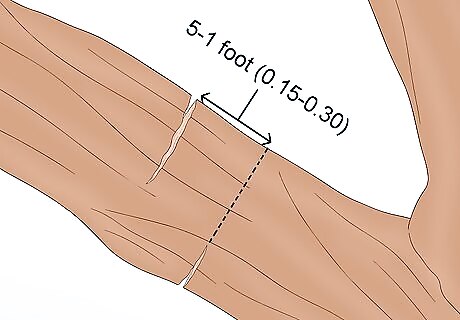
Make a second cut on the limb a little further down from your notch cut. You can move about another .5–1 foot (0.15–0.30 m) away from your first cut, and make a second cut entirely through the limb. This will remove the weight of your tree branch, so it will be easier to make your final cut. This is called your “relief cut.” If you skip over this cut and go right for your final cut, you might damage the trunk and expose your tree to pests and disease.
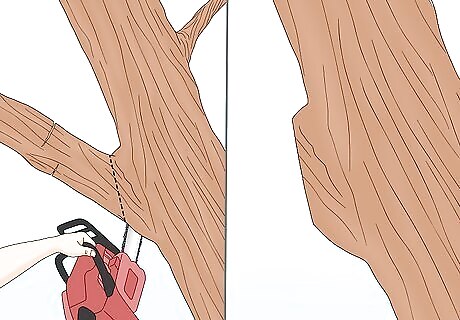
Make a final cut where the branch collar meets the rest of the tree. Make your cut with care. This is where the swollen bump of the tree meets the smooth branch section. To make a healthy cut, move your saw along the slant of the branch collar. Sometimes the slant of the branch collar will be tricky to reach. You can make your cut from the bottom up if it is easier than going from the top down. Make sure your hands are not in the way of your hand saw or chainsaw.
Ensuring the Tree Heals Correctly
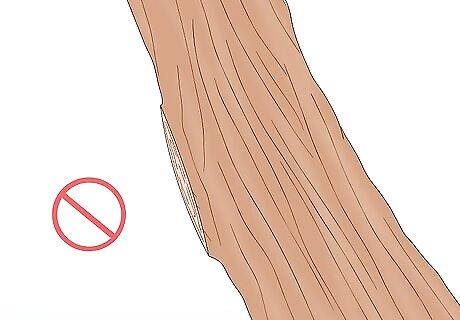
Avoid cutting the limb too short. It used to be popular to trim the limb as close to the trunk as possible, but that actually can lead to your tree getting sick. Instead of cutting at the tree trunk, cut at the branch collar right before the tree trunk so the tree can recover easily. Rotten holes in tree trunks and seeping wounds are caused from cutting at the branch collar.
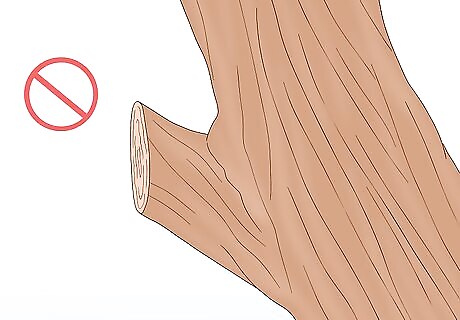
Don’t leave the tree limb too long. The branch collar will heal after the limb is removed, but if you leave the tree limb too far past the branch collar, it will heal slower. Any remaining branches or stubs will interfere with the healing process.

Cut your relief cuts in the right spots to avoid damaging the tree. If most of the limb’s weight is removed before trimming the branch itself, your branches may split off. This can cause major damage to your tree. Your tree can become susceptible to disease or insect infestation if your relief cut is not made properly.


Comments
0 comment