views
Using a USB Cable with Windows
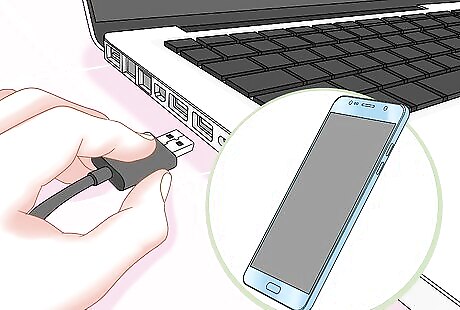
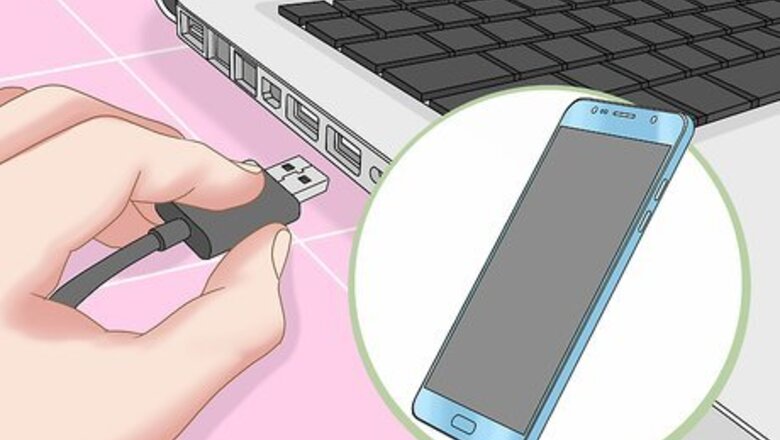
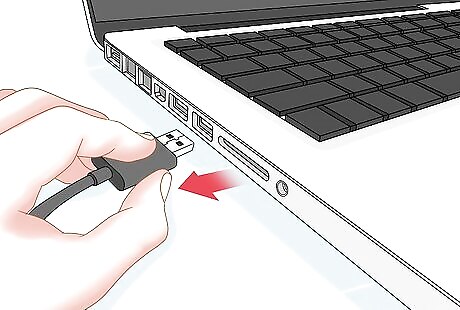
Plug your Android into your computer using a USB cable. You can use the same cable that you use to charge your Android.
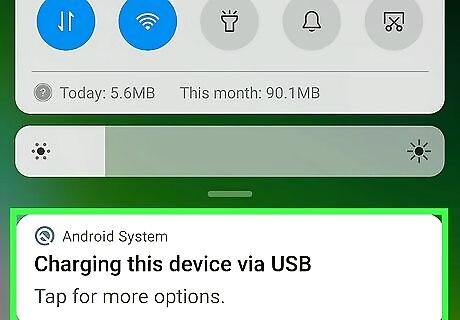
Tap Charging this device via USB on your Android's screen. This option should pop up on a notification few moments after connecting the phone or tablet to your PC. If your Android's screen is locked, you may need to unlock it to see this notification. If the notification isn't visible, swipe down from the top of the home screen to view your notifications—you'll see it there.
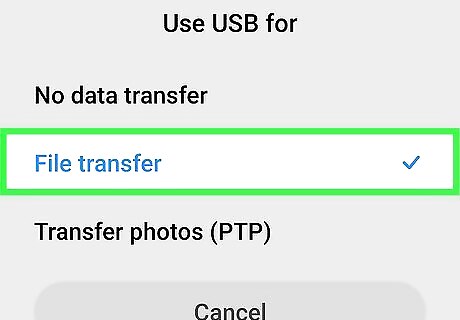
Select File Transfer under "Use USB for." This option allows your PC to recognize your Android as a hard drive. This option may be called MTP on some Androids.
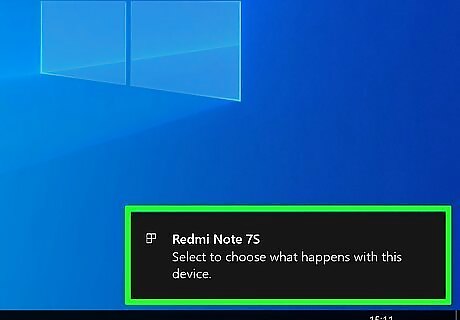
Wait while the drivers are installed. Windows will automatically install any necessary drivers to allow your Android to communicate with your PC. If the driver installation process fails or Windows cannot find the right drivers, you'll need to install the drivers from the phone manufacturer. You can perform a Google search for your phone model and "Windows drivers" and then follow the link of your manufacturer. Don't download drivers from unknown sources.
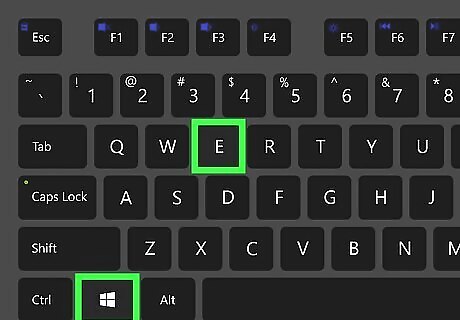
Open your Windows File Explorer. If you don't see a window that displays the contents of your Android appear automatically, you can press Windows key + E or click the File Explorer folder icon in your taskbar to open File Explorer now.
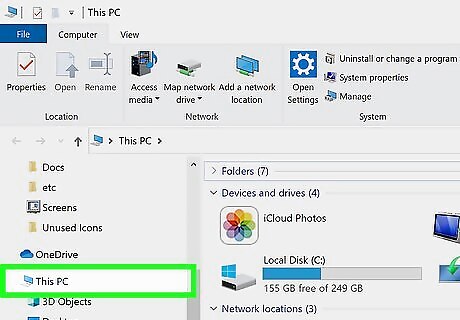
Click This PC in the File Explorer window. You'll see this in the left panel of the File Explorer. This displays all connected drives, including your Android, in the right panel.
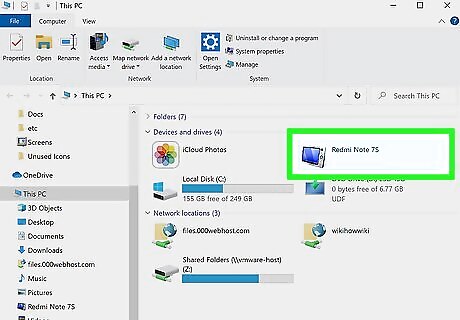
Double-click your Android. It may only be identified by the model number. It will be listed in the "Devices and drives" or "Devices with removable storage" section.
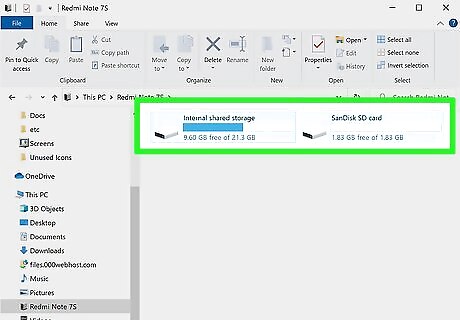
Browse your Android files. Now you'll see the files and folders on your Android in the right panel. If you have an SD card, you'll typically see two main folders—one for internal storage (these are the files saved directly to your Android) and one for your SD card. Some common sub-folders include DCIM (photos and videos from your camera), Music, Ringtones, and app-specific folders. To copy a file from your Android to your PC, just drag the file you want to copy to another folder in File Explorer, or to your desktop. You can also drag files to your Android from your PC the same way.
Eject your Android when finished. Once you're finished moving and accessing files on your Android, click the Safely Remove Hardware button in the System Tray in the lower-right corner of the screen (near the clock). It looks like a USB plug with a checkmark. Then, click Eject next to the name of your Android. You can then safely unplug your Android from your PC. You may have to expand the hidden icons to find the Safely Remove Hardware button. To do this, click the up-arrow near the clock on the taskbar.
Using a USB Cable with macOS
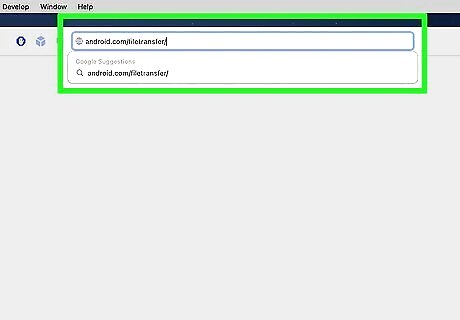
Go to https://www.android.com/filetransfer in a web browser. This is the website for Android File Transfer, the app you'll need to use to connect your Android to your Mac.
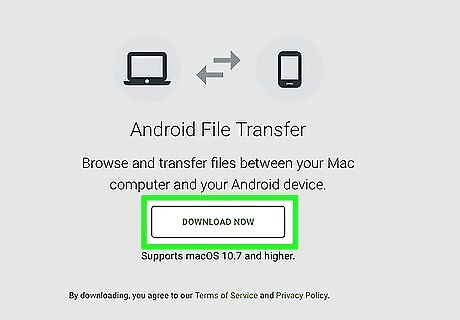
Click Download Now. This downloads the installer to your Mac.
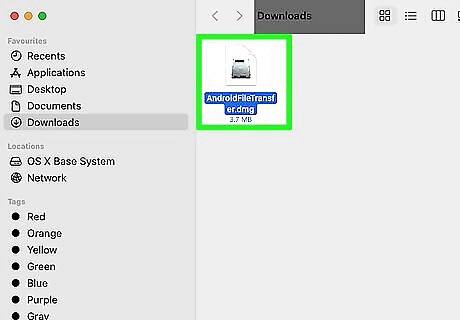
Open the installer after downloading it. The file is called AndroidFileTransfer.dmg, and you'll find it in your default Downloads folder.
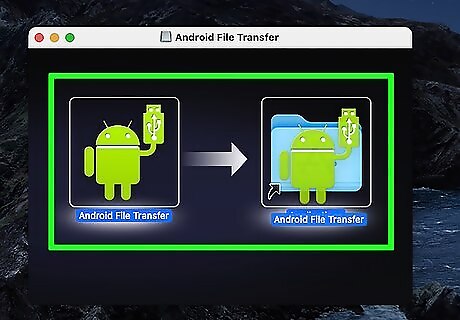
Drag the "Android File Transfer" icon to the "Applications" icon. When you drop the Android File Transfer icon onto the Applications folder icon, Android File Transfer will install on your Mac.
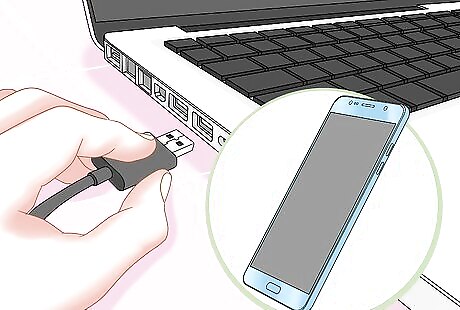
Connect your Android to your Mac with a USB cable. You can use the same USB cable you use to charge your Android. This will prompt Android File Transfer to launch automatically.
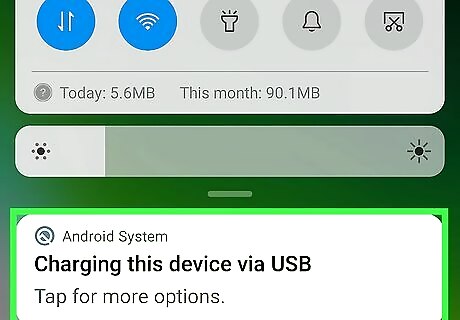
Tap Charging this device via USB on your Android's screen. This option should pop up on a notification few moments after connecting the phone or tablet to your Mac. If your Android's screen is locked, you may need to unlock it to see this notification. If the notification isn't visible, swipe down from the top of the home screen to view your notifications—you'll see it there.
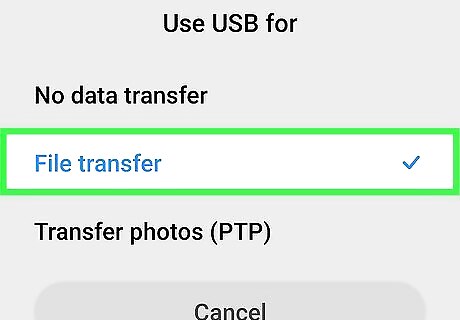
Select File Transfer under "Use USB for." This option allows your Mac to recognize your Android as a hard drive. This option may be called MTP on some Androids. EXPERT TIP Luigi Oppido Luigi Oppido Computer & Tech Specialist Luigi Oppido is the Owner and Operator of Pleasure Point Computers in Santa Cruz, California. Luigi has over 25 years of experience in general computer repair, data recovery, virus removal, and upgrades. He is also the host of the Computer Man Show! broadcasted on KSQD covering central California for over two years. Luigi Oppido Luigi Oppido Computer & Tech Specialist Our Expert Agrees: The biggest mistake that people make when they're trying to connect an Android phone to a computer via USB is they don't check the box that allows the phone to be used as a USB drive.
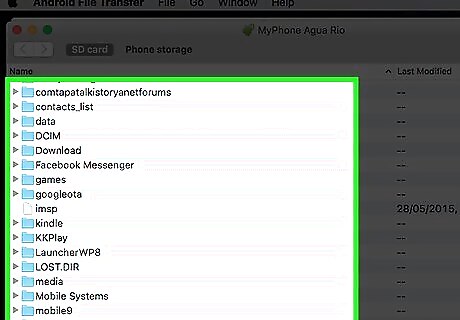
Browse your files in the Android File Transfer window. The Android File Transfer window will display the folders on your device much like a Finder window. If you have an SD card, you'll typically see two main folders—one for internal storage (these are the files saved directly to your Android) and one for your SD card. Photos and videos you captured with your camera are typically saved to a folder called DCIM. You can transfer files to and from your Android. Just drag the file you want to transfer from the folder on your Android to the desired folder on your Mac, or vice-versa.
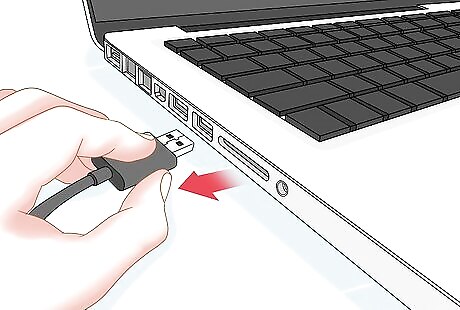
Disconnect your Android when finished. Once you're finished transferring and accessing files on your Android, simply unplug it to disconnect it from your Mac. Make sure you're not in the middle of any transfers when you unplug it.
Using a USB Cable with Chromebook
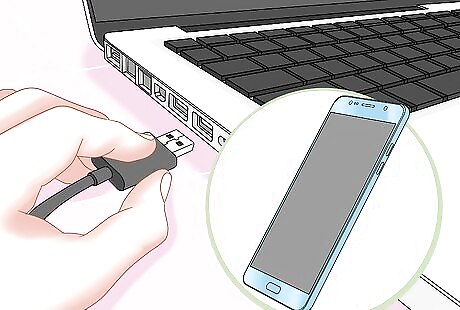
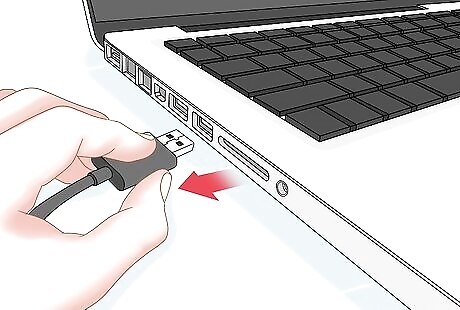
Connect your Android to your Chromebook with a USB cable. You can use the same USB cable that you use to charge your Android.
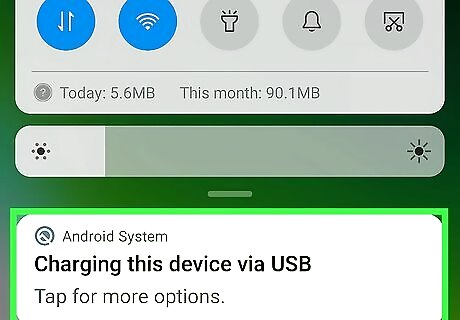
Tap Charging this device via USB on your Android's screen. This option should pop up on a notification few moments after connecting the phone or tablet to your Chromebook. If your Android's screen is locked, you may need to unlock it to see this notification. If you don't see the notification, swipe down from the top of the home screen to view your notifications—you'll see it there.
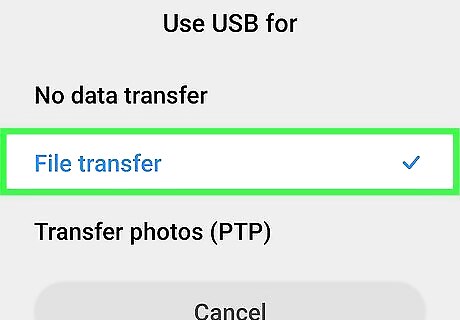
Select File Transfer under "Use USB for." This option allows your Chromebook to recognize your Android as a hard drive. This will also prompt your Chromebook to display the Files app. This option may be called MTP on some Androids.
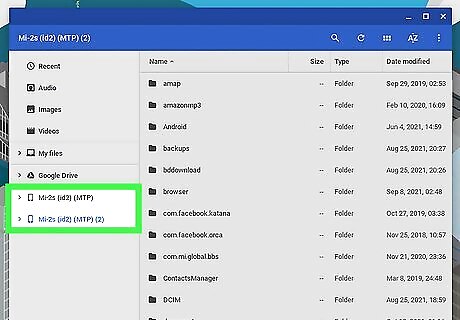
Browse your files in the Files app. This is the window that popped up on your Chromebook when you connected your Android via USB. If your Android has an SD card, you'll usually see two folders—one for internal storage (these are the files saved directly to your Android) and one for your SD card. You can transfer files to your Chromebook from your Android (and vice-versa). To copy a file from your Android to your Chromebook, just drag the file from the Android to the desired location on your Chromebook. Similarly, you can drag files to your Android from your Chromebook, also using the Files app.
Unplug your Android from your Chromebook when you're finished. Make sure you're not in the middle of any transfers when you disconnect your Android.
Wirelessly Connecting with AirDroid (All Computers)
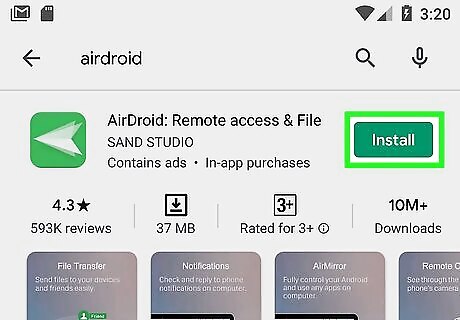
Install the AirDroid app on your Android. You can get this app for free from the Google Play Store. This app will allow you to connect to AirDroid on your computer and transfer files wirelessly.
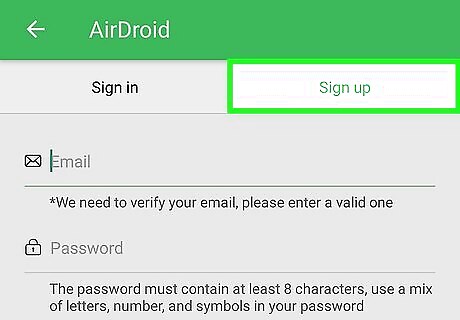
Create an AirDroid account. This will make it easier to get your Android and computer connected. Tap the "Sign Up" button when you start AirDroid for the first time and follow the prompts to create an account.
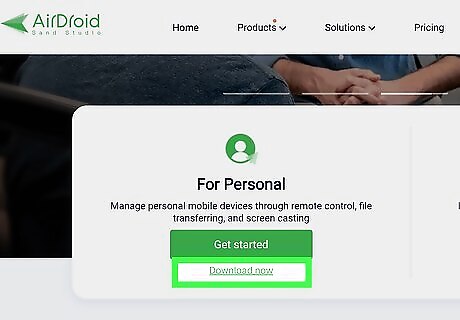
Download the AirDroid app for your computer. You can get it for free from https://www.airdroid.com. Just click the Download now button and select Windows or Mac OS X under "For computer" to start the download. If you're using a Chromebook or would prefer not to install software on your PC or Mac, you can skip the download and go to http://web.airdroid.com to access the web version of AirDroid.
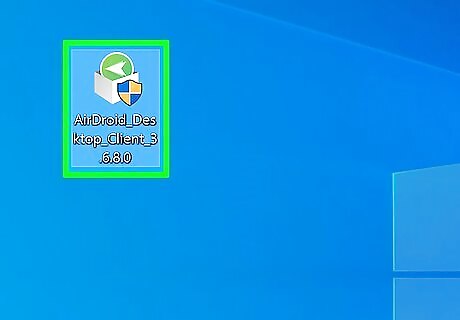
Run the installer for AirDroid. Skip this step if you're using the web version. After the download is finished, double-click the file you downloaded from Airdroid and follow the on-screen instructions to install. If you're installing AirDroid for Windows, give access through your Windows Firewall when prompted.
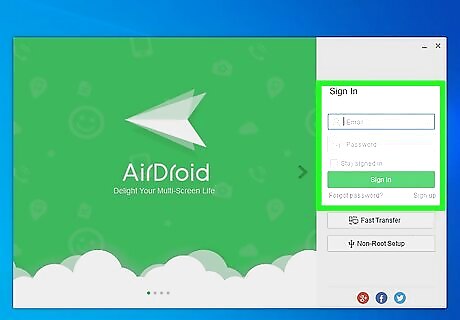
Open AirDroid on your computer (or on the web) and log in. You'll use the same AirDroid account you created when signing in to the app on your Android. You'll then be able to browse the files on your Android through Airdroid on your computer.
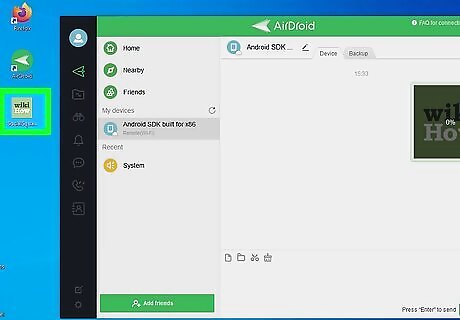
Send files to your Android from your computer. You can quickly add files to your Android device by dragging and dropping them into the AirDroid window. Click the "Transfer Files" icon (it looks like a paper airplane) and select your Android from the list. You can then drag files from your computer to the chat window and click Send to save them to your Android.
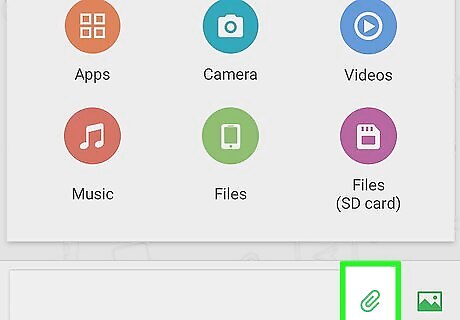
Send files to your computer from your Android. To do this, open the AirDroid app on your Android, tap My devices at the top, and then select your computer (or AirDroid Web, if you're using the web version) from the list. Tap the paperclip icon at the bottom, select Files, choose the file you want to send, and then tap Send.





Comments
0 comment