views
Preparing to Clean the Throttle Body
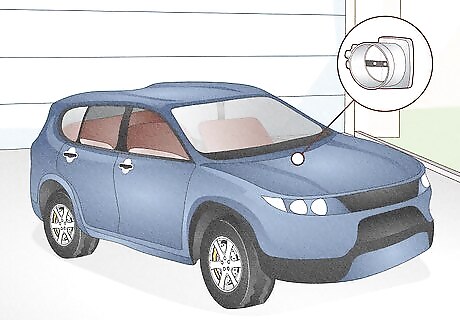
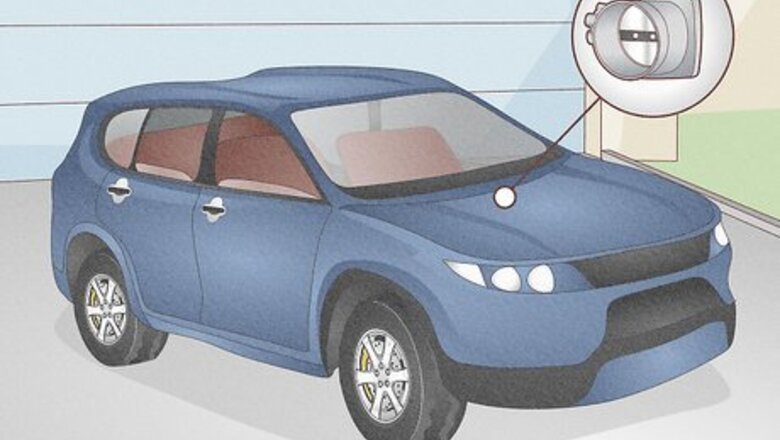
Park your car outside and locate the throttle body under the hood. First and foremost, you’ll need plenty of space and fresh air to work. Once you’re parked in an open outdoor space, open up the hood of your car and look for the aluminum throttle body between the intake manifold and the air cleaner. If you’re unsure how to identify the throttle body, have someone press the car’s accelerator (while the engine is off). The throttle shaft will shift noticeably since it’s connected to the gas pedal.
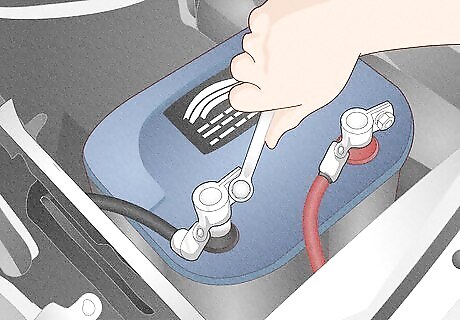
Disconnect the ground terminal from your car’s battery. This is a safety precaution for your vehicle. Make sure the car is turned off, then find the negative terminal under the car’s hood—it should be on top of the battery with an attached cable. Loosen the nut on the negative terminal with a wrench, remove the negative connector cable and move it away from the battery. The battery looks like a large block with two cables attached. The negative terminal is black and marked by a “-” symbol.
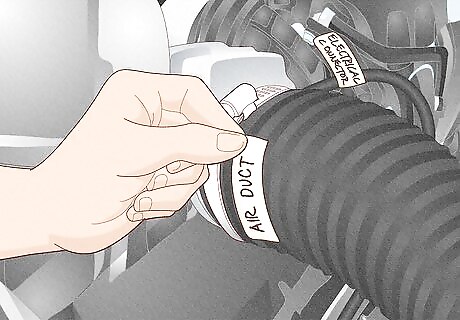
Label all hoses attached to the throttle body or air ducts. Use masking tape to create tags for each hose and coupling that must be removed to reach the throttle body. You’ll need to know which hose connects with each coupling once you’re finished cleaning and need to reattach everything. Alternatively, you can also use specifically-designed labeling tape to mark each duct.

Put on protective gear. Since you’ll be working with chemicals under the hood of your car, it’s wise to use eye protection and rubber gloves for this job. Make sure these are both on before you start washing out the throttle body with cleaner fluid.
Cleaning the Throttle Body
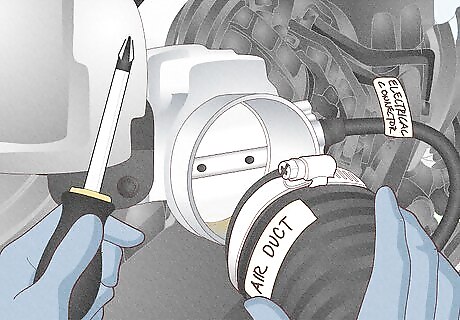
Detach the air duct from the throttle body. It’s usually held in place by a hose clamp, which you can loosen with a Torx or Phillips screwdriver (check the clamp to determine which one you’ll need). Gently twist and pull until you can safely detach the air duct, and be sure that you don’t disconnect any electrical wires in the process. Some cars may have air ducts attached to either side of the throttle body, but removing one of them should be enough to expose the throttle for maintenance. In addition, some cars may have electrical wires attached to the throttle; take care not to detach any of those while you work. If you’re unable to remove the air ducts yourself, stop what you’re doing and take your car to a trained mechanic for throttle cleaning.
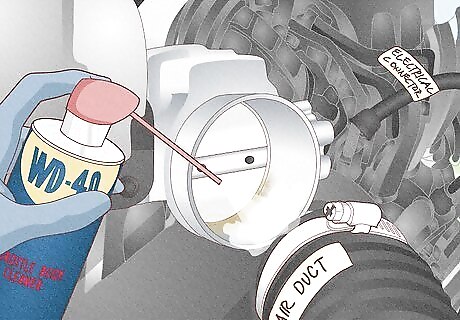
Spray throttle-body cleaner in the air duct once the throttle is exposed. Then, grab a small brush and gently scrub the interior to loosen all the varnish, dirt, and gum. For this, you can use either an old toothbrush or a soft parts-cleaning brush, and wipe off the residue with paper towels every so often to clear the throttle one area at a time. Continue to spray, scrub, and wipe the inside of the throttle body until all the metal is clean and bare. It’ll be easier to monitor your progress if you shine a flashlight inside the throttle body between scrubbing.
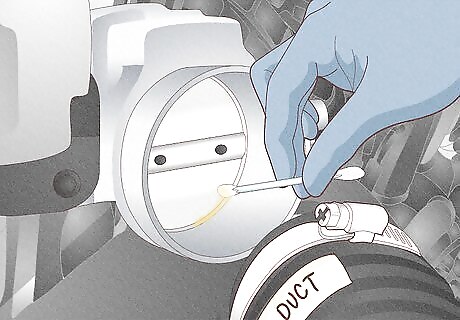
Apply a small drop of general-purpose oil to the throttle shaft. Use a cotton swab to place the drop of oil right where the throttle shaft enters the body. This is done to help your car’s throttle blade rotate smoothly until the next cleaning. Keep in mind that you don’t need a lot of oil to do this. One drop is plenty!
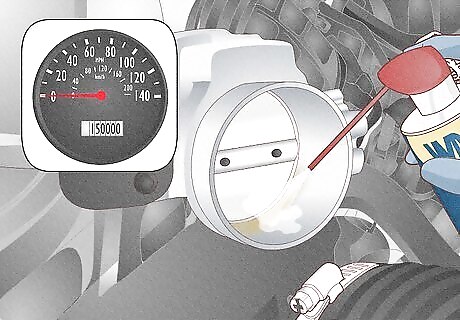
Clean the throttle body every 75,000 miles (121,000 km). There’s no official ruling on how often you need to clean the throttle body, but you can keep your car running smoothly by doing this periodically. You can also look for a few signs that your car’s throttle body needs cleaning. These include: Your car has an unsteady idle, which drops when you come to a stop, and may even lead to an engine stall. Your car’s “Check Engine” light might turn on. You might have a hard time shifting while driving your car.
Cleaning Up Afterwards
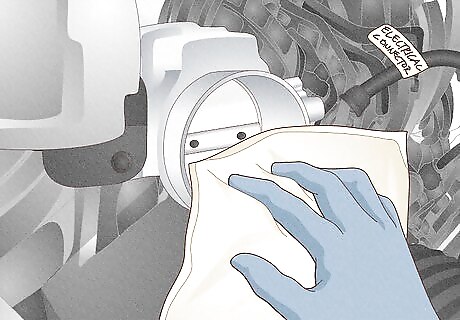
Wipe the area around the throttle with paper towels. Remove any dirt or liquid that may have spilled onto the car’s engine (or surrounding parts) while cleaning. Ensure that you wipe everything up before reattaching all components in the car that you moved earlier. Clean off your tools and dispose of the paper towels and rubber gloves in the trash can. Keep in mind that the cleaner fluid is flammable, so you may want to wrap the paper towels in a bag and then throw them away.
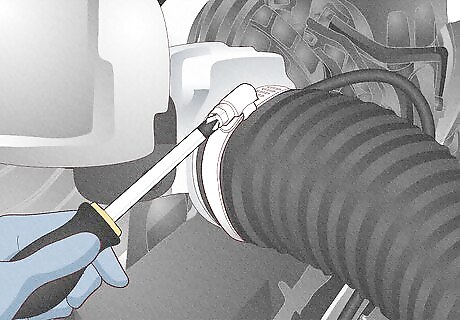
Reconnect displaced ducts, tighten clamps, and reattach the battery. First, use the labels you made to attach ducts in the right places and tighten each clamp to the same degree they were initially. Then, reconnect the battery; use your wrench to re-tighten the nut on the connector cable, securing it back in place. Move all tools and materials out from under the hood of your car before reattaching the battery. To ensure you’re tightening clamps accurately, think about the force that went into loosening each clamp and apply roughly the same pressure as you tighten them back up.
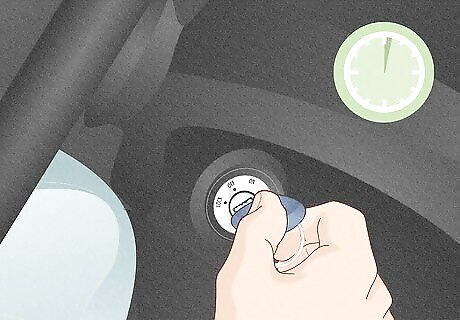
Start your car’s engine and let it idle for a couple of minutes. This is a quick check to make sure everything is working smoothly. When you turn on your car’s engine, note that a stumble is common. You may even experience a rough idle; both are caused by cleaner fluid and residue that fall into the intake manifold. If either of these occurs, don’t panic. Your car will return to normal once the cleaner and residue burn away.

Take your car for a test drive. If you cleaned the throttle body as part of routine maintenance, you might not notice much difference in your car’s drivability. If you cleaned the throttle body because it was getting too grimy, you’ll likely see a performance improvement—especially when idling and shifting gears. Even if your car doesn’t feel all that different, remember that cleaning the throttle body is supposed to be preventative. Your car will drive smoother in the long term!






Comments
0 comment