views
Using a Browser Extension

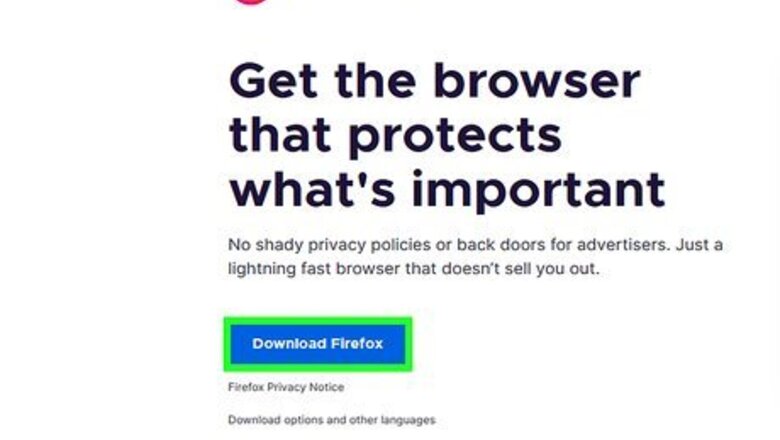
Download Firefox or Chrome. These browsers allow you to install extensions that increase their functionality. There are extensions for both that allow you to block yourself from specific sites during certain hours of the day. Both Firefox and Chrome are free to download.
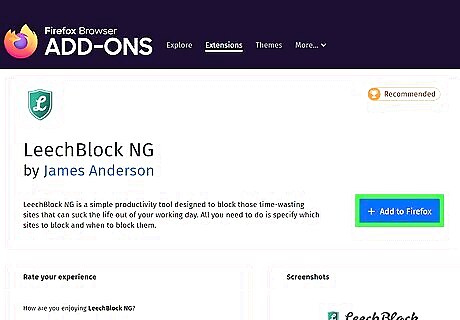
Download a productivity extension. There are several plugins available that will allow you to block sites such as Facebook that keep you from your work. One of the most popular extensions for Firefox is LeechBlock, while Chrome's most popular extension is StayFocused. Install LeechBlock on FireFox. Click the Firefox button and select Add-ons. Enter leechblock into the "Search all add-ons" field. Click the Install button to the right of the LeechBlock entry of the search results. LeechBlock will be automatically downloaded and installed. Restart Firefox. Install StayFocused on Chrome. Click the Chrome menu button. Select Tools → Extensions. Scroll to the bottom of the list and click the "Get more extensions" link. Enter stayfocused into the "Search the store" field. Click the "+Free" button next to StayFocused at the top of the Extensions results. Click the "Add" button in the confirmation box that appears. Install Nanny on Chrome. Visit the Chrome Web Store. Nanny for Google Chrome can block sites, such as Facebook, on your Chrome. Use the search field on the top left corner of the page to search for it. From the search results, click on Nanny for Google Chrome to see more details about it. Click the “Add to Chrome” button on the top right corner of the page. A confirmation message will appear informing you of what the new extension will do. Click on the “Add” button.
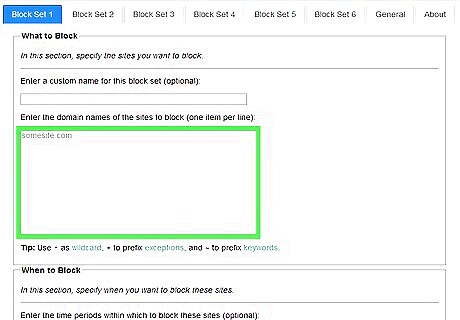
Configure your extension. Once you've installed your extension, you will need to configure it to block Facebook and set the times that you want it blocked. The process is a little different in each extension. LeechBlock - Click the Firefox menu and select Add-ons. Find LeechBlock on the list and click the Options button. Add "www.facebook.com" to the large text field in the middle of the Options window. Click the "When to block" tab and set your block schedule. All times are entered in 24-hour format. You can set sites to be blocked after a certain amount of time on them or during specific times of the day, or both. Click the "How to block" tab to select what happens when you visit a blocked site. By default, it will go to a LeechBlock notification, but you can set it to redirect to any site that you wish. Click the Advanced tab to set your advanced options. These include disabling the LeechBlock options menu during your blocked hours and blocking access to Firefox configuration menus. Only select these if you understand the consequences of doing so (you will not be able to get to these menus, even if you need them for other programs, during the block time). Add a password. Click the Access Control tab at the top of the Options window to add a password to LeechBlock. This password is not for security, but to add an extra roadblock between you and disabling the block. This will give you extra time to consider disabling the block and being unproductive. StayFocused. Click the StayFocused icon in your browser toolbar. It should have appeared immediately after installing the extension. Click the "Settings" link at the bottom of the box that appears. Click the "Blocked Sites" menu option. You can find it in the menu on the left side of the Settings page. Add "www.facebook.com" to the field and click the "Add Blocked Sites" button. If you want to keep yourself from disabling StayFocused, click the "Block the Chrome Extensions page!" to add the Extensions page to your blocked list. Set your blocking schedule. Use the top four menu options to set your blocking schedule. "Max Time Allowed" lets you enable a timer for all of your blocked sites. Once you reach this time limit, you can no longer access the blocked sites for the day. "Active Days" lets you set what days StayFocused enforces the block. "Active Hours" sets the time of day that the sites are blocked for. "Daily Reset Time" is the time of day that your time limit resets. Adjust the Nuclear Option. This is the last-resort button for increasing your productivity. By default it will block ALL sites for the specified time, but you can change it to just block the sites on your list. Add a challenge. If you feel like you'll be tempted to disable the block, you can add a challenge to get back into the settings. You will be required to type a specific paragraph without making any typos or backspaces. Nanny. Click the button with three horizontal lines at the upper right corner of your Google Chrome browser. This will bring out a submenu. Look for “Settings” and click on it. From the Settings page, click the Extensions link from the left panel menu. The Extensions page will load, listing all the extensions installed on your Google Chrome browser. You can see Nanny for Google Chrome here. Open the settings for Nanny for Google Chrome. Click the Options link under Nanny for Google Chrome. This will open another window or tab for Nanny for Google Chrome’s settings. Block Facebook for a certain period. Click the “Blocked URLs” tab on the settings page. This is where you can configure what and when to block sites like Facebook. Type in the name of the block set, like “Facebook block,” in the Block Set field. Type in “facebook.com” in the URLs field. You can also type in other sites you want to block with Facebook. Key in the start and end times when Facebook will be blocked in the Blocked Time field. The format should be in military time, e.g., 0900-1700,1900-2100 for 9AM-5PM and 7PM-9PM, respectively. It can accept multiple time slots separated by a comma. Tick the checkboxes for the days when the block will be active. If you want to only block Facebook on weekdays, you should tick Monday, Tuesday, Wednesday, Thursday, and Friday only. Save. When you’re done configuring when to block Facebook, click the “Save URL” button at the bottom for the form. Nanny for Google Chrome will be activated when the set times come, and you won’t be able to access Facebook anymore during those times.
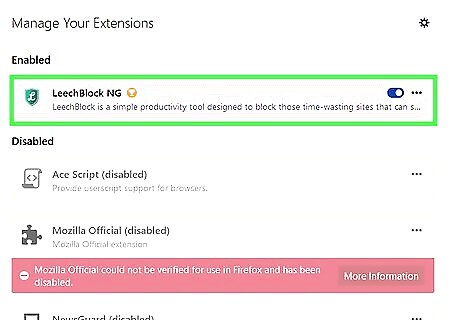
Use the extension. Once your schedule and Facebook block is set, your extension is active. In order to disable it, you will need to go through whatever steps you put in place to keep yourself from doing so. Try to resist! Install extensions on all of your installed browsers to keep you from switching between them to circumnavigate the block.
Creating a Temporary Password
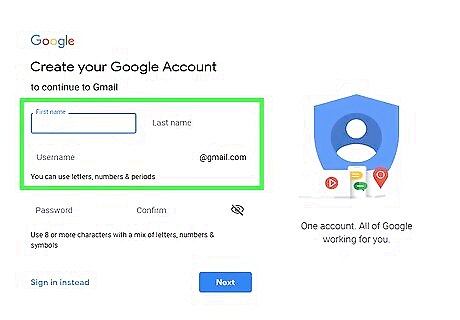
Create a new email address using an email provider of your choice. Some examples include Yahoo, Gmail, Mail.com, Outlook.com, and more.
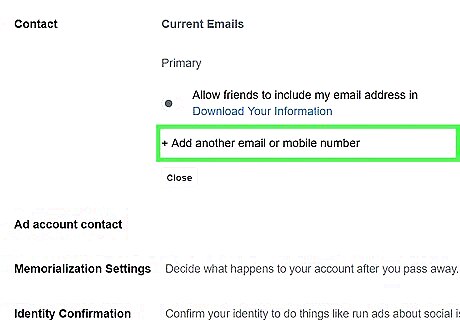
Change your Facebook primary email. Make your new email address the primary email address for your Facebook account. The primary address is the one where Facebook sends you emails about recent activities and updates. Click the down arrow in the top-right corner of Facebook and select Settings. Click the Edit link in the Email section of the General Account Settings. Click the "Add another email" link that appears, and then enter your new email address. Make it your Primary email address, enter your Facebook password, and then click the Save Changes button.
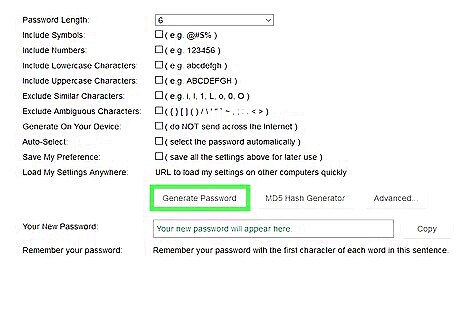
Generate your new password. Make sure that the password is complicated enough so you can't remember it. Search online for "password generator" and pick a site that makes strong, cryptic passwords. Copy the password so that you don't have to retype it. This will keep you from making mistakes as well as help prevent you from memorizing it.
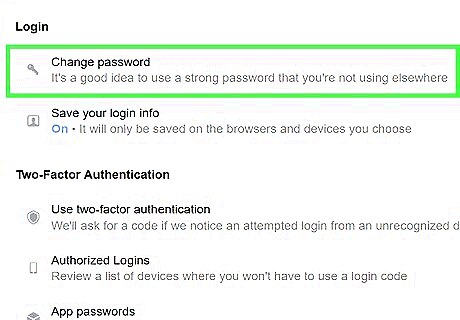
Set the new password as your Facebook password. You can do this from the Settings menu that you changed your email address in.
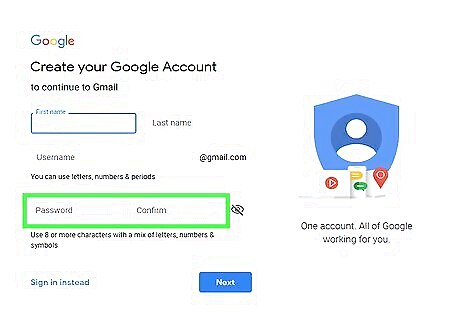
Set the new password as your new email password. Change the password on your new email address to the password you just generated as well. Most email services have a Settings page that you can do this from.
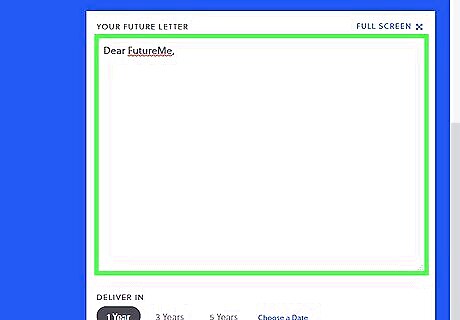
Write a "Future Email". Visit a site like FutureMe, EmailFuture, or Bored.com. Use the future email service to send an email to your regular email address. Put the new email address and the newly-generated password in the body of the email. Set the email to be sent after you are able to log back into Facebook without consequences.
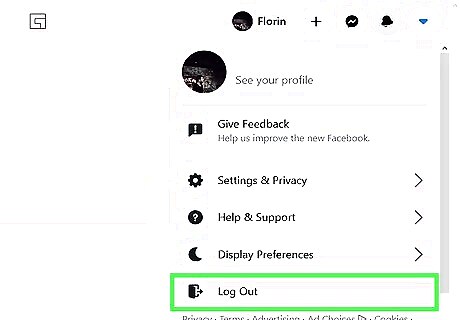
Log out of Facebook. Once the email is set up, log out of Facebook so that you can't visit the site and be automatically logged in. Make sure that any traces of the password you generated are deleted, and that you didn't memorize it in the mean time. If you copied the password to the clipboard earlier, copy something else to erase the password from the computer's memory.
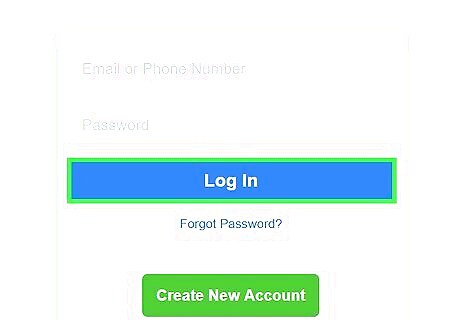
Log back into Facebook after your work time is over. Once you receive your future email, you can enter that password into Facebook and check your feed. You can keep using the same password to block yourself each day, or create new ones.
Deactivating Your Account
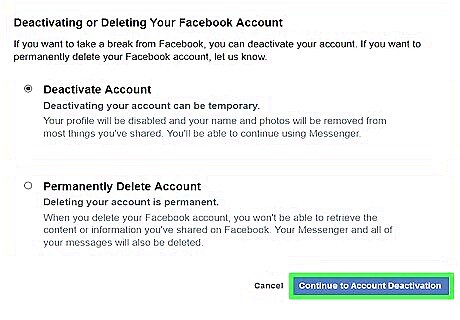
Deactivate your Facebook account when you don't want to access it. You can deactivate your Facebook account temporarily. None of your information will be deleted, and you can reactivate it at any time. While this doesn't keep you from accessing it, subconsciously knowing that it's deactivated could help keep you from visiting it. When you deactivate your account, your profile will be hidden from the rest of Facebook, which will help keep you from getting distracted by notifications and messages.
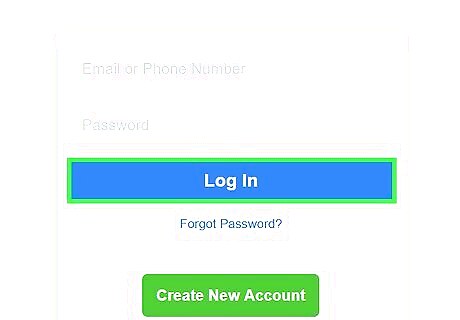
Reactivate your account when you're ready. You can easily reactivate your Facebook account at the end of the day by logging back in with your email address and password. Your account will be restored and your information will be saved.


Comments
0 comment