views
Creating Your Own Cupcake Liners
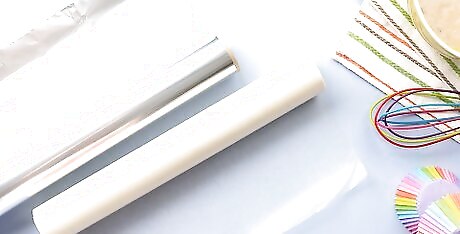
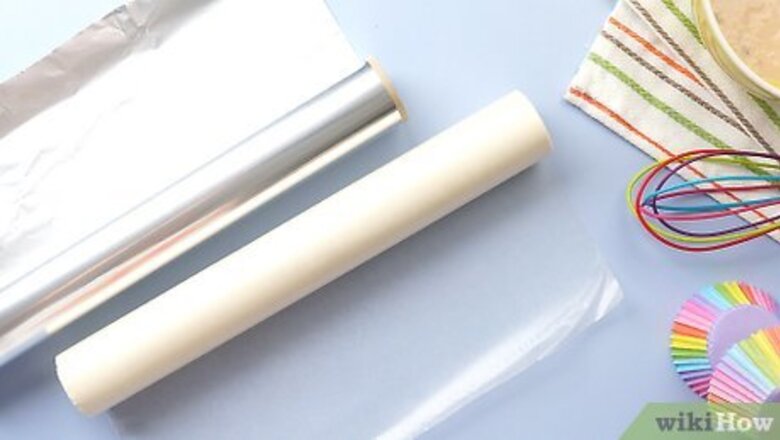
Make your own cupcake liners out of a stiff, oven-safe material. If you don’t have cupcake liners or a cupcake pan and still want to make cupcakes, you can make your own liners at home. You'll still need to double or triple the homemade liners so that they can stand up in the pan. Parchment paper is the recommended material, but you can also use aluminum foil. The stiffer the paper, the more stable your cupcake liners will be.
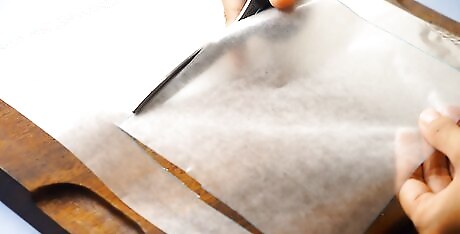
Cut the parchment paper into 6 in × 6 in (15 cm × 15 cm) squares. Pull off a stretch of parchment paper and use a ruler to measure out squares. Use scissors to carefully cut out each measured square. You'll be doubling or tripling the liners for each cupcake, so cut out enough squares for this to happen. Most normal-sized cupcake pans make 12 cupcakes.
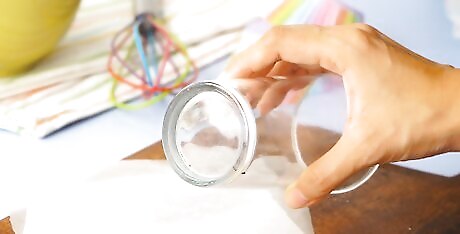
Find a cup with a base the same size as a cupcake liner. The sizing doesn’t need to be exact, but try to find a glass or cup with a bottom similar to a cupcake liner. Most regular-sized cupcake liners have a bottom diameter of roughly 2 inches (5.1 cm).
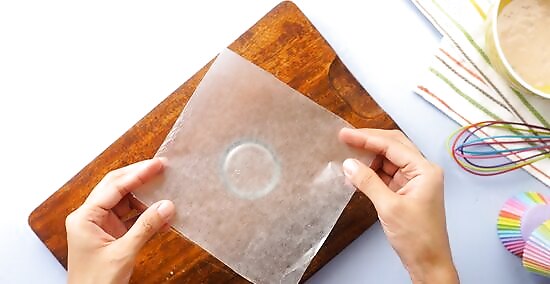
Center the parchment paper over the bottom of the cup. Turn the cup over and place the square piece of parchment paper over the circular bottom. Try to align the paper so that all of the corners are equally spaced.
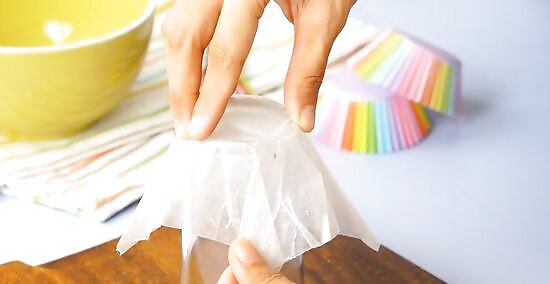
Press the paper over the cup to create 4 folds. Create a fold in between each corner of the piece of paper so that you create a mold of the cup. You should have 4 clean folds when you’re finished. When folding, try to press the folds as close to the cup as possible.
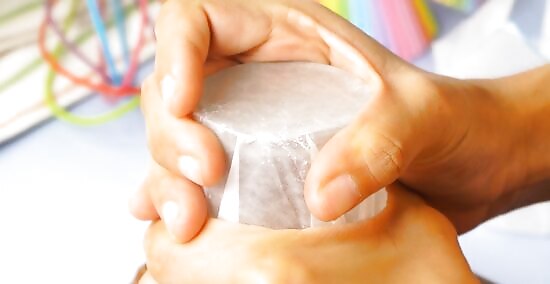
Run your fingers along the entire edge of the liner. Once you’ve finished the folds, keep the liner on top of the cup. Press your fingers along the circular edge you’ve created so that you form a solid base. Now your liner is finished!
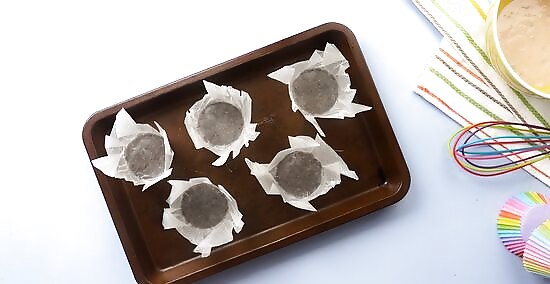
Remove the liner from the cup and start placing your liners in the pan. Set up the liners on a baking tray just as you would if they were store-bought liners. Make sure they're placed close together to give them additional support.
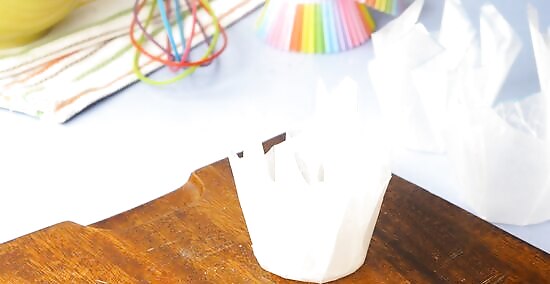
Double or triple the homemade liners to make them sturdier. Most materials that you use will need extra help to support the weight of the batter. Double or triple line your cupcake liners on the tray so that they won't spill.
Placing Cupcake Liners in a Tray
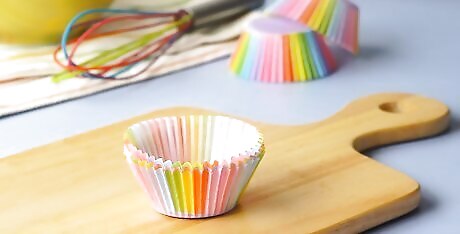
Create a stable structure using cupcake liners. If you’re using paper liners, you’ll need to use at least 2 or 3 stacked on top of one another so that they’re able to stand on their own. Foil liners are the best choice as they’re already very strong. It’s likely that you won’t need to double or triple foil liners.
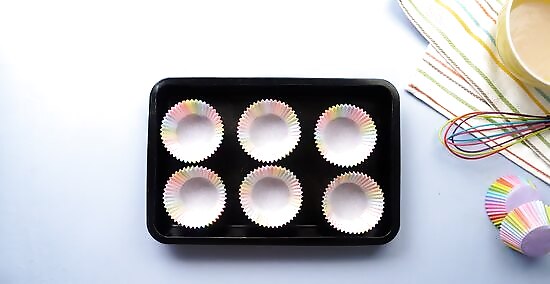
Place the liners on a baking tray. When placing the liners, arrange them on the tray so that they sit close together, even touching. This will give them more support. It’s best if the tray has some sort of lip so that if the cupcakes do spill, you won’t have a huge mess to clean up.
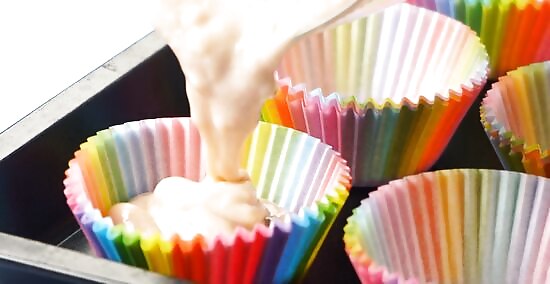
Do not over-fill the cupcake liners.
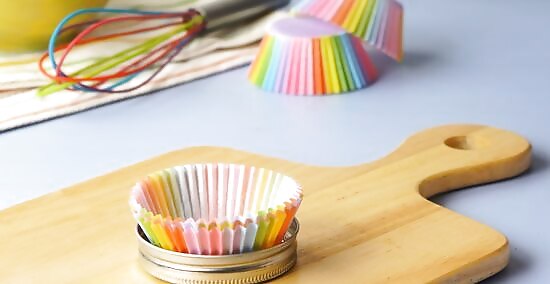
Set the liners in mason jar lids for extra support. If you want to be extra careful, take out the flat sections of mason jar lids and use the metal rings. Line the rings up along the baking tray and then place a cupcake liner in the center of each ring.
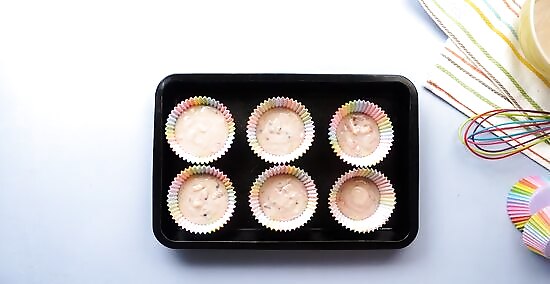
Fill the liners with the cupcake mix. Once your liners are all set, mix up your cupcake mix according to the instructions. Fill each liner ⅔ or ¾ of the way to the top, just as you would in a regular cupcake pan.
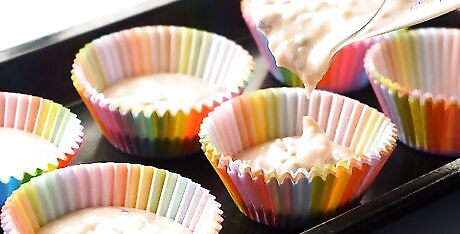
Do not over-fill the cupcake liners, as this will weaken the liner's ability to sit and can result in tip-overs.
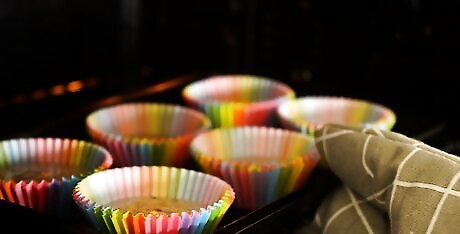
Put the tray into the oven and bake for the recommended amount of time. Place the tray in the preheated oven after all the liners have been filled. Move slowly and carefully when putting the tray in the oven to avoid spilling the cupcake batter. Follow the recipe to know how long to bake the cupcakes.
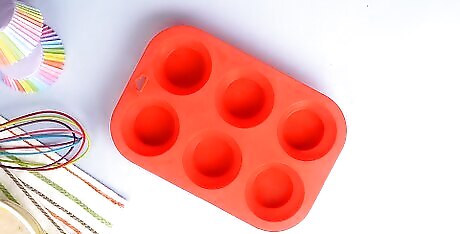
Not using a metal cupcake tray should not affect the baking temperature given in the recipe. Set a timer to help you correctly time the baking of the cupcakes and prevent burning.









Comments
0 comment