
- To add a caption, select the entire table, then right-click or ctrl-click the selection and select "Insert Caption".
- You'll also find the Insert Caption icon on the References tab at the top of Word.
- You can label and number your captions and customize their location in reference to the table.
How to Add a Caption

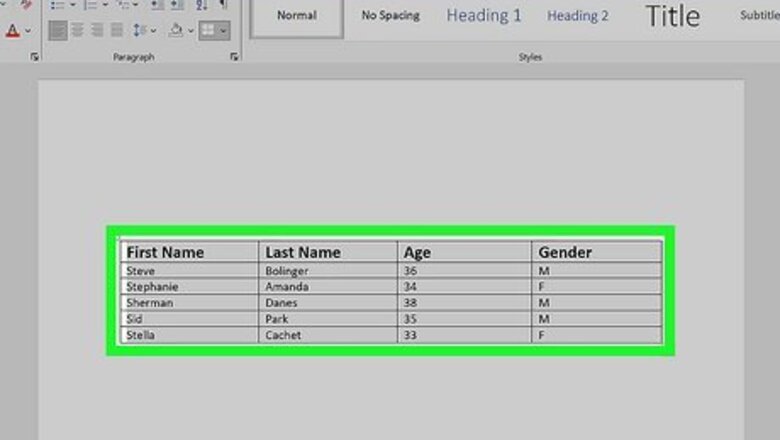
Select the table to which you want to add a caption. Using your mouse, click and drag over the entire table to select it.
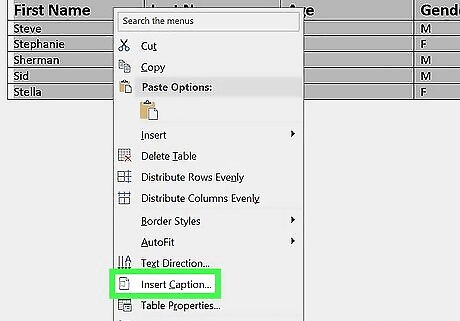
Right-click (or ctrl-click) the table and select Insert Caption. If you don't see this option, right-click or ctrl-click the crosshairs at the top-left corner of the table instead. If you still don't see this option, click the References tab and select Insert Caption on the ribbon.

Enter your caption. Type the caption for this table into the "Caption" field.
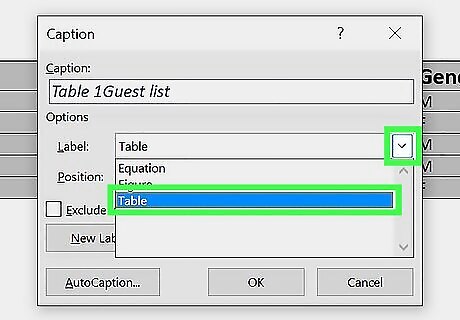
Select a caption label. The label ("Table", "Figure", or "Equation") will appear in the caption. E.g., "Table 1: This is my caption." If you don't want a label in your caption, check the box next to "Exclude label from caption."
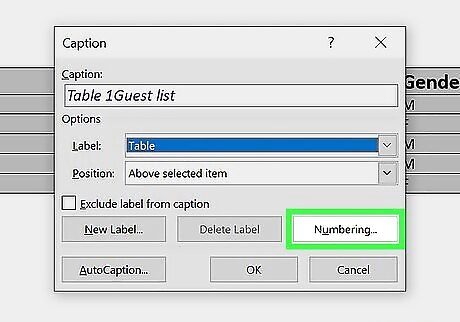
Customize your caption numbers (optional). If you add multiple captions to the document, the numbers will populate automatically based on the position of the caption in the document. For example, Table 1's caption is the first captioned table in your document, and Table 3 is the third. To change the numbering scheme, click the Numbering… button and select an alternative. If you want captions to be added to tables automatically, click the AutoCaption button, then choose your parameters.
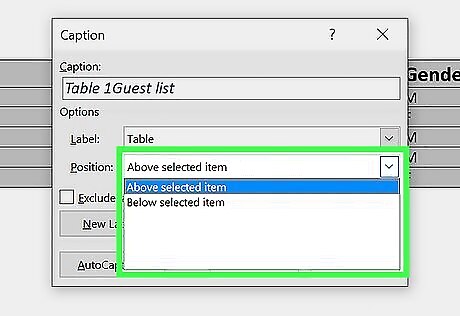
Choose where to place your caption. Click the "Position" drop-down menu, and choose whether to place the caption above or below the table.

Click OK to add your caption to the table.

Format your captions. Captions appear italicized above or below the table in the default font. You can easily change the format of the caption by selecting it and choosing a new font face, font size, color, or other option from the Home tab as you would other text.
Cross-Referencing Captions

Click the References tab. If you want to add a link to a captioned table to another location in your document, you can use the cross-referencing feature on the References tab. This can be helpful if you want readers to refer to a captioned table for more information, or if you want to link to the table in your sources.
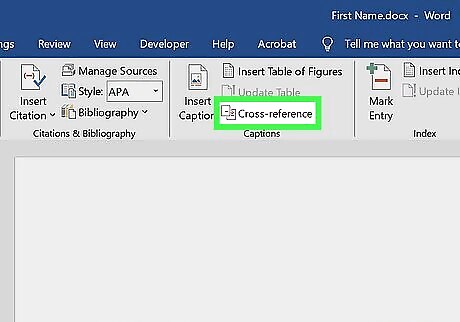
Click Cross-reference. You'll see this in the ribbon at the top of Word.
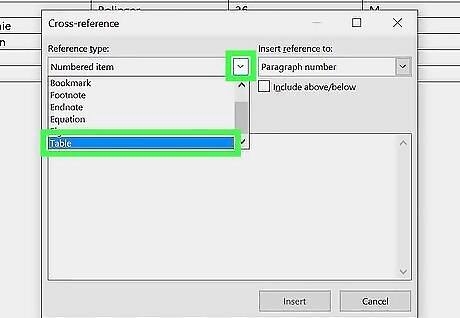
Select Table as the reference type. This displays a list of all captioned tables under "For which caption." If you labeled your captions with "Figure" or "Equation" instead, select that option here. You can also cross-reference other elements of your document, including headers and footnotes.
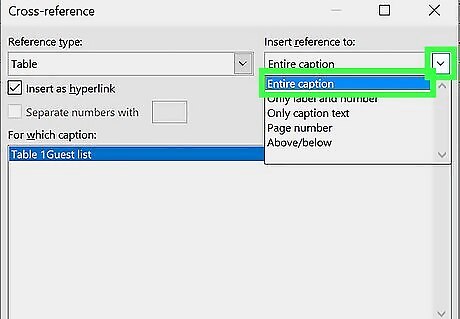
Choose how to label the link. If you want to insert the entire caption, select Enter caption from "Insert reference to." Or, if you just want to insert the caption number and label, choose Only label and number.
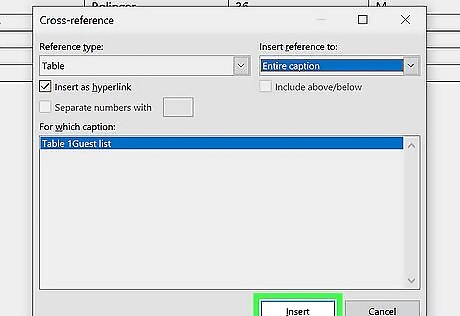
Select a caption and click Insert. This inserts the caption or label into the current document. To follow the link to the captioned table, hold down Ctrl as you click the cross-referenced text. You can highlight the label or caption in the cross-reference and change its style to make it more obvious that it's a link. For example, you can make the text bold or underline it.
Creating a Caption List (Table of Figures)
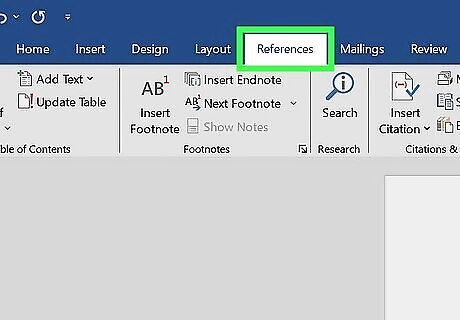
Click the References tab. If you want to generate a list of all captioned tables in your Word document, you can insert a table of figures on the References tab. If you're not already on the page where you want to insert your caption list, go to a blank page and click the desired location.

Click Insert Table of Figures. You'll see this at the top of Word. If you don't see it, try maximizing the Word window to view all options.
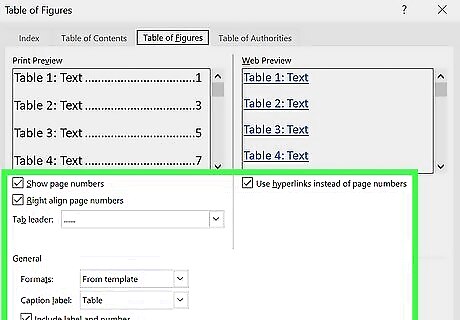
Choose how to format your table of figures. You can choose to show or hide the page number of each captioned table, use hyperlinks instead of page numbers, and even choose a style from the "Format" menu.
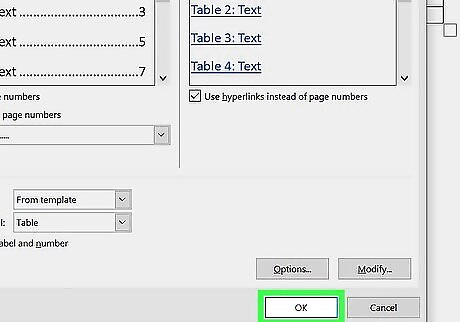
Click OK to insert your table of figures. If you added hyperlinks, you can go right to a captioned table by clicking its entry once, then holding down Ctrl as you click the caption or label. If you add or remove any captions, you'll need to update the table of figures. To do so, highlight the table of figures, click the References tab, and then click Update Table.


Comments
0 comment